Chapter 2: Installation
41
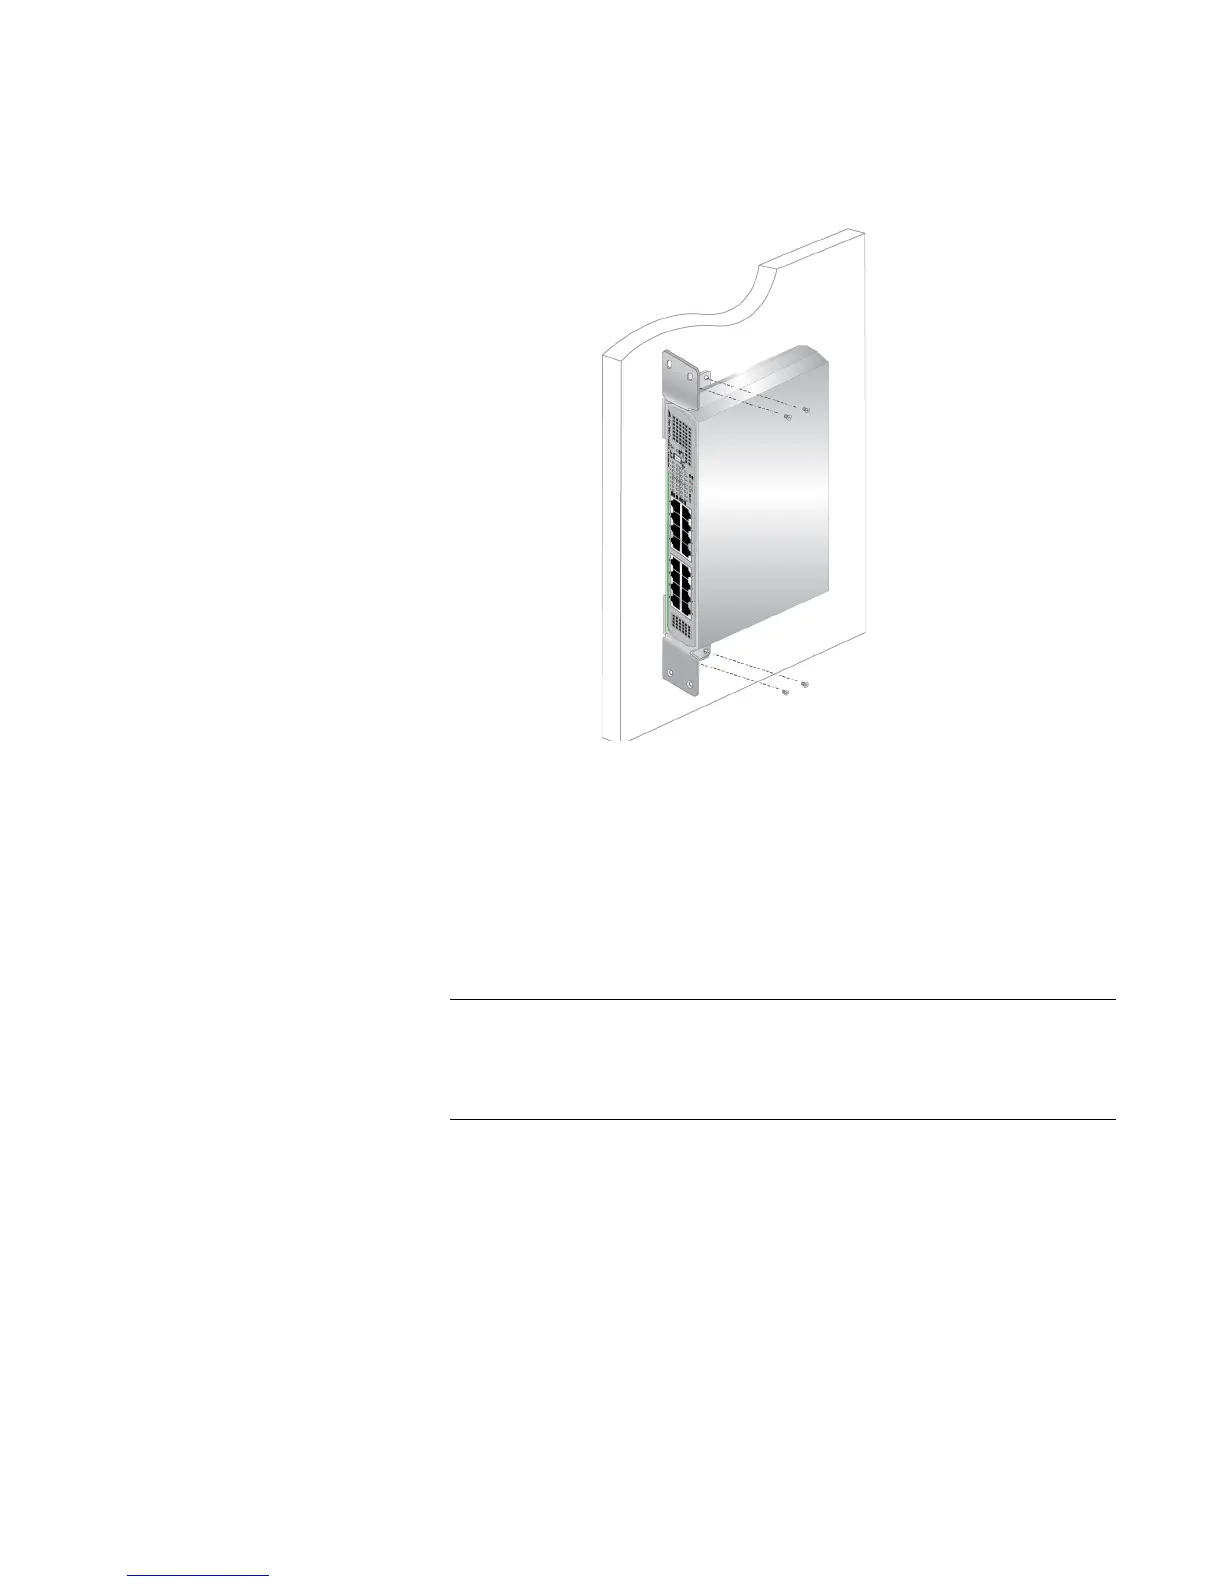
7. Position the switch on the wall and drive screws through the holes to
attach the brackets on the wall. See Figure 20.
x
Figure 20. Driving the Screws through the Holes
8. Make sure that the two brackets are installed securely.
9. Proceed to “Cabling the Switch” on page 48.
Installing the
AT-GS910/24
Switch on a Wall
To install the AT-GS910/24 switch on a wall, perform the following
procedure:
To install the AT-GS910/24 switch on the wall, you must install the
switch with the rear panel facing to the left in order for the switch to
have proper air flow.
1. Place all the items from the packaging on a work table.
2. Turn the switch over and remove the rubber feet on the bottom of the
switch using a Phillips-head screwdriver.
3. Turn the switch over.

 Loading...