Chapter 2: Installation
39
What to Prepare
for Installation
with Brackets
You need the following items to install the switch on a wall:
A switch
One pair of brackets (For more information, see “Wall and Rack
Mount Brackets” on page 16.)
Four screws to attach the brackets to a wall
Four plastic anchors for the screws
Phillips-head screwdriver
Pencil
Screws and plastic anchors are not included in the shipping box.
You must provide screws that hold the switch securely to the wall.
Installing the
AT-GS910/5,
AT-GS910/8, or
AT-GS910/8E
Switch on a Wall
To install the AT-GS910/5, AT-GS910/8, or AT-GS910/8E switch on a
wall, see “Installation Using the AT-BRKT-J23 Wall Mount Kit” on page 51.
Installing the
AT-GS910/16
Switch on a Wall
To install the AT-GS910/16 switch on a wall, perform the following
procedure:
1. Place all the items from the packaging on a work table.
2. Turn the switch over and remove the rubber feet on the bottom of the
switch using a Phillips-head screwdriver.
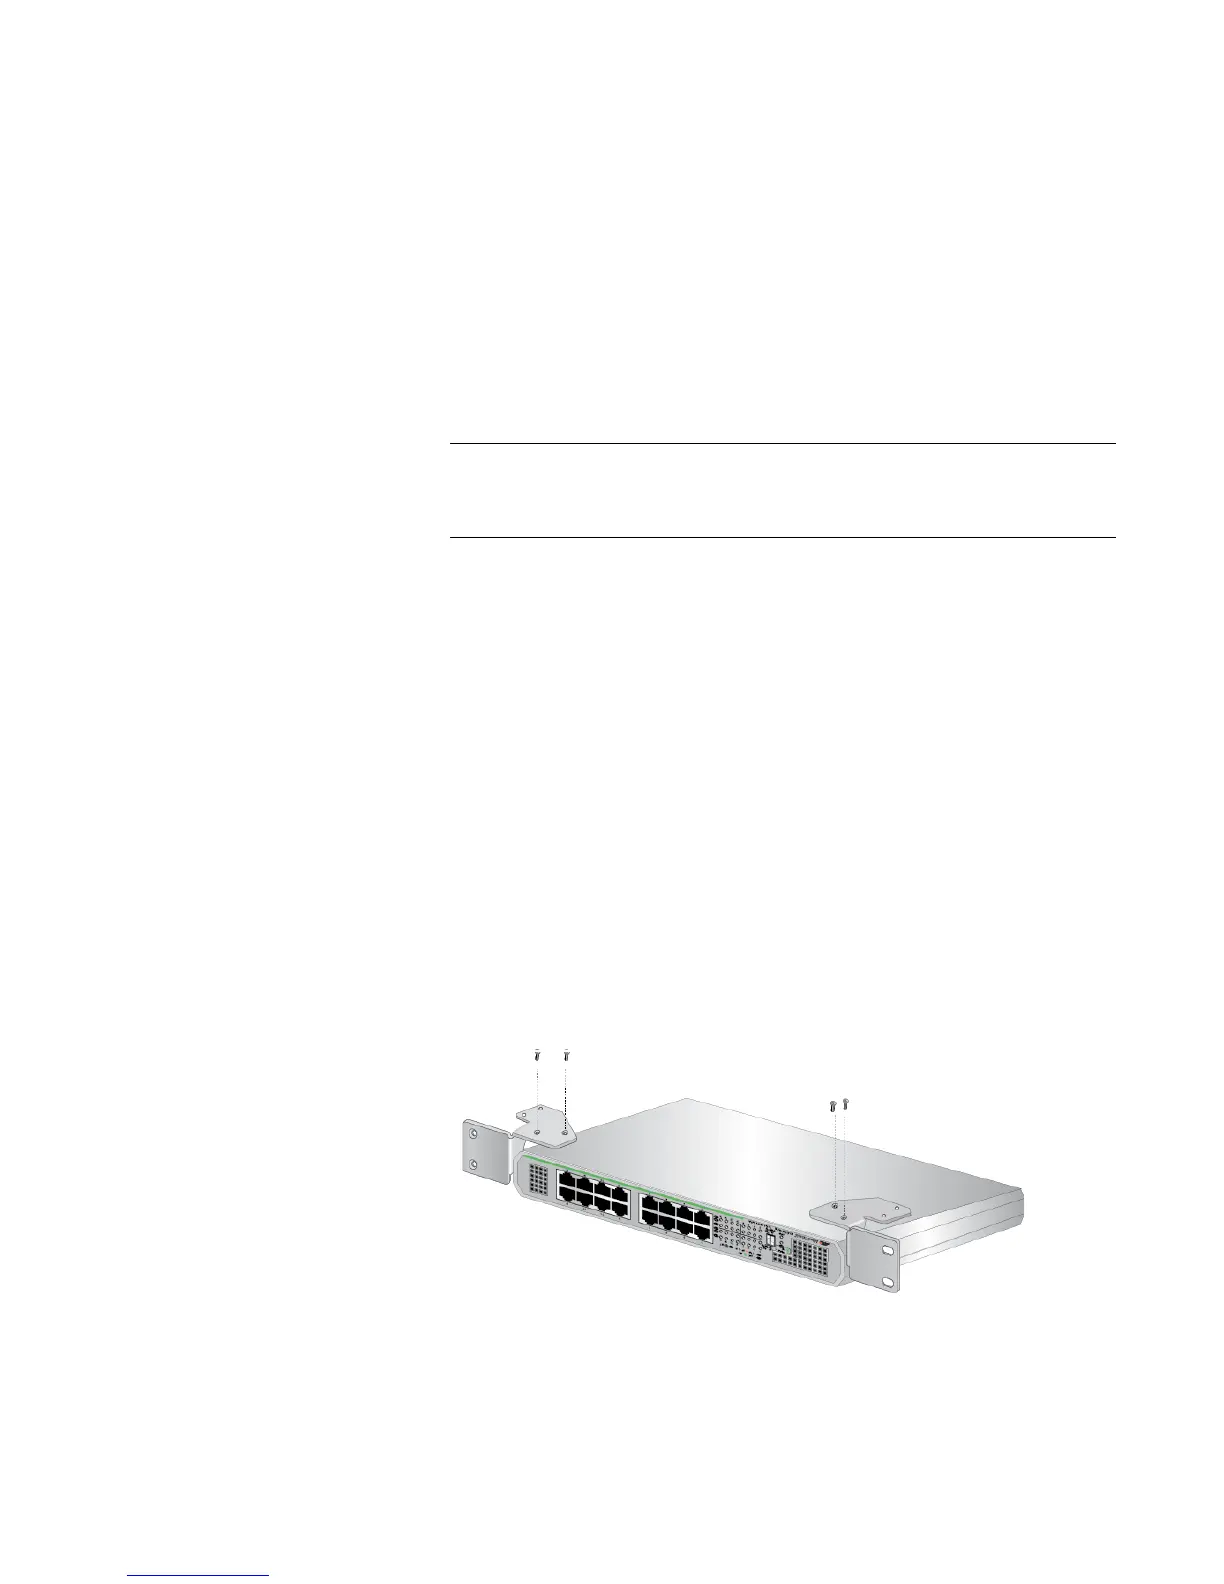
3. Orient the brackets against the sides of the switch and secure them to
the switch with the four screws as shown in Figure 18 on page 39.
x
Figure 18. Attaching the Brackets to the AT-GS910/16 Switch

 Loading...