Page 17
EWCIE Technical Manual
Note: Note that the statuses of some switches are only read at system startup, while others are
dynamically updated throughout the execution of the application code. In order for the switches marked
as *(Start Up) to have changes in their state acknowledged, the system must be restarted, either through
a valid power cycle or software/hardware reset.
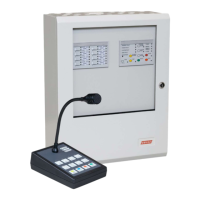
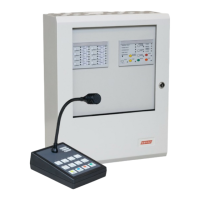
5.7 LED indications
The amplifier has the following indicators:
Indicator Colour Description
Power Green Steady when power available. Controlled by hardware
General Fault Amber
Steady with a fault condition: Zone fault, Power fault or System fault,
otherwise steady
Line fault Amber
Steady when speaker circuit has an interruption, flashing when
speaker circuit is overloaded / shorted, otherwise off
Strobe fault Amber
Steady when strobe circuit has an interruption, flashing when strobe
circuit is overloaded / shorted, otherwise off
Earth fault Amber Steady when an earth fault is present, otherwise off
CAN Bus
Communication
Green Flashes when communications is present.
A lamp test can be initiated by pressing the Volume Up and Volume Down buttons simultaneously for
3s. The Lamp Test can only be initiated from the amplifier while not in commissioning mode.
5.8 Volume Controls
The amplifier has volume controls, SW5 (down) and SW6 (up) located on the amplifier board. These
volume control buttons are only active when in commissioning mode. The factory default volume is 0
dBA.
In order to save the volume setting for each audio source, place the amplifier in the operational mode.
(Refer to DIP Switch Settings)
Type Description
UP Button
Increases the volume of the currently activated audio source. Each step represents 1 dB
and there are 64 steps from 0dBA to -63dBA
DOWN Button
Decreases the volume of the currently activated audio source. Each step represents 1 dB
and there are 64 steps from 0dBA to -63dBA
Note: There are three volume control settings available for editing and storage; they are:
System setting – This is the volume setting that applies to all system messages, whether they be
alarms, alerts, test messages, etc and the microphone level. When in commissioning mode and any
system message or tone is being played then adjusting the volume will adjust the volume settings for
the ‘system’ volume type. You must exit commissioning mode for this setting to be saved.
Background music setting – This volume setting applies to background music and can only be
adjusted whenever background music is playing while in commissioning mode. You must exit
commissioning mode for this setting to be saved.
RPC (Remote Paging Console) setting – This volume setting applies to the RPC microphone input
and can only be adjusted when in commissioning mode and whenever the RPC microphone input is
active. You must exit commissioning mode for this setting to be saved.