J
jgarnerSep 8, 2025
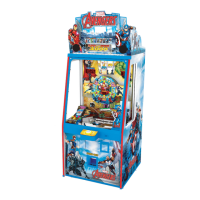
What to do if Card Dispenser Motor Error E.c1 appears on Andamiro AVENGERS?
- AAlexis GrahamSep 8, 2025
To fix a CARD DISPENSER MOTOR ERROR [E.c1] on Andamiro Arcade Game Machines, check the MOTOR connector connection status (P1).