Wizard 411 5
I – 1 Introduction to Wizard 411
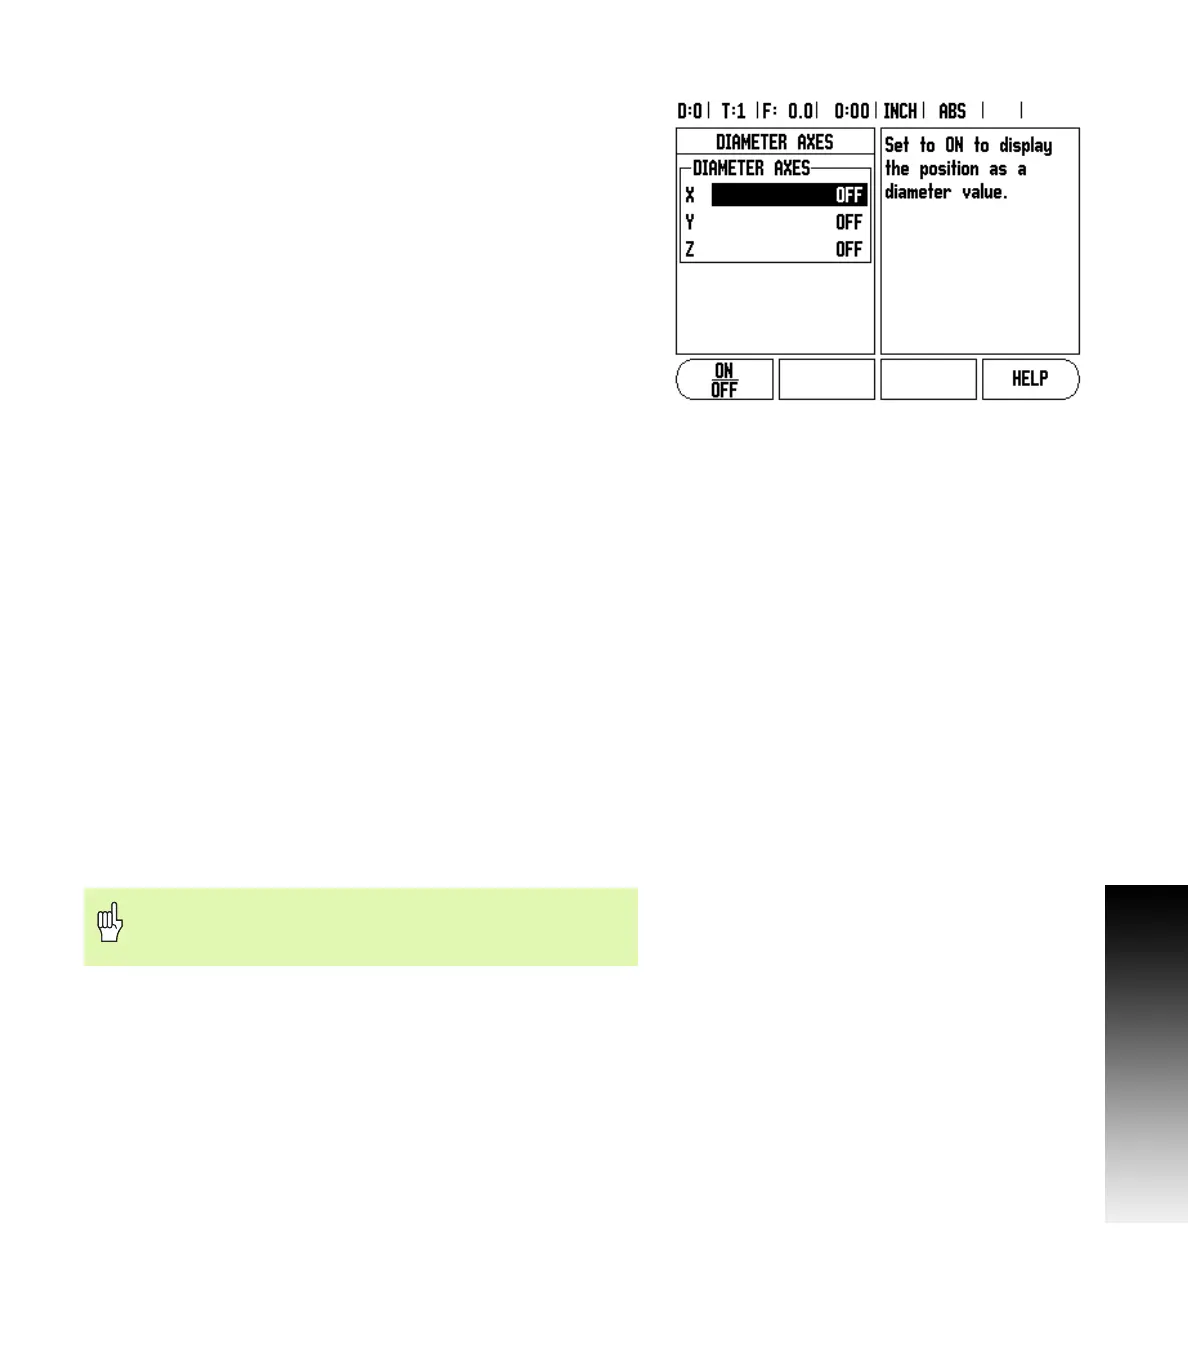
Diameter Axes
Select Diameter Axes to set which axes can be displayed in either
radius or diameter values. ON indicates that the axis position will be
displayed as a diameter value. When OFF, the Radius/Diameter
feature does not apply. See Fig. I.4. For turning applications see
"Radius/Diameter Soft Key" on page 24 for the Radius/Diameter
feature.
8 Cursor to Diameter Axes and press ENTER.
8 The cursor will be in the X axis field. Depending on the parameter
you need for that axis press ON/OFF soft key to turn feature on or off.
8 Press ENTER.
Near Zero Warning
The Near Zero Warning form is used to configure the bar graph that is
shown below the axes’ display in Distance-To-Go mode. Each axis has
its own range.
8 Press the ON/OFF soft key to enable or simply begin entering values
using the numeric keys. The current position box will begin moving
when the position is within range.
Status Bar Settings
The Status Bar is the segmented bar at the top of the screen which
displays current datum, tool, feed rate, job clock and page indicator.
8 Press the ON/OFF soft key for each setting you want to see
displayed.
Job Clock
The job clock shows the hours (h), minutes (m), seconds (s). It
operates like a stop watch showing elapsed time. (The clock starts
timing from 0:00:00).
The elapsed time field shows the total accumulated time from each
interval.
8 Press the START/STOP soft key. The status field will read RUNNING.
Press it again to stop time from elapsing.
8 Press RESET to reset the elapsed time. Resetting will stop the clock
if it is running.
Console Adjustment
The LCD’s contrast can be adjusted either by using the soft keys in
this form or by using the Up/Down arrow keys on the keypad in either
operating mode. The contrast may need to be adjusted due to
variations in ambient lighting and operator preference. This form is
also used to set the display saver’s idle time-out. The display saver
setting is the amount of time the system is idle before the LCD
switches to screen saver mode. The idle time may be set from 30 to
120 minutes. The display saver can be disabled during the current
power cycle.
Fig. I.4 Diameter Axes form
Pressing the Decimal key while in operating mode, will
also stop and start the clock. Pressing the Zero key will
reset the clock.