20 I
I – 3 Turning Specific Operations
I – 3 Turning Specific Operations
This section discusses operations specific to turning applications only.
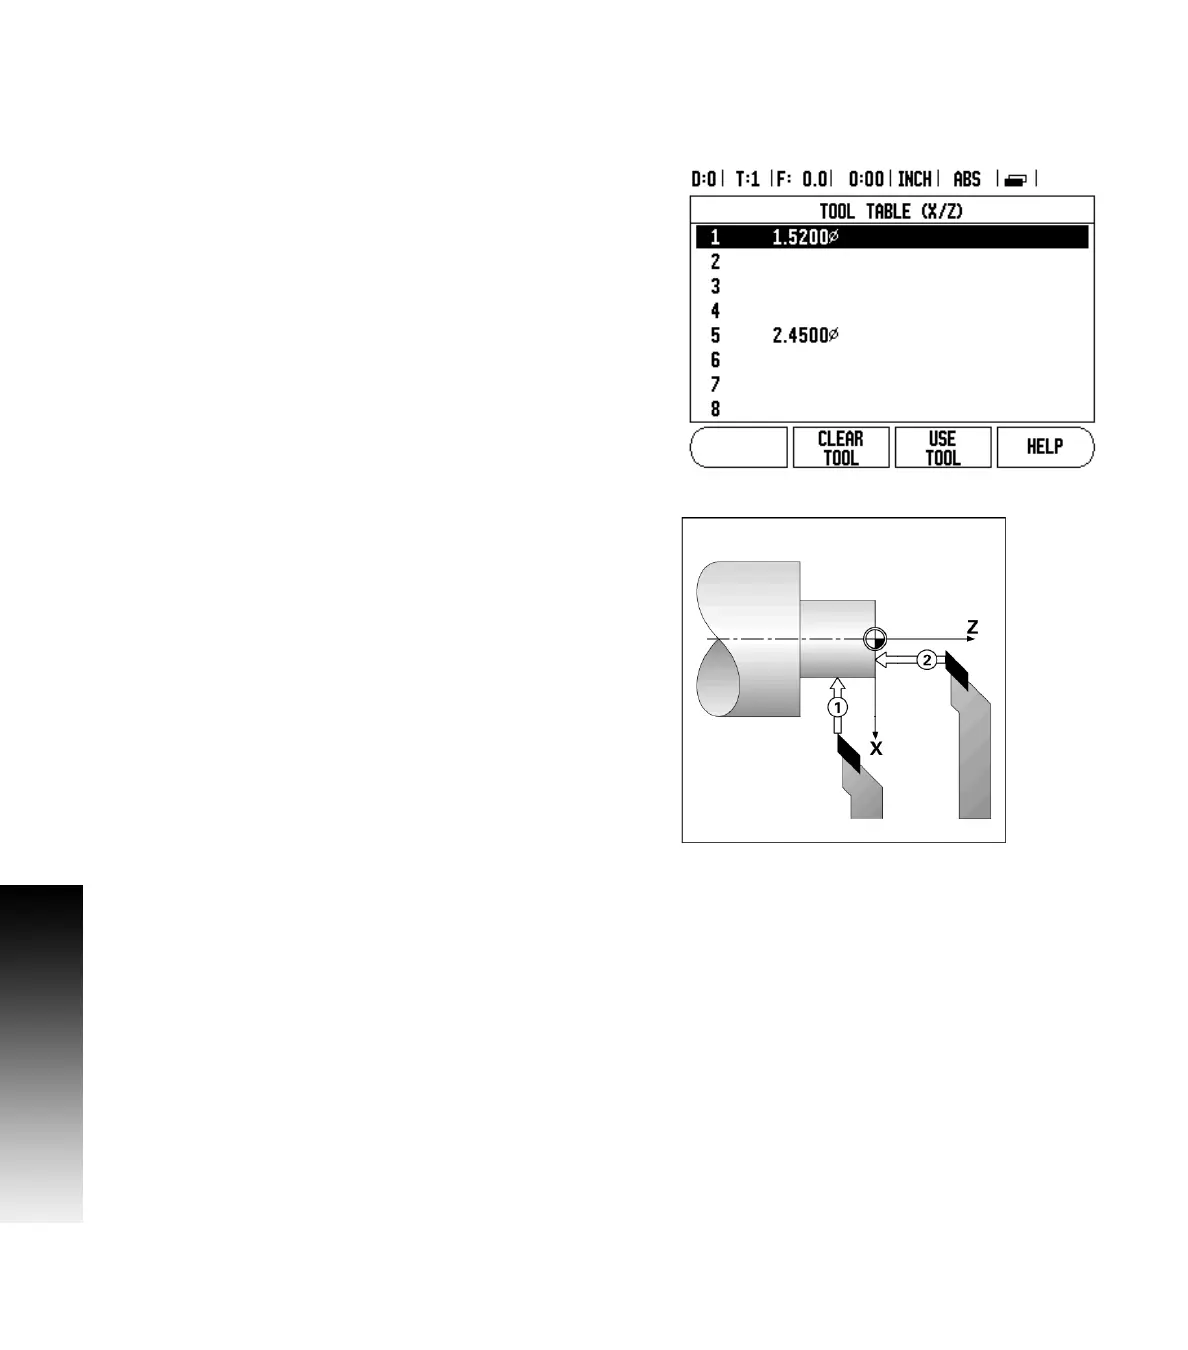
Tool Table
The Wizard 411 can store the dimensional offsets for up to 16 tools.
When you change a workpiece and establish a new datum, all tools are
automatically referenced from the new datum.
Before you can use a tool, you must enter its offset (the cutting edge
position). Tool offsets can be set using the TOOL/SET or LOCK AXIS
features. See the following examples for instructions on Tool
Offsetting (See Fig. I.26).
Tool Display Icon
The Ø icon is used to indicate that the displayed value is a diameter
value. No icon visible indicates that the display is a radius value.
Setting Tool Offsets Example 1: Using TOOL/SET
The TOOL/SET operation can be used to set a tool’s offset using a tool
when the diameter of the workpiece is known. Touch the known
diameter in the X axis (1). Press the TOOL hard key. Scroll to the desired
tool. Press the ENTER key. Select the axis (X) key.
Enter the position of the tool tip, for example, X= .100.
Remember to ensure the Wizard 411 is in diameter display mode (Ø)
if you input a diameter value. Touch the workpiece face with the tool.
Cursor to the Z axis (2), then set the position display for the tool tip to
zero, Z=0. Press ENTER.
Fig. I.26 Tool table in turning
Fig. I.27