21
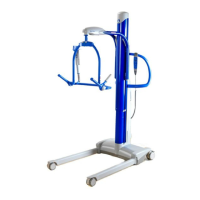
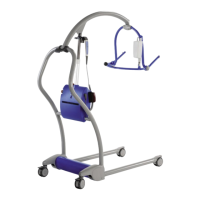
Using your Maxi Move
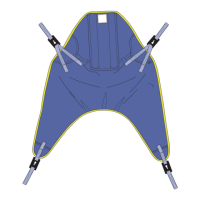
the head can add comfort and can reassure the patient.
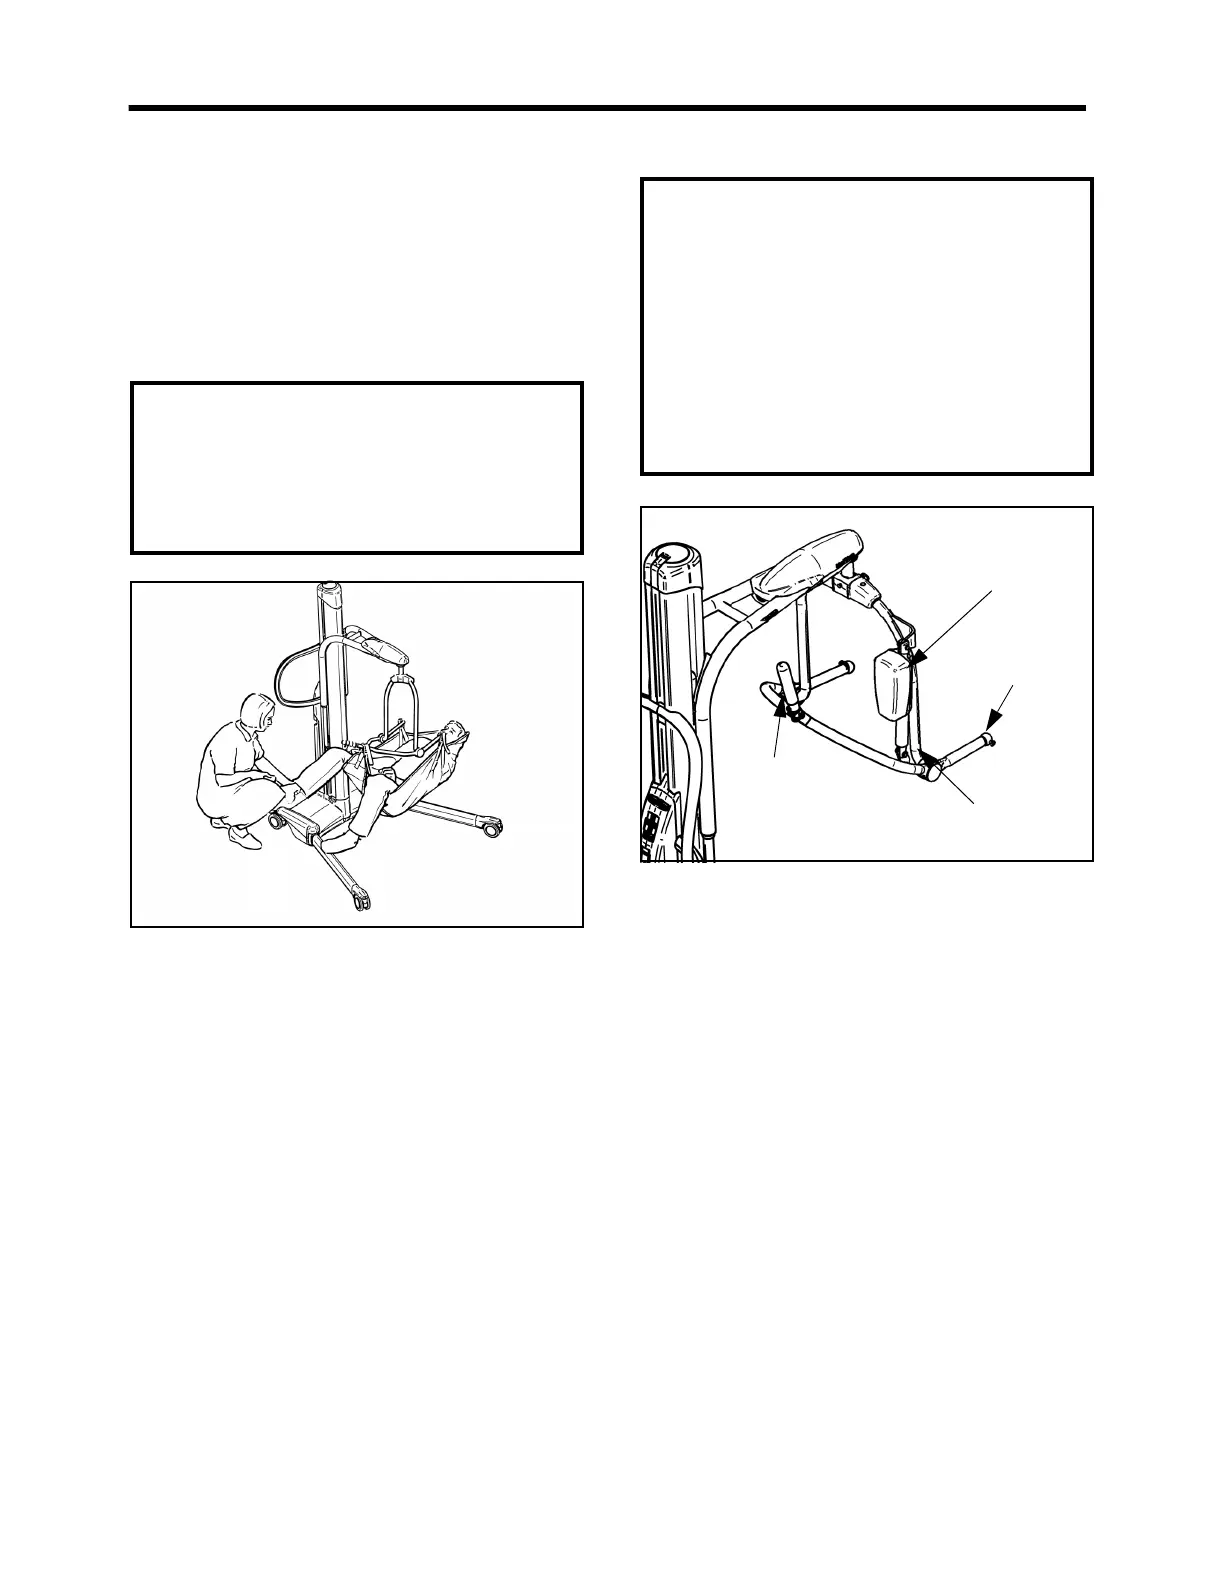
Once raised from the floor, ensure the patient’s legs are
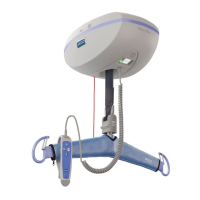
clear of the chassis before continuing to lift (see Fig. 30).
The leg portions of the sling will tend to be fairly high in
the patient’s crotch area. Straighten them out for added
comfort. The patient may then be positioned in a chair,
or placed on a bed. Patients with extensor spasms may be
lifted by the Maxi Move, but care should be taken to
support the patient’s legs during the beginning of the lift.
Fig. 30
When lifting patients with leg amputations, use the
double amputee sling (available as an accessory from
ARJO). This sling is specially designed to accommodate
each patient’s center of gravity.
The transferring of patients should always be done with
the chassis legs closed. Manoeuvrability will be easier,
especially through doorways. As usual, the patient
should be positioned facing the attendant.
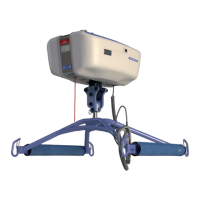
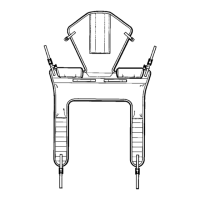
Powered DPS Spreader Bar
If your lift has been supplied equipped with a powered
DPS spreader bar (see Fig. 31), the use of this type of
spreader bar— including sling positioning with patient,
sling connection to the spreader bar, and patient
handling—is the same as the manual DPS spreader bar
described previously in these instructions.
Fig. 31
The fundamental difference is that the powered DPS
spreader bar has the added advantage of enabling the
patient positioning manoeuvre to be performed with
minimal physical effort by the attendant.
The rotation of the powered DPS spreader bar is manual
and is the same as the manual DPS spreader bar.
The powered DPS is classified by ARJO as a wet
environment unit. A blue and white circular label is
attached to show this. This label signifies that only the
lower end of the unit may be immersed in bath water, or
used for showering.
To operate the powered patient positioning function,
ensure that the green power button is pushed in (see
Fig. 8).
When ready to perform the patient positioning function
(as described previously), operate the powered DPS
control buttons on the handset (see ) or the buttons found
on the control panel to cause the spreader bar to move in
the required position.
WARNING: When lowering the spreader bar,
ensure that the patient’s and attendant’s legs
and feet are well clear of the moving mast.
Only detach the sling leg connection clips
followed by the shoulder connection clips
when the patient’s body weight is fully
supported by the bed.
Sling
attachment
lugs
“Wet Environment
Unit” label
WARNING: Before using your lift equipped
with the powered DPS spreader bar, familiarize
yourself with the various parts as illustrated in
Fig. 31. Read and thoroughly understand these
operating instructions.
The powered DPS spreader bar must be used
in accordance with the following instructions
and in conjunction with the operating
instructions previously described for the
manual DPS spreader bar.
The lifting capacity of the lift, when equipped
with the powered DPS spreader bar remains
the same as the manual DPS spreader Bar.