14
2.4 Assembly
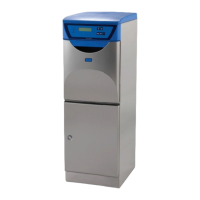
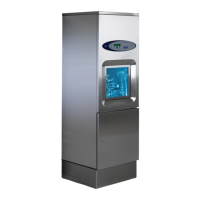
2.4.1 Freestanding model placed next to wall
Install the machine as follows:
1. Measure out and drill the holes for the wall bracket (anti-
tipper) used to secure the machine to the wall.
2. Install the water trap to the waste outlet:
• The trap can be connected towards the rear (P-trap) or
downwards (S-trap).
• The pipe diameter is 90 or 110 mm and should be able
to handle 1 liter per second.
Note!
Install the hose from the ventilator (option).
3. Position the machine in place.
4. Level the machine:
• Use a spirit level held vertically against the side of the
machine.
• If necessary, adjust with the adjustable feet at the front
of the machine.
5. Secure the machine:
• Fix the wall bracket (anti-tipper) and attach the machine
to the wall.
• Use suitable screws and washers for the material of the
wall.