SECTION 2
INSTALLING THE PRINTER
9
Connecting the Printer
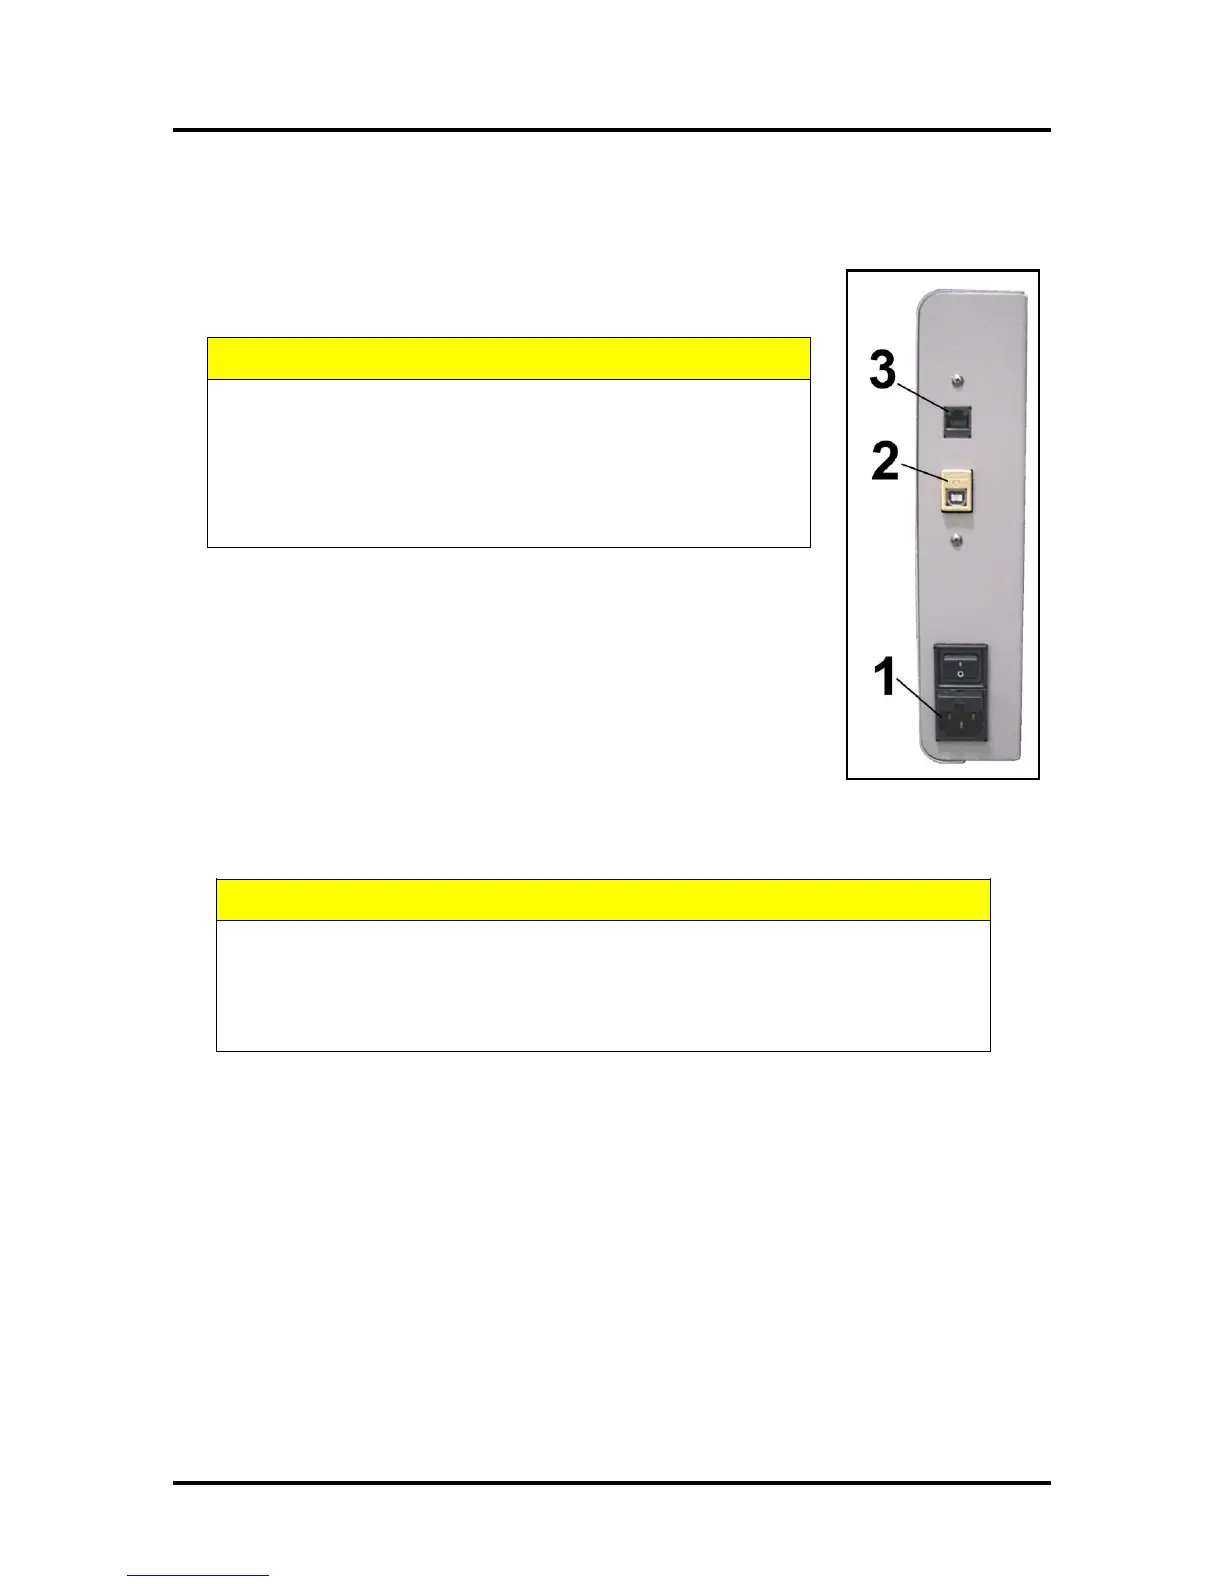
Plugging in the Printer
Plug the power cord into the receptacle [1] at the rear of the Printer. The internal
power supply in the Printer is rated 115 to 240VAC, 50/60 Hz.
DO NOT USE AN ADAPTER PLUGS OR EXTENSION CORDS
TO CONNECT THE PRINTER TO THE WALL RECEPTACLE.
DO NOT USE OUTLETS CONTROLLED BY WALL SWITCHES.
DO NOT USE OUTLETS THAT SHARE THE SAME CIRCUIT
WITH LARGE ELECTRICAL MACHINES OR APPLIANCES.
Connecting to the Computer
The Printer connects to the computer through the USB Port [2].
A Network Port [3] is provided when operating in a network environment. See
“Network Connection Setup” in the “Using the Printer Toolbox” section.
Turning Power ON and OFF
Powering Up Printer:
1. Press the Main Power Switch on the Rear Panel.
2. Press the Power Button on the Control Panel.
Powering Down Printer:
WHENEVER POWERING DOWN UNIT, ALWAYS:
1. PRESS THE POWER BUTTON ON THE CONTROL PANEL.
2. WAIT FOR THE PRINTER TO STOP PROCESSING.
3. THEN PRESS THE MAIN POWER SWITCH ON THE REAR PANEL.