SECTION 4
MAINTENANCE
34
SECTION 4 – Maintenance
General, periodic maintenance is needed to keep the Printer in good working order. This section covers
how to care for the Ink Tanks, Printhead Cartridge, Service Station, and clear paper jams.
Replacing the Ink Tanks
Replace the Ink Tanks when the ink runs out.
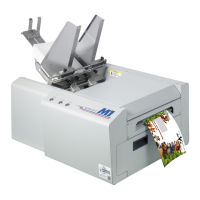
1. Open the Printer Toolbox. Go to the Start Menu and open
the “Toolbox”. You will see System Status information in the
upper left corner of the User Interface window. Note that
some or all of the “CKMYK” boxes may be low or empty.
2. Click “Replace Ink Tanks”. This disconnects Printer
communication with the Ink Tanks and allows safe
installation and replacement. Once the “Confirm” screen
displays, it is safe to remove the Ink Tanks.
IMPORTANT: DO NOT press
“Continue” until after you have
removed and replaced the Ink
Tank(s) and closed the Ink Tank
Latches.
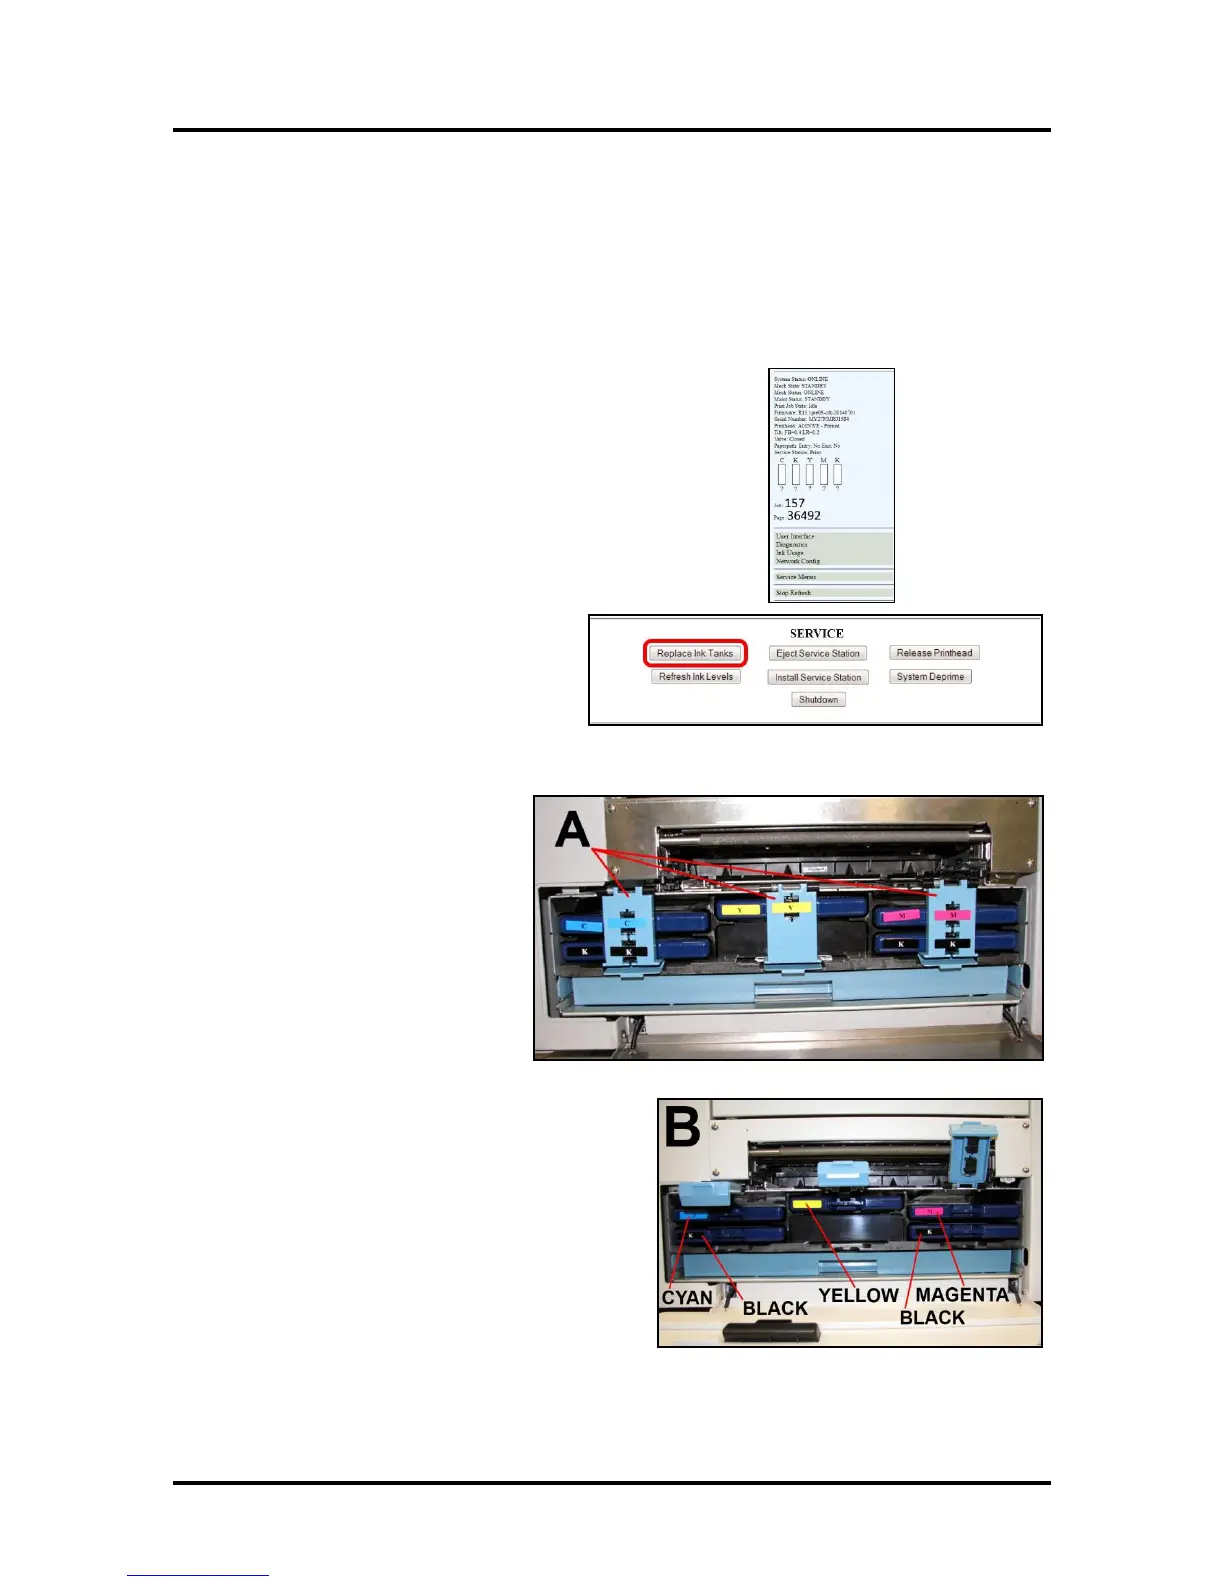
3. Open the Front Cover (hinged at
bottom). Open the three Latches
[A] and pull the Ink Tank(s) out
of the Printer.
4. Remove the new Ink Tank(s)
from packaging.
5. Slide the new Ink Tanks (labels up) into their
appropriate color slots [B]. Close the three Ink
Tank Latches.
INSTALLATION TIP: Make sure the Ink
Tanks seat properly. Insert the Ink Tank
into the appropriate Ink Station, then pull
the Ink Tank back about an inch and push
forward firmly to insure that the Ink Nozzles
penetrate the seals on the Ink Tanks.