SECTION 2
INSTALLING THE PRINTER
13
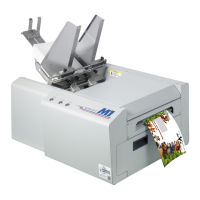
3. Open the Ink Tank Door (hinged at
bottom). Open the three Latches [A].
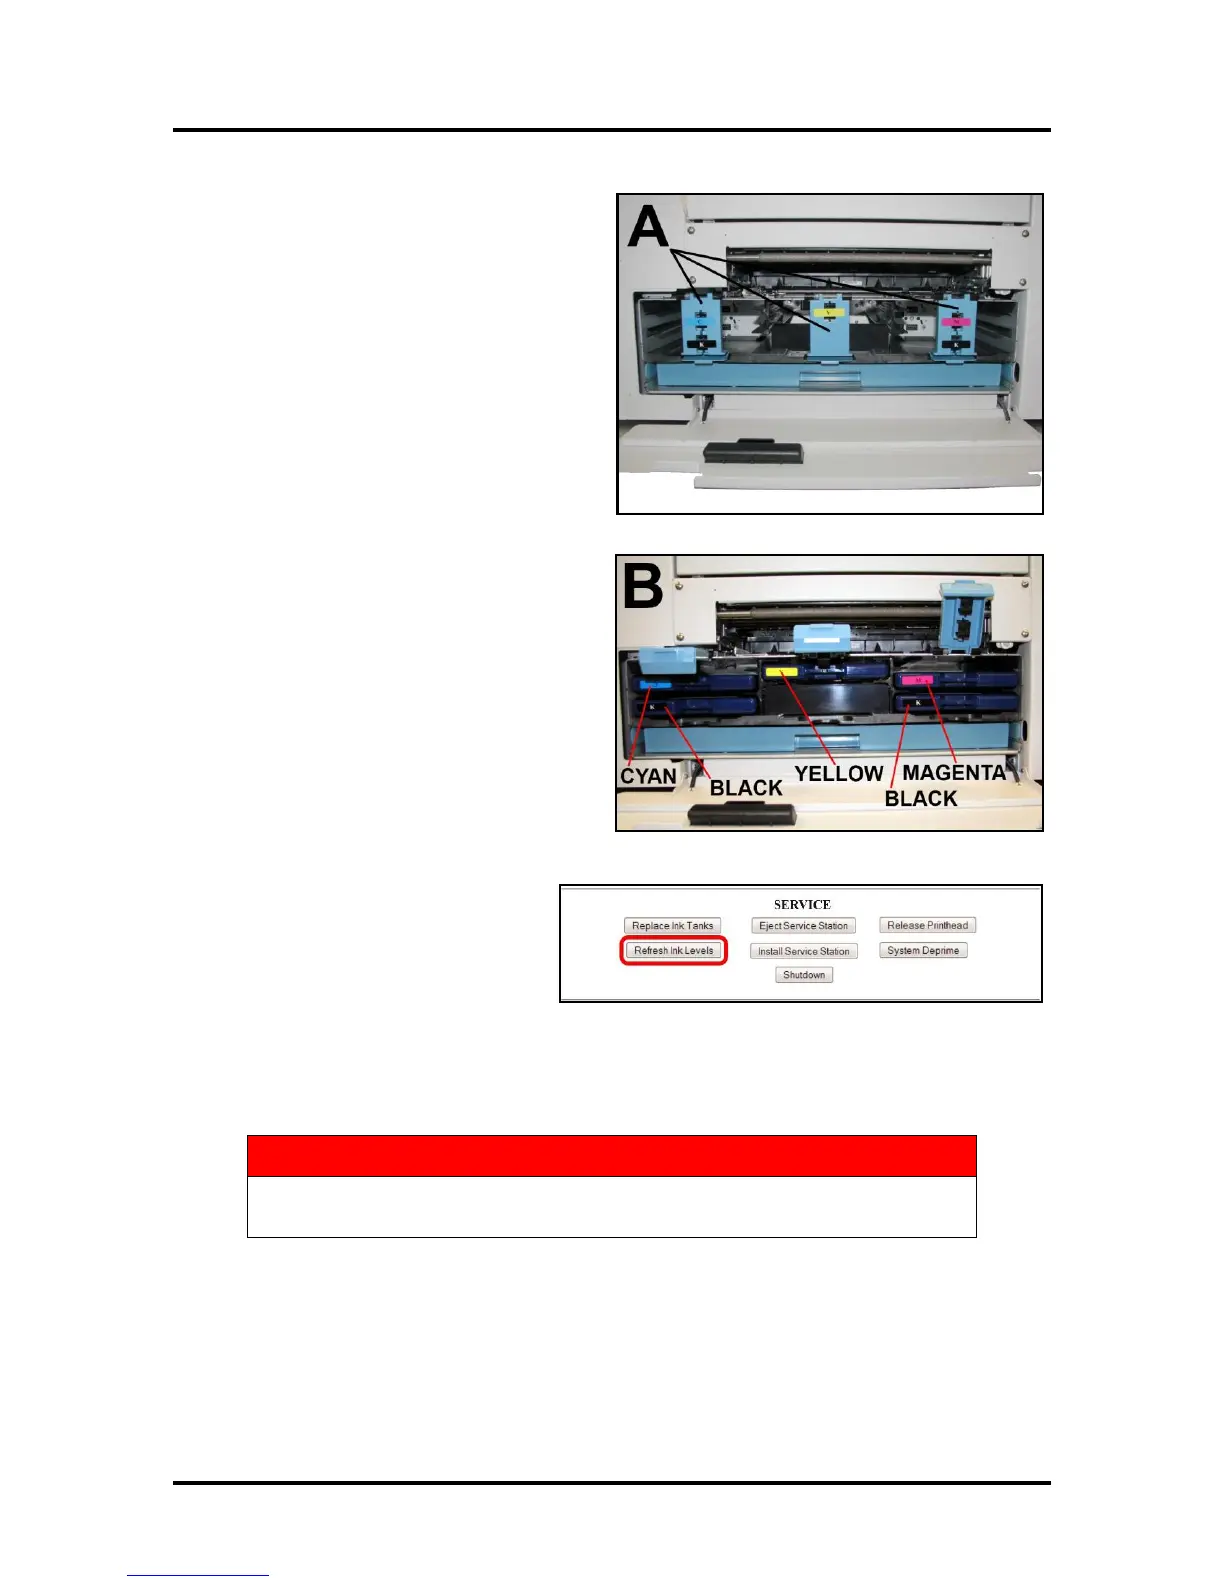
4. Remove the Ink Tank(s) from packaging.
5. Insert the Ink Tanks (labels up) into their
appropriate color slots [B]. Close the three
Ink Tank Latches.
INSTALLATION TIP: Make sure the
Ink Tanks seat properly. Insert the Ink
Tank into the appropriate Ink Station,
then pull the Ink Tank back about an
inch and push forward firmly to insure
that the Ink Nozzles penetrate the seals
on the Ink Tanks.
6. Click “Continue” on the Confirm
screen, then “Refresh Ink Levels”
on the User Interface screen. The
ink colors fill in as the Ink Tanks
are installed. If the ink colors do not
fill in after a few seconds, click
“Replace Ink Tanks” again and reinstall the Ink Tank(s).
7. Close the Front Cover.
The ink in the Ink Tanks may be harmful if swallowed. Keep new and used
Ink Tanks out of reach of children. Discard empty tanks immediately.