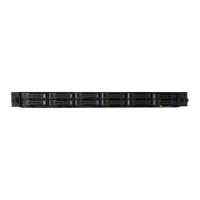
Chapter 2: Hardware Information
2-4
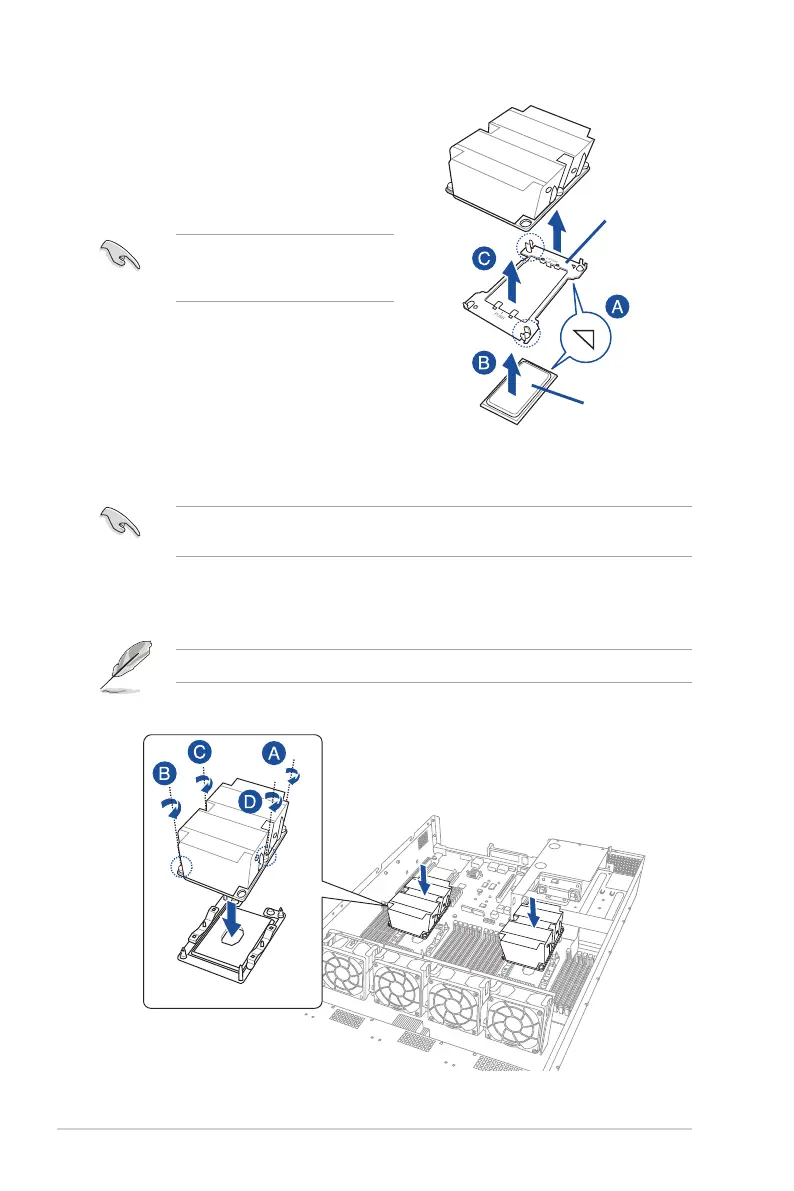
4. Align the CPU and CPU Carrier in the correct orientation, and then place the heatsinks
on top of the CPU sockets.
TheCPUandCPUCarriertsinonlyonecorrectorientation.DONOTforcetheCPUand
CPU Carrier into the socket to prevent damaging the CPU pins on the socket.
5. Twist each of the four screws with a screwdriver just enough to attach the heatsink to
the motherboard. When the four screws are attached, tighten them one by one in a
diagonal sequence to completely secure the heatsink.
The heatsink screws are T30 models. A torque value of 12 inch-lbf is recommended.
3. Align the triangle mark on the CPU with
the triangle mark on the CPU Carrier
(A), then install the CPU into the CPU
Carrieruntilitclicksrmlyintoplace(B),
and then install the CPU Carrier into the
heatsinkuntilitclicksrmlyinplace(C).
Ensure that the triangle mark on the
CPU matches the triangle mark on
the CPU Carrier.
CPU Carrier
2
CPU
Triangle mark
 Loading...