2-9
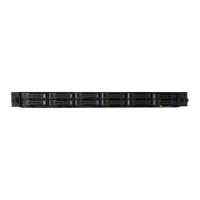
RS720Q-E9-RS8 Series
Ensure that the storage devices installed correspond to the correct node. For more
information on the nodes and the storage bays, please refer to 1.4 Front panel features
and 1.5 Rear panel features.
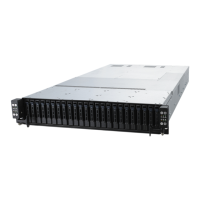
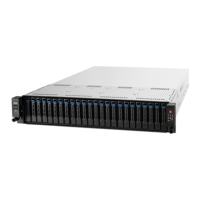
2.5 Storage devices
The system supports two (2) hot-swap storage devices per node. The storage device installed
on the drive tray connects to the Mid Plane via the backplane.
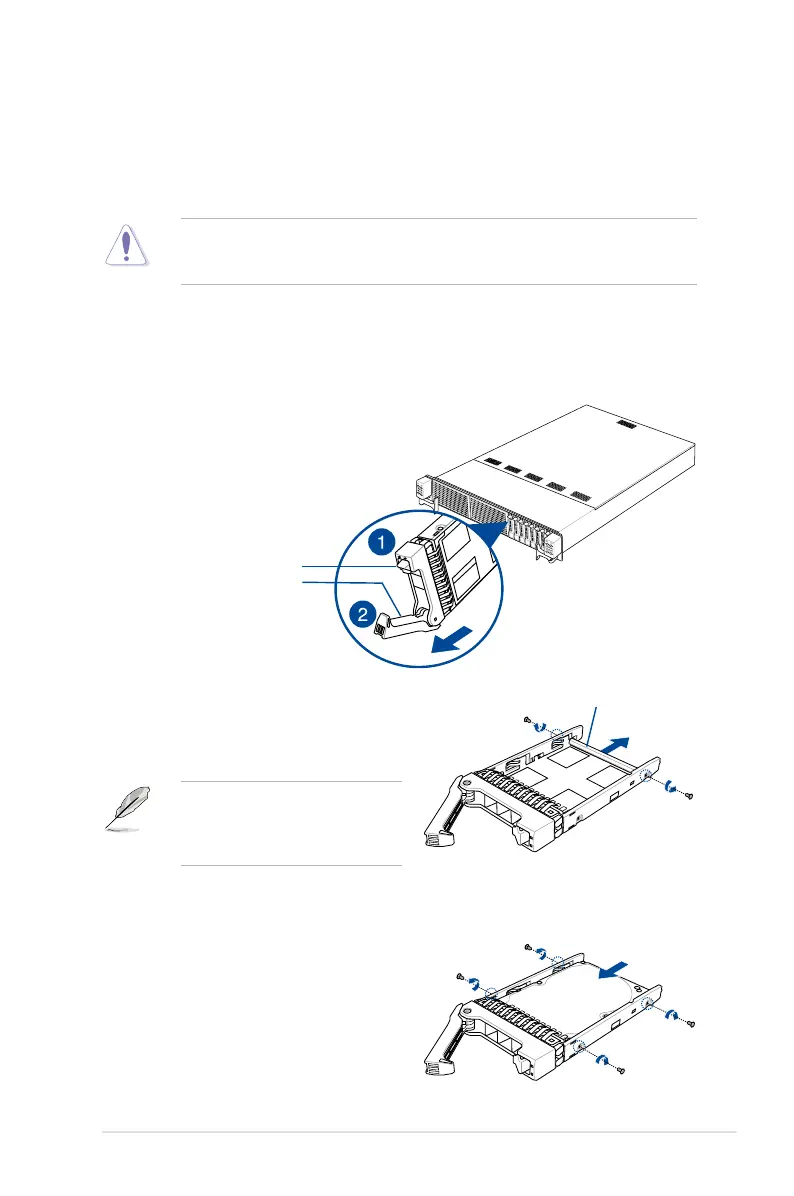
To install a hot-swap storage device:
1. Press the spring lock to release the tray lever and to partially eject the tray from the
bay.
2. Firmly hold the tray lever and carefully pull the drive tray out of the bay. Place the drive
tray in a clean and at surface.
3. Release the screws on each side of the
drive tray to release the drive tray metal
beam.
The drive tray metal beam provides
horizontal support to the empty drive
tray and prevents the drive tray from
being bent or deformed.
Spring lock
Tray lever
4. Orient and place the storage device
into the tray. Ensure that the storage
device is tted rmly inside the drive tray
and that the four screws of the storage
device matches the four screw holes of
the drive tray.
Metal beam

 Loading...