EasyManuals Logo

ATAGO PRM-100a User Manual

ATAGO PRM-100a
57 pages
To Next Page IconTo Next Page
To Previous Page IconTo Previous Page
Page #17 background imageLoading...
Page #17 background image
15
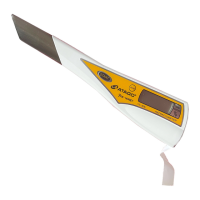
6. Mounting the Display Section
WARNING
Turn the power switch of the display section to OFF and unplug it from the
AC outlet prior to mounting the detection section.
Mounting the detection section with the unit turned on may increase the
likelihood of electric shock.
It is recommended that the display section is mounted in a control box.
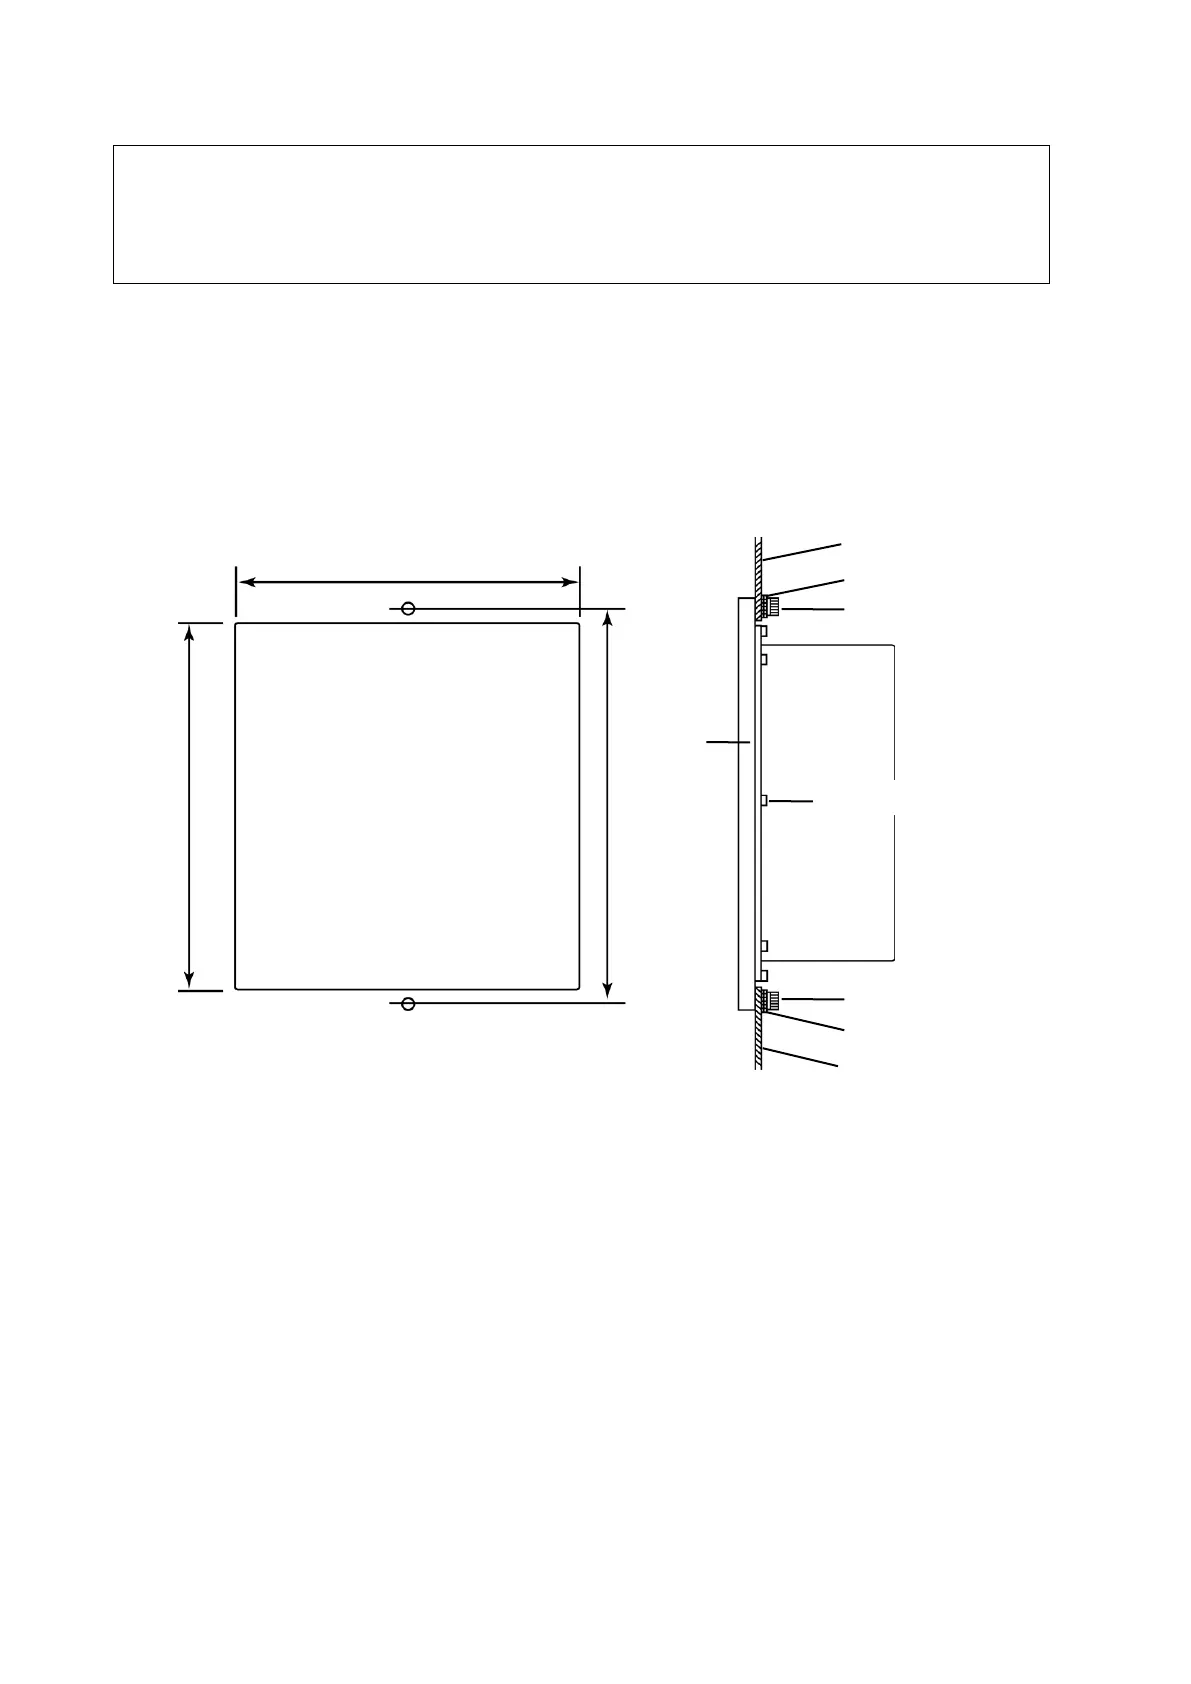
The display section is equipped with a wall-mount handle on the rear face, allowing the part to be mounted
to a wall surface (Fig. 6-1).
When mounting the display section on a panel, use up to two flat washers to adjust the thickness of the
panel as needed and bolt the display section.
The table assumes panel thicknesses of 1 to 5mm (Table 6-1).
Fig. 6-1
Mounting bolt M12
Plain washer
Panel surface
Mounting bolt M12
Plain washer
Panel surface
Cap screw M4×8SW, 8pcs
Unit front
Panel cut dimensions
182
210
2φ6.5
224
1.0
-0
1.0
-0

Questions and Answers:

Question and Answer IconNeed help?

Do you have a question about the ATAGO PRM-100a and is the answer not in the manual?

ATAGO PRM-100a Specifications

General IconGeneral
BrandATAGO
ModelPRM-100a
CategoryMeasuring Instruments
LanguageEnglish

Related product manuals