23
10. Setting Measurement Value Display Modes
(1) Common Operation
When the unit is measuring a sample, use the START/STOP key to stop measurement.
During measurement, keys other than the START/STOP key are disabled.
Measurement must first be stopped to change the scale.
When measurement has stopped, the display will read "StoP."
Pressing the SCALE key when "StoP" is displayed will allow you to check the last result.
Pressing SCALE again will display the value of the last result in the next scale, i.e. Brix, nD, Conc 1 to 5.
Press SCALE again to reach "SET UP."
In "SET UP" mode, the SCALE key is the cancel key.
One of the following modes may be selected in "SET UP" mode: "1.bIAS," "2.ALAr," "3.rEC," "4.Conc,"
"5.dP." ,"6.CH."
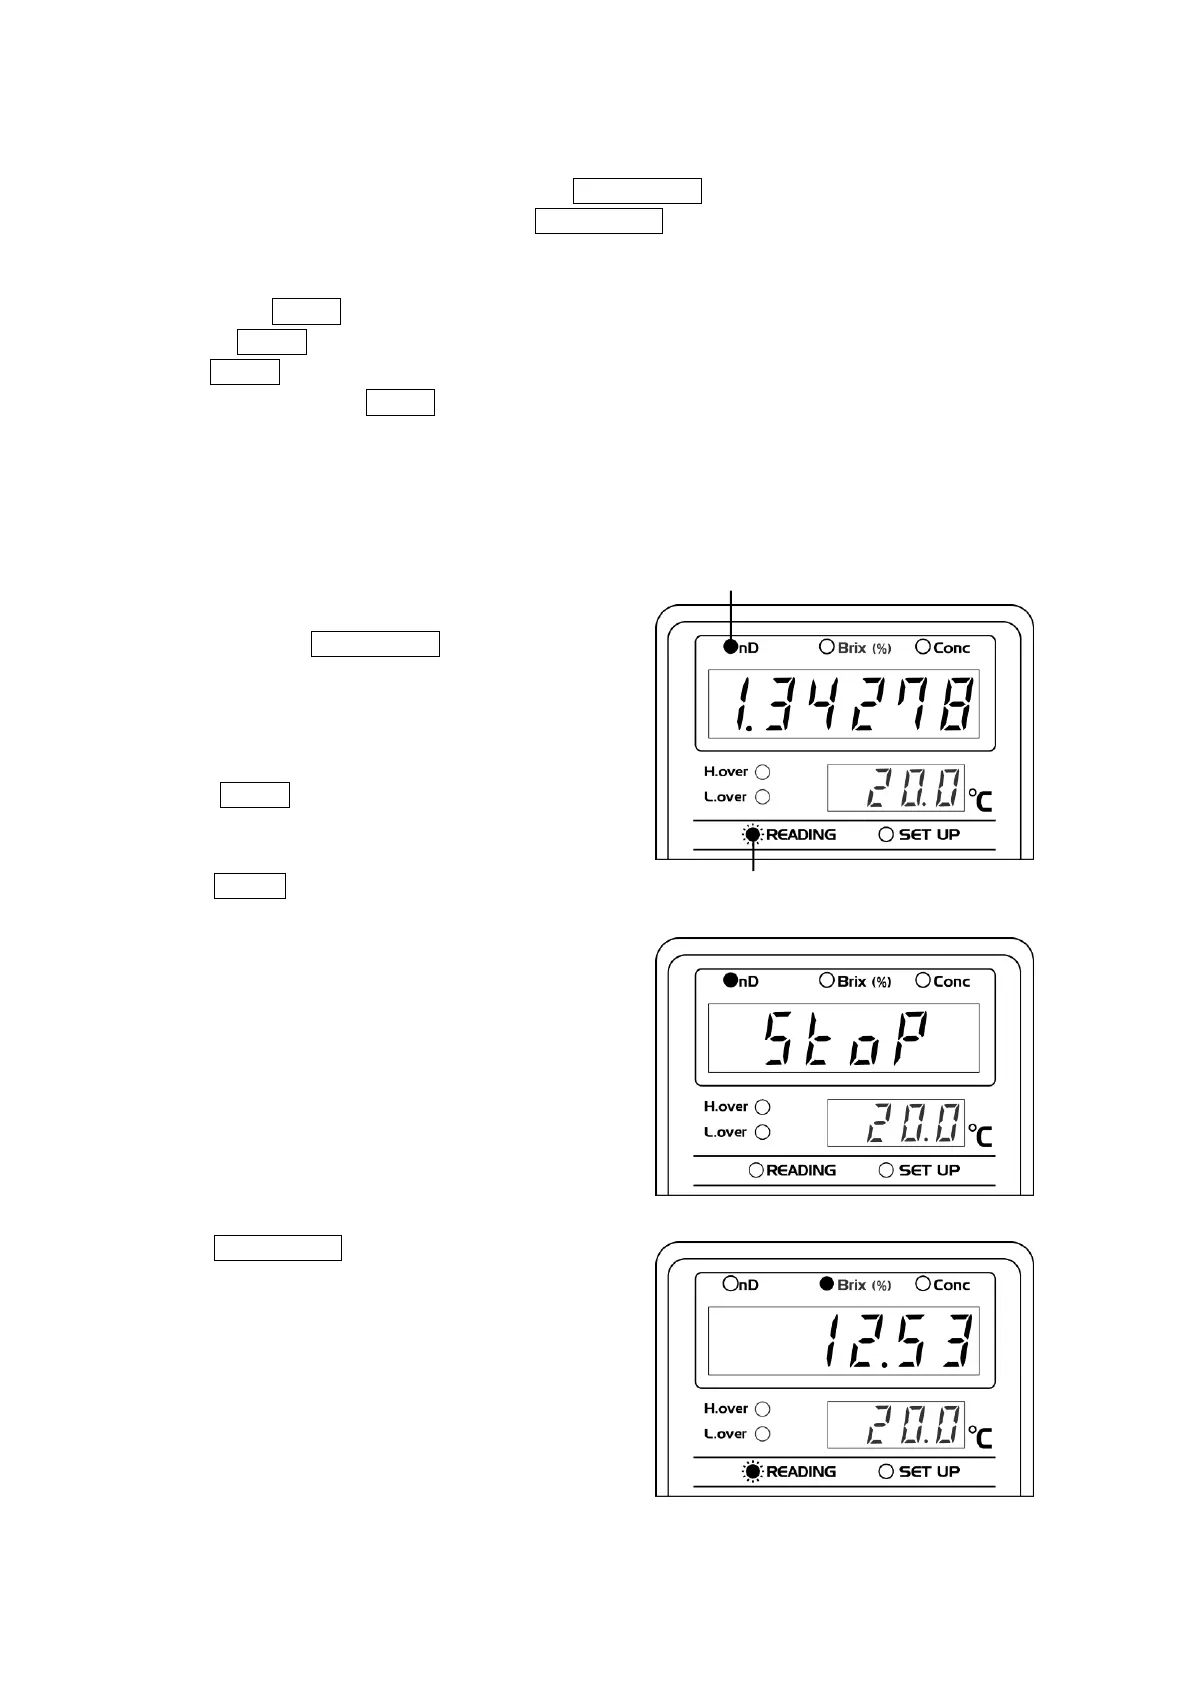
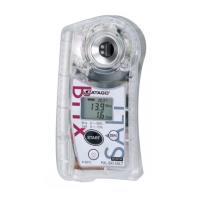
(2) Change from nD Mode to Brix
①During measurement, the READING light blinks and
the display will show nD readings (Fig. 10-1).
By pressing the START/STOP key, the READING
light will turn off and "StoP" will display, ceasing
measurement (Fig. 10-2).
The "nD" light will remain illuminated.
②Press SCALE twice and the "Brix (%)" light will
blink, indicating Brix mode is selected.
③Press ENTER to confirm this selection.
The "Brix (%)" light will remain illuminated.
④Press START/STOP to resume measurement.
The READING light will blink, and measurements
will be displayed as Brix (%) values (Fig. 10-3).