31
function and strengthen wear-out of the engine.
Cleaning the sump
Drain off the engine oil thoroughly.
Disassemble each parts
Clean each part respectively.
Fuel with the appointed engine oil.
This work only can be done by professional stuff, please
have your sump cleaned at the authorized service station.
Cleaning oil filter
The oil drain plug (filtering net cover) remove
Out the filter net
The filtering net is dross clean
According to the original machine assembly reduction
3. Valve clearance
The valve clearance should be inspected and adjusted on a cold
engine by the following procedures:
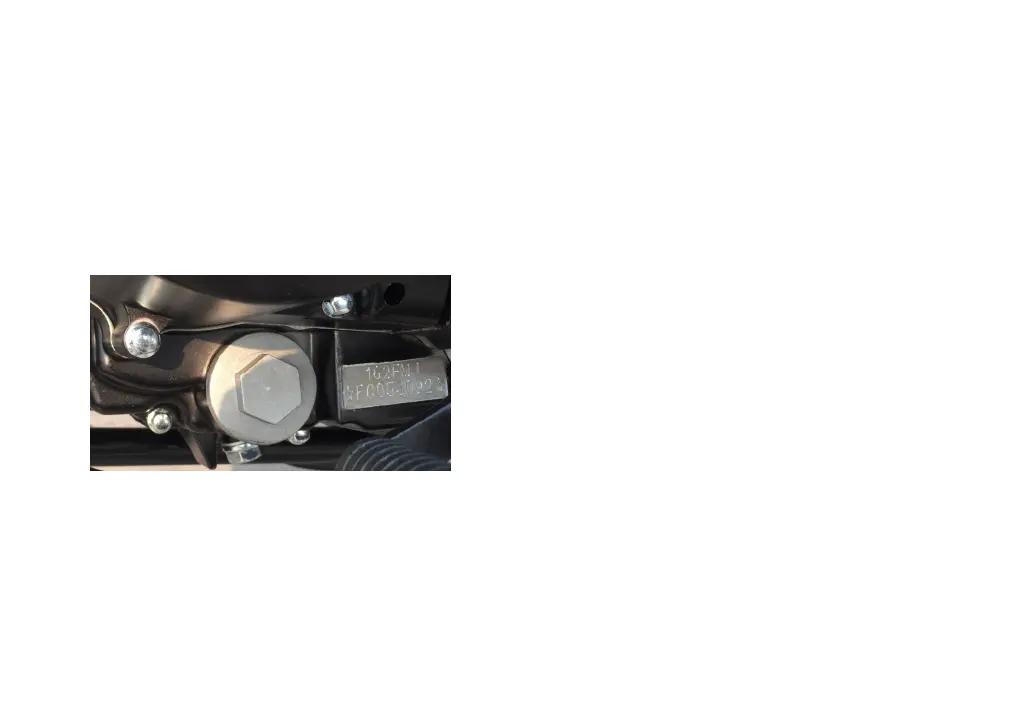
Remove the caps of the central port and the ignition timing ob-
servation port on the left crankcase cover.
Remove the caps of the valves on the cylinder head.
Turn the nut of the flywheel clockwise until the engraved "T" mark
on the flywheel aligns with the engraved line on the top of the
crankcase cover, and both intake and exhaust rocker arms do not
move but stop at their loosest position. This indicates that the
piston is in its top dead center position of the compressing stroke.
If the "T" mark is near the proper position but the rocker arms will
move when the flywheel rotates within a small angle, the flywheel
is not on the compression stroke but exhaust/intake stroke. In this
case, continue to turn the flywheel clockwise 360 degrees to
reach top dead center position of the compressing stroke, where
the valve clearance can be adjusted.
Check the valve clearance by inserting a clearance gage into the
gap between adjusting screw and the end of the valve.
Specified valve clearance: 0.10-0.12mm
If valve clearance adjustment is needed, loosen the locking nut