117
Technical Specifications
Table 16-1 Specifications
1” to 14” (2.54 cm to 35.56 cm) with 8.5 mm
diameter imager head
3/8” to 12” (0.95 cm to 30 cm) with 5.5 mm
diameter imager head
JPG images (640x480) AVI videos (320 x
240)
Main Unit: 0°C to 55°C (ambient)
Cable: -10°C to 70°C
Imager head and cable to 1m
0.3 kg with 8.5 mm diameter imager head
0.2 kg with 5.5 mm diameter imager head
Operations
Before performing the Digital Inspection application, the Imager Head Cable
must be connected to the tablet through the USB port. Install the correct
imager head accessories for use in the appropriate application.
NOTE
When in operation, the imager head cable can be bent into a certain shape.
This may help you operate the cable into confined areas.
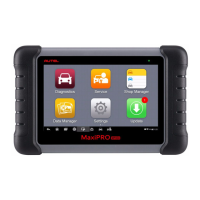
To take pictures using the Digital Inspection application
1. Connect the Imager Head Cable to the USB port on the top side of the
tablet.
2. If not already done, power up the tablet.
3. Tap the Digital Inspection application on the MaxiSys Job Menu. The
Digital Inspection application interface displays, showing a camera
operating screen. The default camera is now the Imager head.
4. Select the camera icon at the lower right corner to take photos.