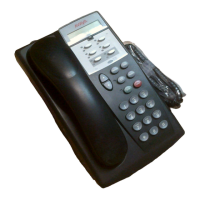
PARTNER
®
Advanced Communications System Installation, Programming, and Use
Setting the Date and Time
3-10
Setting the Date and Time 3
After supplying power to the control unit, use the following procedures to set the system clock:
■ System Date (#101) to set the month, day, and year
■ System Time (#103) to set the hour and minutes
■ Automatic Daylight/Standard Times (#126) to automatically update the system clock
Considerations 3
■ Backup Programming—Automatic (#123) uses the System Date and System Time to
schedule the automatic backups.
■ Backup Programming—Automatic (#123) and Backup Programming—Manual (#124) do
not back up the System Date or the System Time.
■ Restore Programming (#125) does not restore the System Date or System Time.
■ Be sure that the System Date and System Time are set correctly before using backup
procedures.
System Date (#101) 3
Use this feature to set the month, day, and year. The system displays only the month and day on
display telephones when the telephone is idle; the month, day, and year print on SMDR call
reports.
Considerations 3
■ The System Date date-stamps the backup files when you use Backup Programming.
Programming 3
To change the System Date:
1. Press
f00ss#101 at extension 10 or 11.
2. Enter today’s date in the form “mmddyy” (month, day, and year), including leading zeros for
single-digit months or days. For example, to enter April 26, 2001, press 042601. A
display similar to the following appears:
System Date
Data 042601
3. Select another procedure, or exit programming mode.
Turn this feature off if you live in an area without daylight savings time.

 Loading...