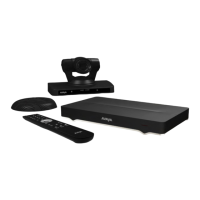
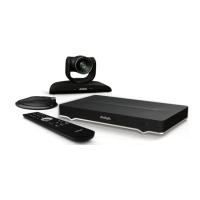
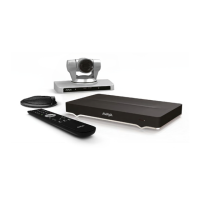
Figure 15: Controlling your Avaya XTE240 with your computer
Avaya IX Room System XT Control also offers shortcuts for some commonly used tasks, such as
sharing content during a call.
You can still use the XT Remote Control Unit at any time (see About the XT Remote Control
Unit on page 21 for details).
Before you begin
To access the endpoint's main menu using your keyboard and mouse, you must first perform the
following procedures:
1. Connect your computer to the Avaya XTE240 to use it as your computer's monitor (see
Connecting a Computer to the XT Series using the DVI port on page 65).
2. Perform the initial setup described in
Configuring Basic Settings with the Quick Setup
Wizard on page 34. The last step of the quick setup wizard is installing the Avaya IX
Room System XT Control utility (see Installing Avaya IX Room System XT Control to Use
Keyboard and Mouse (Avaya XTE240) on page 39).
Procedure
1.
Select the Avaya IX Room System XT Control icon in your taskbar:
The icon turns gray indicating the keyboard and mouse control the endpoint navigation, the
menus appear on the screen, and the mouse cursor is now a square . Move the mouse
all the way to the edge of the screen to ensure the square icon follows its movements.
Controlling the XT Series
June 2019 Avaya IX Video Conferencing XT Series User Guide 29
Comments on this document? infodev@avaya.com

 Loading...


