R5906848 /04 DP2K SLP Series100
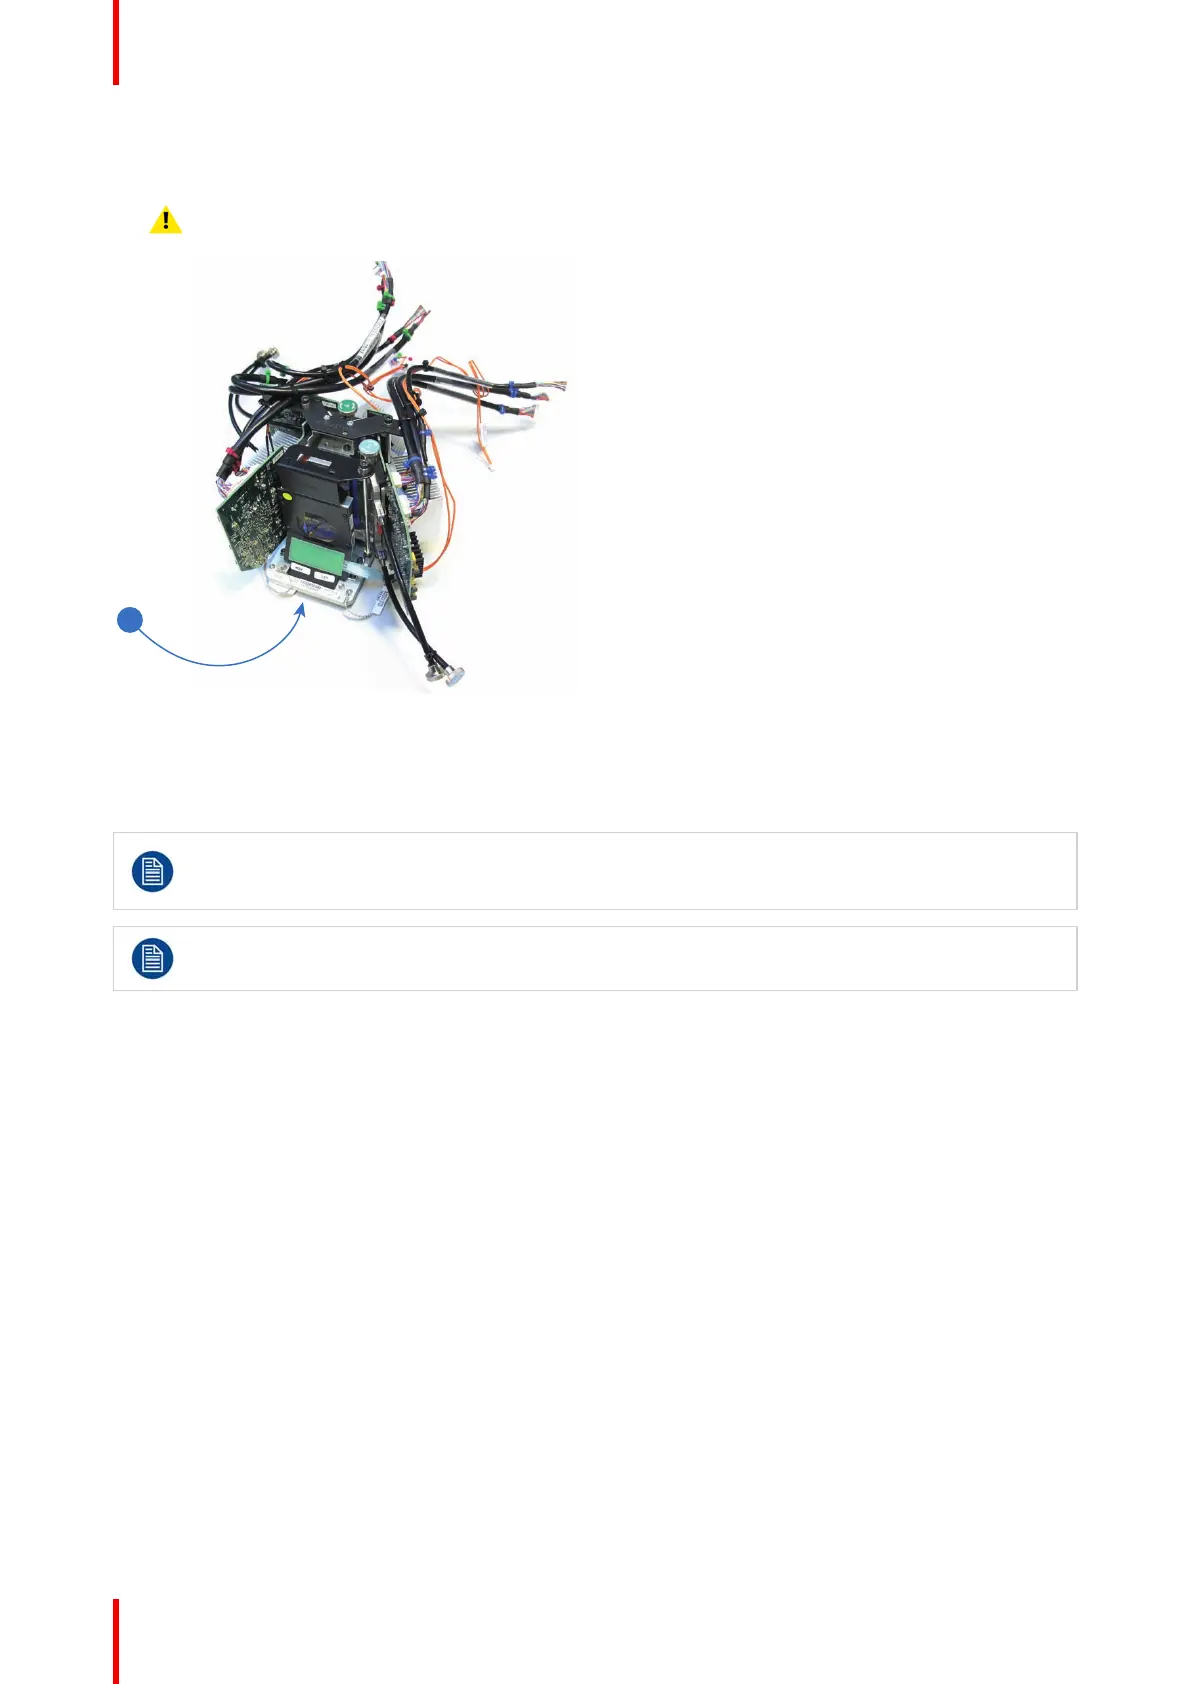
7. Place the Light Processor on a clean flat surface with the prism entrance (reference 1 Image 9-8) facing down.
(Remove screws or such from the table that could roll under the Light Processor while putting it down)
Caution: Do not place the Light Processor upon one of its heat sinks.
Image 9-8
9.5 Installing the Light Processor
The Light Processor and the Notch Filter are matched with each other. For that when replacing the
Light Processor the Notch Filter has to be replaced as well. The Light Processor spare part kit
contains a matched Notch filter for the Light Processor.
After installing a new Light Processor, the LUT-SCC file of the new Light Processor has to be
installed and activated. See chapter “Spatial Color Calibration (LUT-SCC)”, page 151.
Required tools
• 7mm flat screwdriver.
• 3mm Allen wrench.
How to install the Light Processor in the projector?
1. Gently place the Light Processor in its place on the optical base of the projector as illustrated. Ensure that the
positioning pins (reference 12 Image 9-9) of the Light Processor matches the positioning holes (reference 13
Image 9-9) in the optical base.
Light Processor

 Loading...


