R5906848 /04 DP2K SLP Series142
Note: The Mask plate of the DP2K-SLP Series has to be reused when installing the 3D color wheel.
Tip: Wear cotton gloves to prevent fingerprints on the Mask plate.
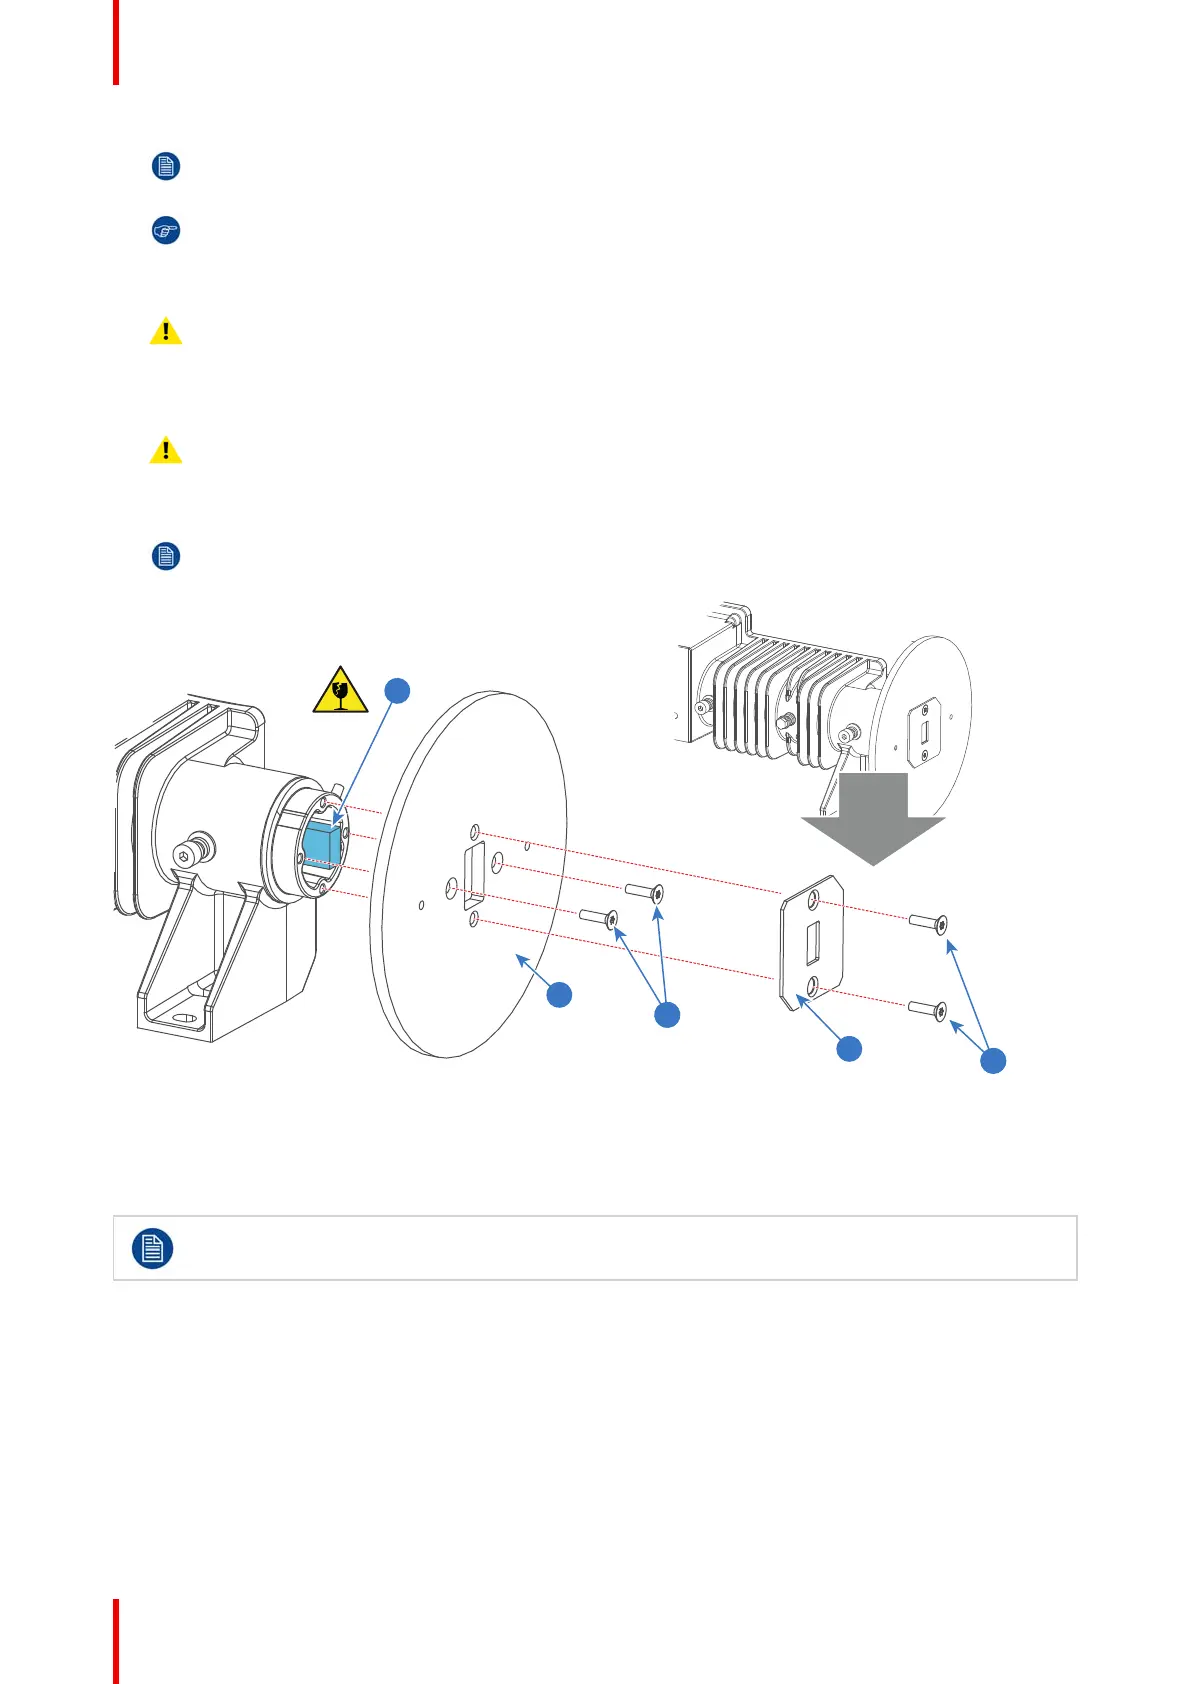
2. Remove the Mask plate (reference 5 Image 11-4).
Caution: Ensure that the Mask plate does NOT touches the Rod!
3. Remove the two fixation screws (reference 6 Image 11-4) of the Rod heatsink (reference 7 Image 11-4). Use a
TX10 Torx driver.
Caution: Ensure that the Rod heatsink does NOT touches the Rod!
4. Remove the Rod heatsink (reference 7 Image 11-4).
Note: The temperature sensor mounted on the Rod heatsink has to be reused when installing the 3D
color wheel. Use a 2.5mm Allen wrench to remove the temperature sensor from the Rod heatsink.
Image 11-4
11.4 Replacing the Integration Rod
To replace the Integration Rod the Light Pipe has to be removed from the Corner Block. This
procedure assumes that the Light Pipe is already removed.
Required tools
• Cotton gloves.
• 2.5mm Allen wrench.
• 5.5mm nut driver.
How to replace the Integration Rod?
1. Remove the Mask plate and Rod heatsink. See procedure “Removal of the Mask plate and Rod heatsink”,
page 141.
Integration Rod