4. Lamp & lamp house
2,5 Nm
10
Image 4-21
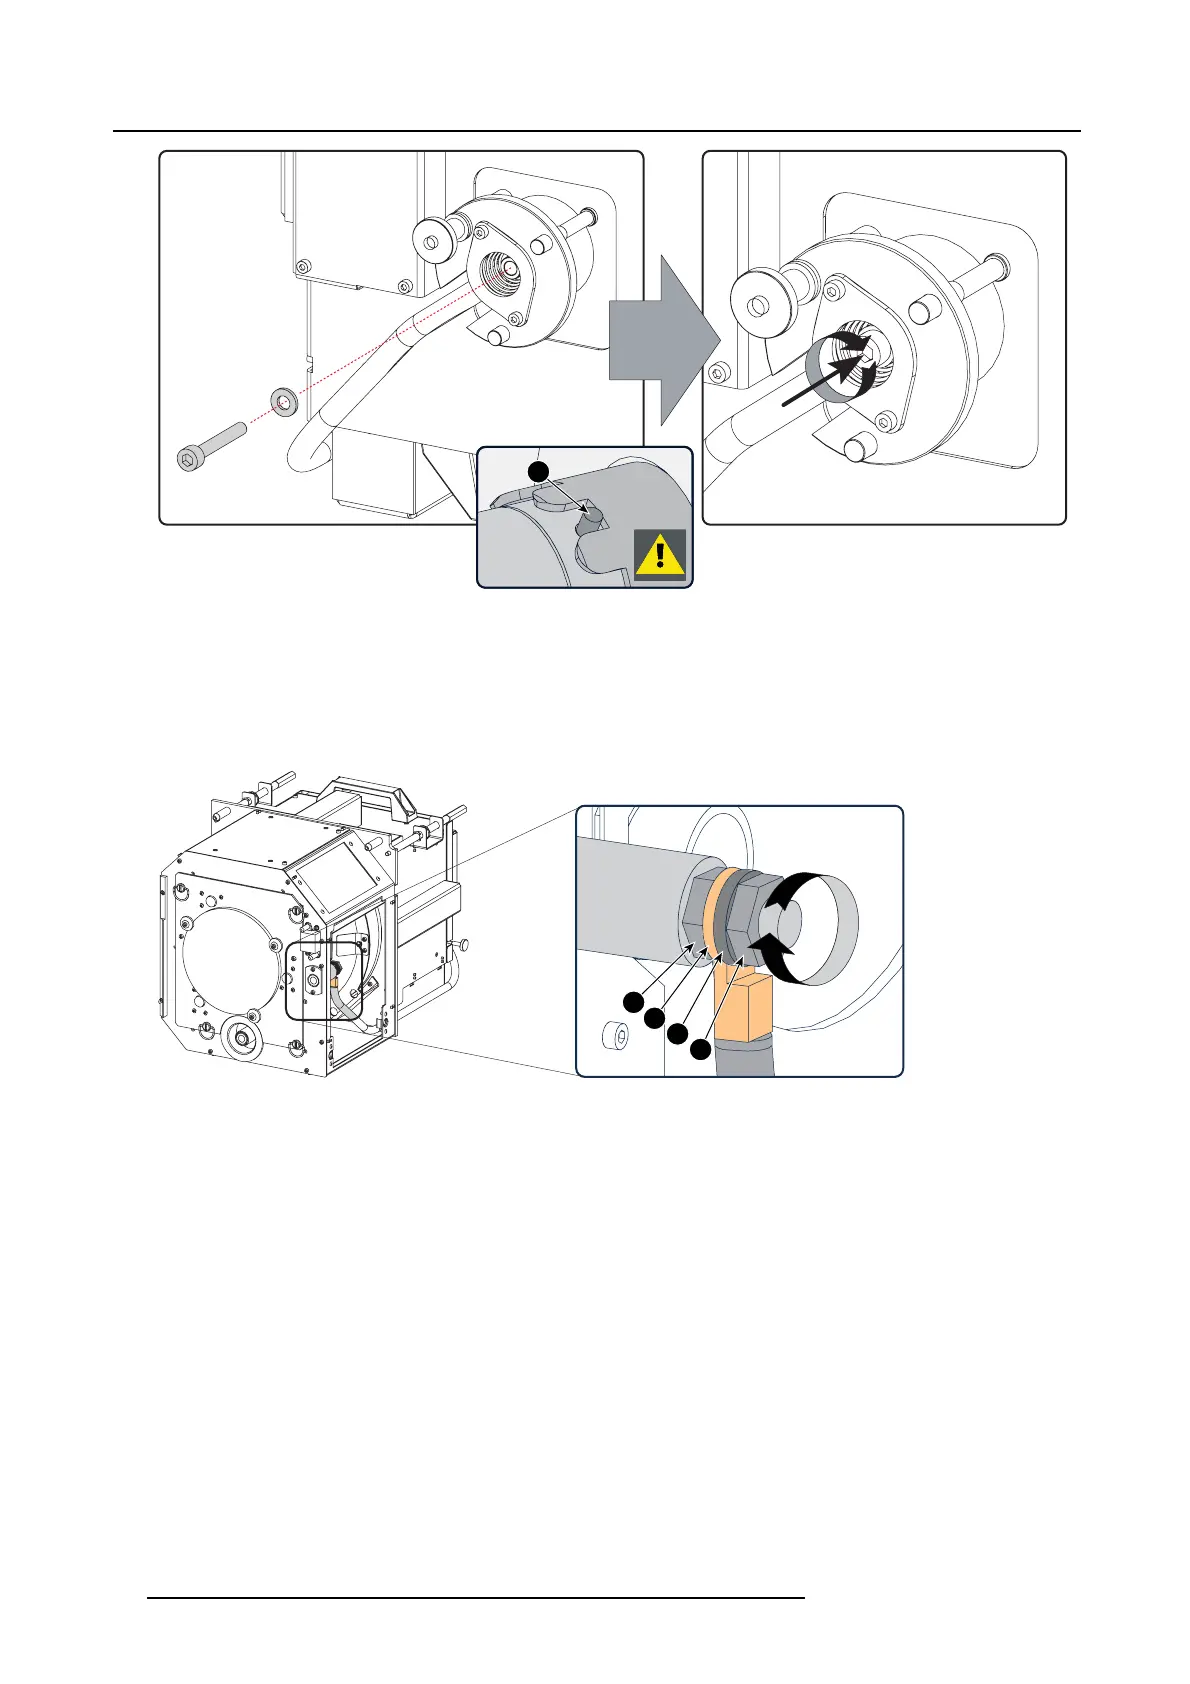
Fasten cathode side
10.C heck the cathode connection inside the Lamp House. Use a 17 mm open-end wrench to hold the first n ut while fastening the
second nut on the rod with a torque o f 9Nm(6,64 lbf*ft) using a torque wrench with 17 mm hexa gon socket. Ensure that there
is a flat washer (reference 3) between the lock nut and the w ire lug.
Caution: This cathode connection m ust be checked with ev ery lamp c hange!
Caution: Do not tighten the first nut (reference 1) ag ainst the connector housing. There must be s ome play (1 mm m aximum).
This is important to insert the Lam p House smoothly into the projec tor.
1
2
3
4
9Nm
Image 4-22
Check cathode connection
Note: The electrical connection pins of older Lamp H ouses may contain two flat washers, one on each side of the wire lug. New
Lamp Houses can contain only one flat was her due to the shorter thread clearance of the new im proved connection pins.
11.Reinstall the side cover of the Lamp House as illustrated.
Note: Please ensure that the thumb screws turning wire s are flash w ith the cover o r interference will occu r while inserting t he
Lamp House into the projector.
38
R59770351 DP2K-20C 02/02/2010

 Loading...


