11. Lenses and Lens holder
3
4
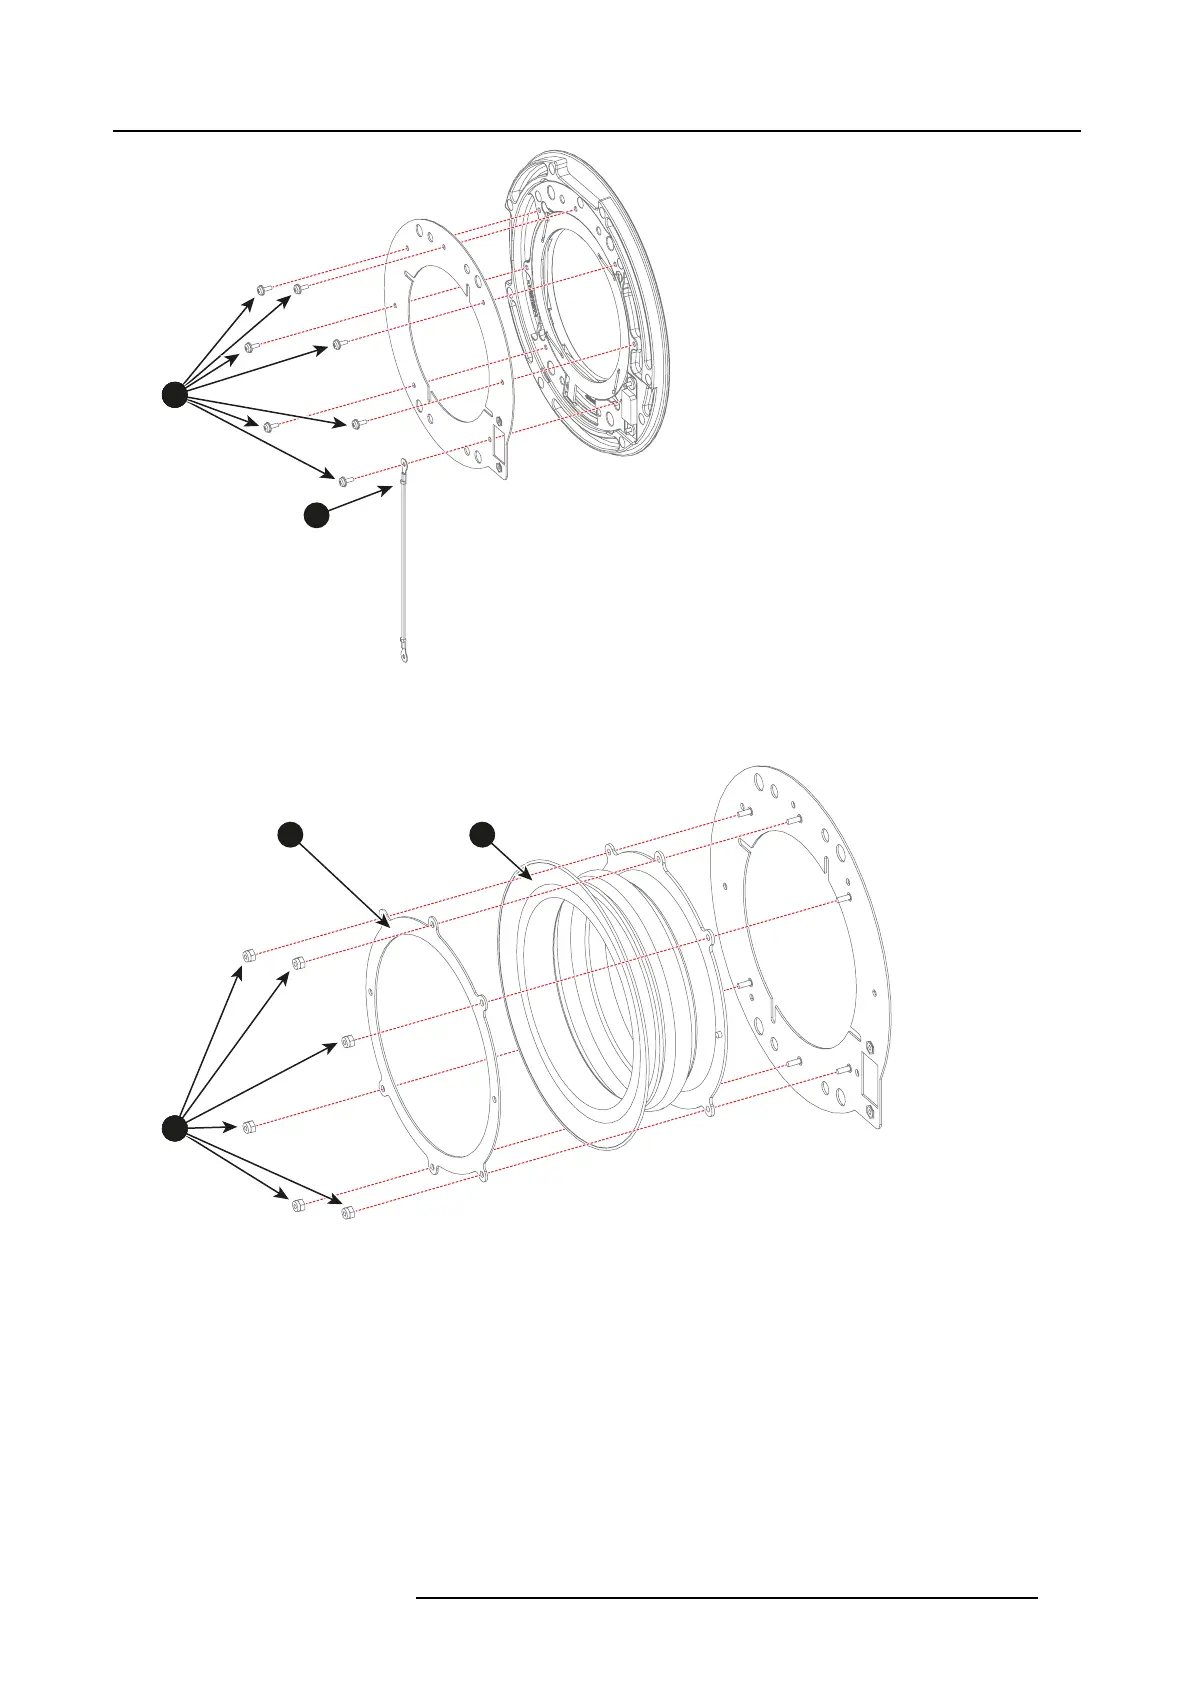
Image 11-32
3. Place the rubber (reference 7 image 11-33) over the pins of the new cover. Carefully place the dust r ubber frame (reference 6)
over the top of the dust rubber and over the pins of the n ew c
over. T hen use a 5.5 mm nut driver to tighten the dust rubber and
frame with six hex nuts (reference 5).
5
6 7
Image 11-33
4. Install the new Lens Ho lder Cover assembly onto the front plate. Use a Phillips P H1 screwd river to tighten the seven original
screws (reference 3). Make sure y ou tighten the earth wire (reference 4) back to its original place.
R5905043 DP2K-12C/11CX 19/02/2018
201
 Loading...


