72
5.3 MUX5 and MUX5E Board replacement
Switch off the mains power to the machine and disconnect the mains plug from the power
point.
Gain access to the interior of the machine as described in the specific Machine Manual.
5.3.1 Connector locations
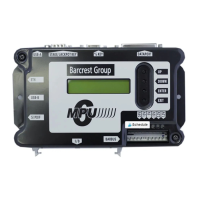
The location of all connectors on the MUX5 board is shown in Fig. 37
5.3.2 Connector Removal
Switch off the mains power to the machine and disconnect the mains plug from the power
point.
Gain access to the interior of the machine as described in the specific Machine Manual.
Referring to Fig. 37, disconnect the following connectors from the board headers by exerting
a firm pull:
Identity Cap colour No. of pins
LAMPS 1 Green 17
LAMPS 2 Green 17
LAMPS 3 Blue 17
LAMPS 4 (MUX5E Only) Red 17
LEDS Yellow 17
BUTTONS Brown 13
ALPHA Black 7
BARBUS Red 11
Remove the board from the cabinet by pinching the top of each of the four or five (as fitted)
nylon standoff insulators and lift the board away from the insulators. Take care not to
damage the lightbox.
5.3.3 MUX5(e) Fitting
• Locate the MUX5 or MUX5E board into position in the cabinet so that the board
mounting holes line up with the mounting pillars. Press the board firmly against each
pillar to snap into position.
• Referring to Figs. 37 & 38, connect the free connectors as listed above to the headers
on the MUX5 or MUX5E board, using firm pressure to ensure good electrical
connection.