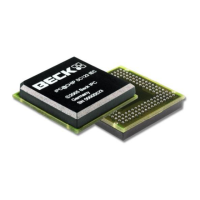
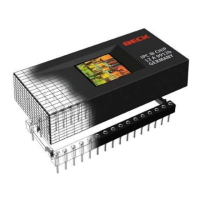
IPC@CHIP DK41 / DK51
Getting Started V2.2
© 2000-2004 Beck IPC GmbH Page 9 of 61
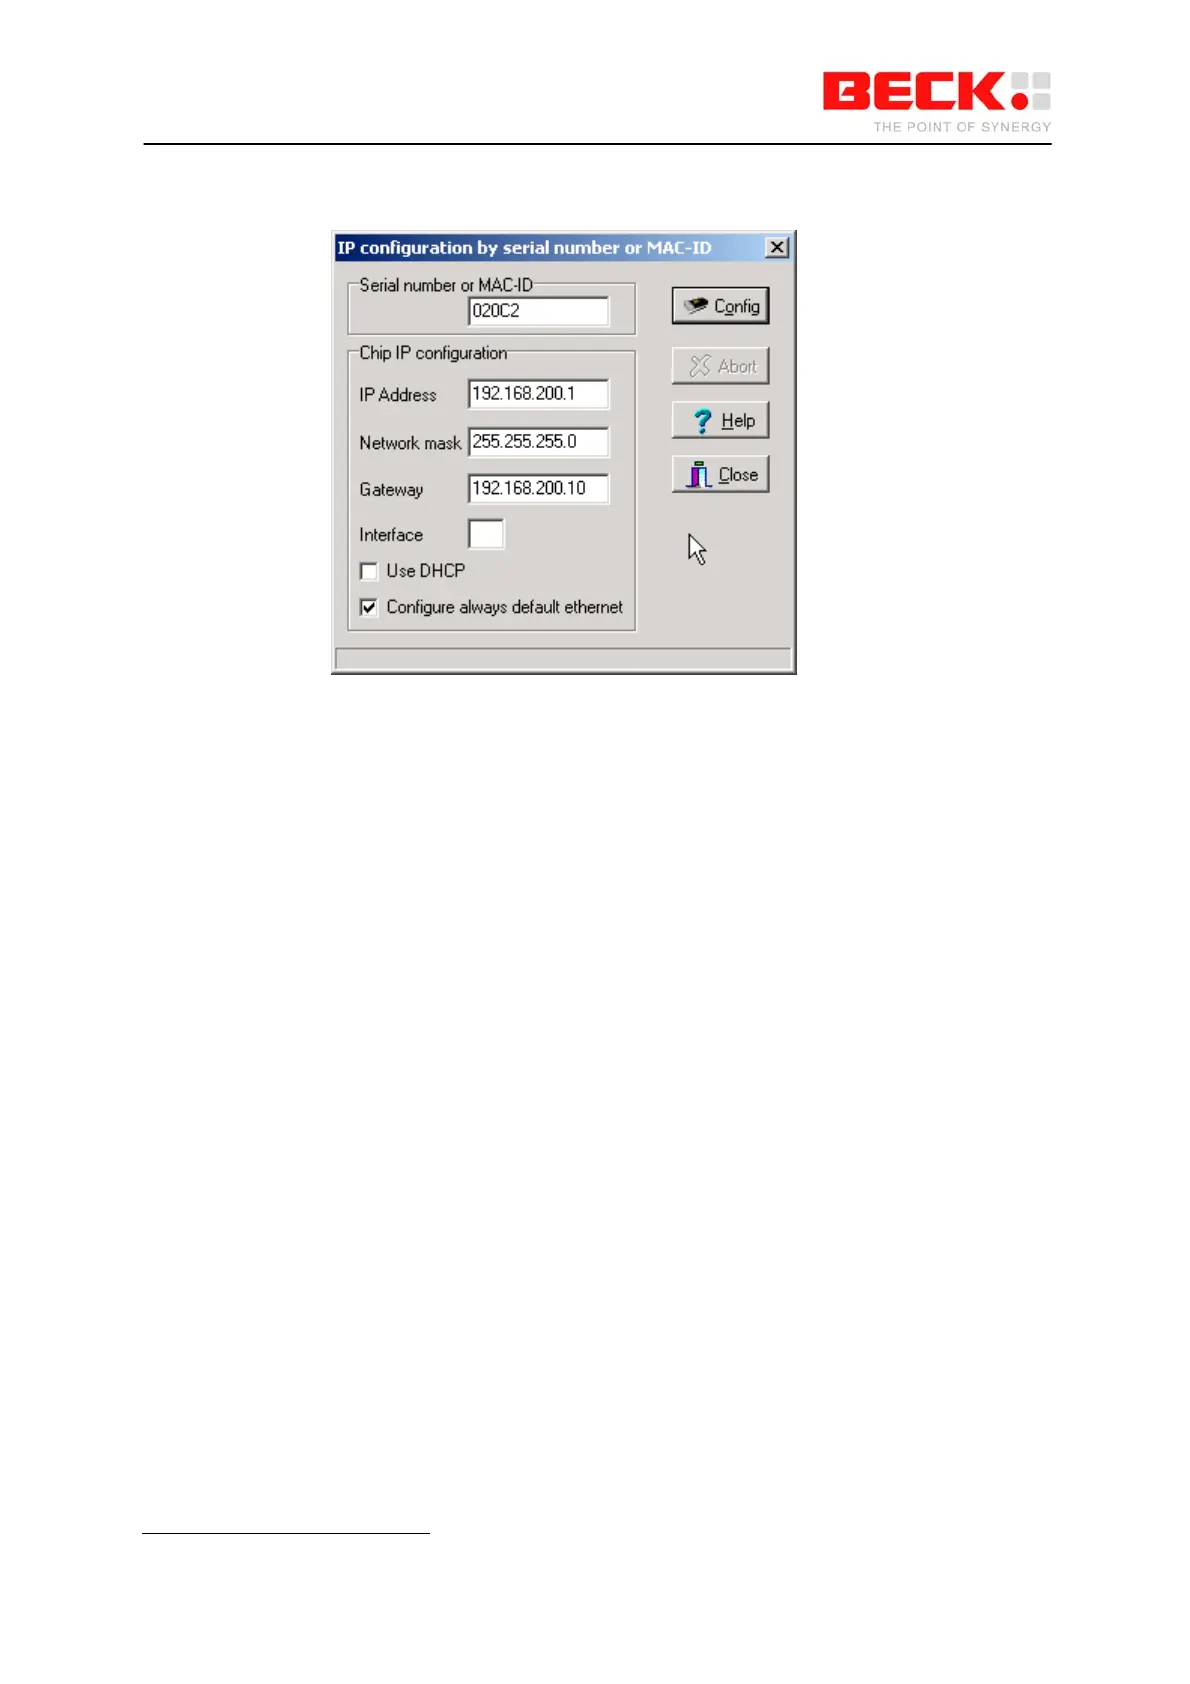
Select the menu option ‘Chip’ and ‘IP Config’. Fill in the dialog as illustrated below:
The serial number data shown here is just an example. At ‘Serial number or MAC-ID’ you enter the
serial number of the IPC@CHIP that you want to configure.
The serial number is a 5 digit hexadecimal number (valid hexadecimal digits: 0..9 and A..F) reported to
the terminal at start-up. The serial number is also displayed in the main window of CHIPTOOL next to
every IPC@CHIP detected and is also printed on a label on every IPC@CHIP.
Since SC12@CHIP-RTOS version 1.10Beta, it is also possible to enter the MAC-address (we use this
address also as a unique ID
3
to identify IPC@CHIPs) of the internal Ethernet controller. This ID is
shown at the column ID of the CHIPTOOL’s network scan window.
In the area ‘Chip IP configuration’ you enter the IP address, network mask and optionally the gateway
address.
Now click the ‘Config’ button. This will send a UDP broadcast datagram over the network, which
includes the serial number of the IPC@CHIP and the new IP configuration.
Check in the main window of CHIPTOOL that the IP configuration you have entered is correctly
displayed.
The IP configuration information is now stored in the file ‘CHIP.INI’ on the flash disk.
3
This address is unique because Ethernet controllers must have a world-wide unique 6 byte address.