Operation
5.5 Automatic PV measurement
5290 / 06/2023 en BENNING PV 1-1+ 31
Procedure
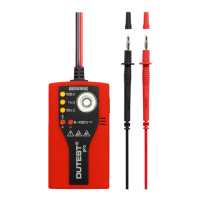
1. Connect the PVsafety measuring lines to the device [}page25].
2. Bring the PVsafety measuring lines into contact with the individual PVmodule or the
individual PVstring.
Make sure that the respective safety measuring lines are contacted properly and safely with
the PVgenerator.
If DCvoltage is applied to the PVsafety measuring lines, the PVopen-circuit voltage will be
measured automatically.
3. Connect the red 4mm safety measuring line to the device [}page25].
4. Bring the red 4mm safety measuring line into contact with a metal part (frame or mounting
system) of the PVgenerator.
If the PVgenerator is properly earthed, you can alternatively measure the insulating
resistance against a safe earth connection (e.g. equipotential busbar).
If the PVgenerator is not earthed, first measure the insulating resistance against a metal
part (frame or mounting system) of the PVgenerator and then against a safe earth
connection (e.g. equipotential busbar).
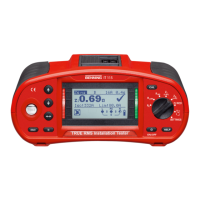
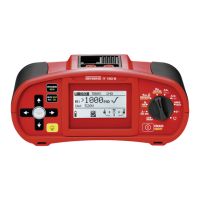
5. Select the desired insulation test voltage of 250V‑DC, 500V‑DC or 1 000V‑DC. To do this,
press the “V
ISO
“key until the desired insulation test voltage is shown on the digital display.
6. Start the automatic PVmeasurement. To do this, press the “Auto”key.
When the measurement is completed, the measured values will be shown on the digital
display for approx. 20seconds or until a key is pressed.
If the measured insulating resistance is higher than the preset limits, the “ ”symbol will be
shown next to the measured value on the digital display. If the measured value is lower than
the limits, the “ ”symbol will be displayed.
7. Press the “Save”key to store the measured value to the next free storage location available.