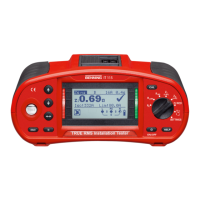
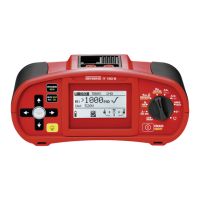
Maintenance
6.5 Calibrating the device
5290 / 06/2023 en BENNING PV 1-1+ 41
6.5 Calibrating the device
Benning guarantees compliance with this technical and accuracy specifications stated in this
operating manual for the first 12months after the delivery date.
To maintain accuracy of the measuring results, make sure that the device is recalibrated in
annual intervals by the BENNING Service [}page9].
http://calibration.benning.de
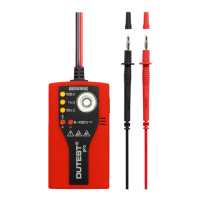
6.6 Replacing the fuse
The device is protected against overload by means of a fuse. Replace the fuse if it is defective.
Requirements
• Defective fuse inside the device
The error code “FUSE” [}page21] indicates a defective fuse.
• Open battery compartment cover (for this, see the procedure for replacing the batteries
[}page40])
• New fuse of the typeF500mA, 1 000V, 1kA or better, d= 6.3mm, l= 32mm, (e.g. item
no.:749771)
• Voltage-free device [}page38]
• Suitable slotted screwdriver
• Please observe the figure for battery replacement [}page40].
Procedure
1. Laterally lift one end of the defective fuse off the fuse holder by means of a slotted
screwdriver.
2. Remove the defective fuse from the fuse holder and dispose of it properly [}page44].
3. Insert the new fuse and position it centrally in the fuse holder.
4. Place the battery compartment cover back onto the device and tighten the screw.