27Operation
The Setup Wizard screenshots below are for reference only and may differ from the actual
design.
5. If you are prompted to enter the password, use the arrow keys to enter a six-digit
password. See "Utilizing the password function" on page 29 for details.
6. Switch on all the connected equipment.
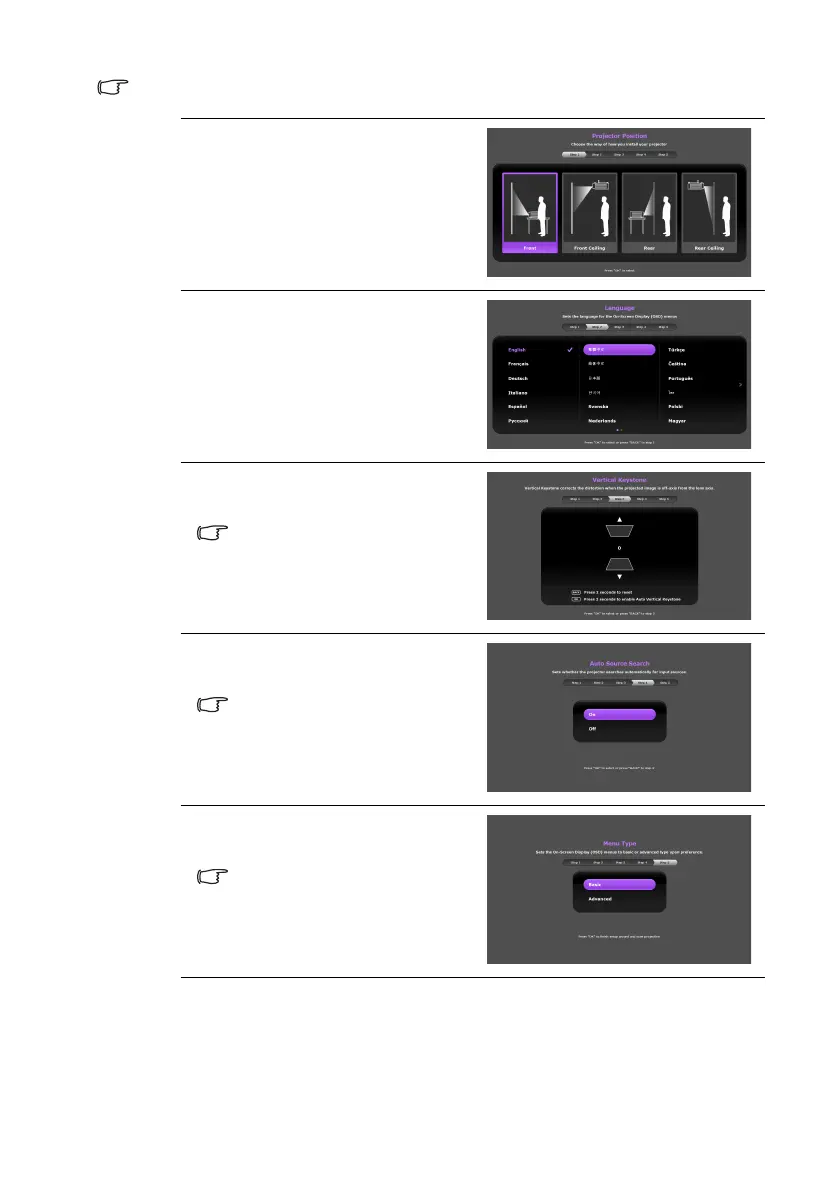
i. Step 1:
Specify Projector Position.
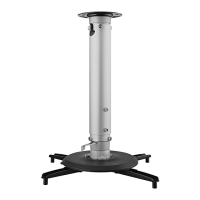
ii. Step 2:
Specify OSD Language.
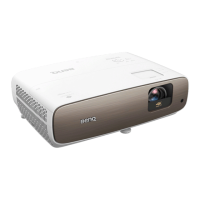
iii. Step 3:
Specify Vertical Key stone .
For more information about
vertical keystone, see "Correcting
keystone" on page 35.
iv. Step 4:
Specify Auto Source Search.
Select “On” if you want the
projector to always search for
available signals automatically
when the projector is turned on.
v. Step 5:
Specify Menu Type.
For more information about menu
types, see "About the OSD
menus" on page 36.
Now you’ve completed the initial
setup.
CH100_EN.book Page 27 Wednesday, March 2, 2016 11:54 AM