33Operation
Renaming an input source
You may rename the current input source on the source selection bar.
To do this, first and foremost, you have to access the Advanced OSD menu (see page 37
for details).
1. Press and then use / to go to the System Setup : Basic menu.
2. Press to select Source Rename and press to display the Source Rename
window.
3.Press /// to move the cursor until your desired character is selected
and press to confirm.
• To delete a character, move to the Del key and press .
• To delete all characters, move to the Reset key and press .
4. When done, press to save your changes and exit.
Adjusting the projected image
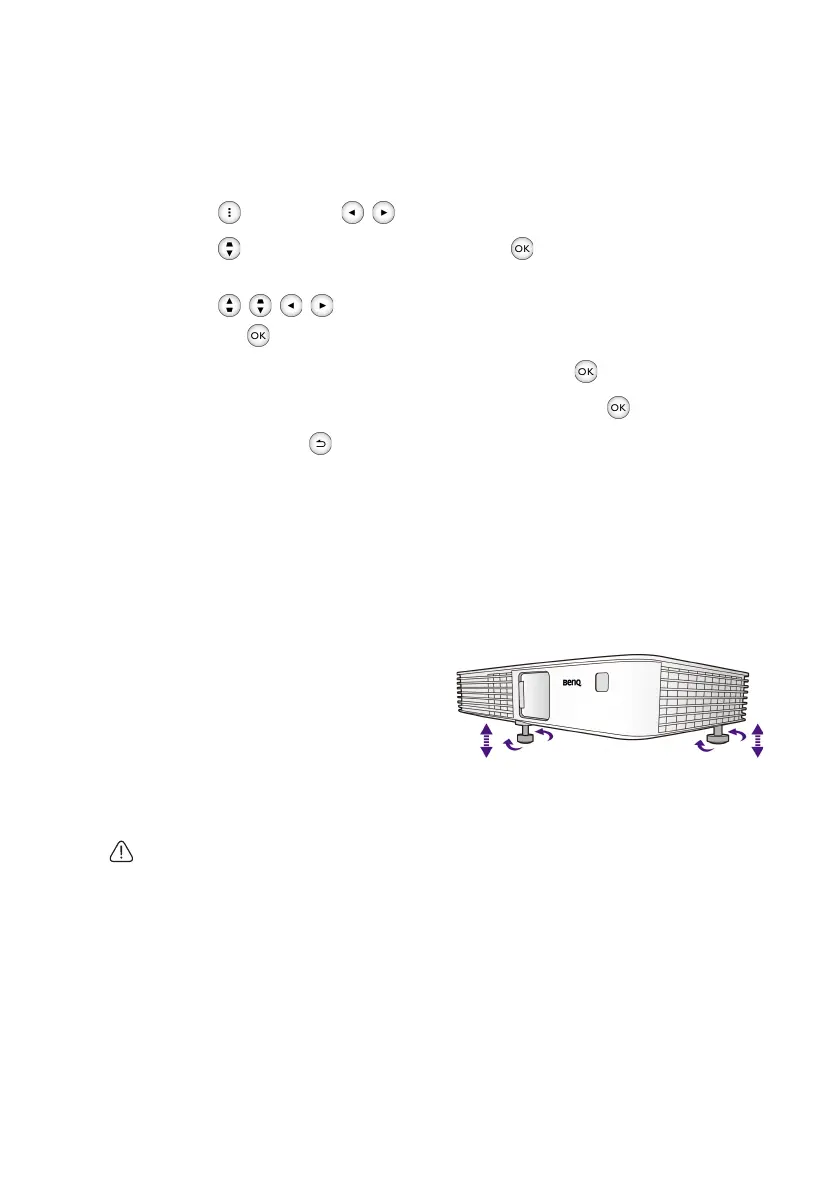
Adjusting the image height
The projector is equipped with 2 adjuster feet. These adjusters change the image height.
To adjust the projector:
• Screw the adjuster feet to adjust the
image height.
• To retract the feet, screw the adjuster
feet in reverse direction.
If the projector is not placed on a flat
surface or the screen and the projector are
not perpendicular to each other, the projected image becomes trapezoidal. To correct this
situation, see "Correcting keystone" on page 35 for details.
• Do not look into the lens while the lamp is on. The strong light from the lamp may cause
damage to your eyes.
• Be careful when you screw the adjuster foot as it is close to the exhaust vent where hot air
comes from.
CH100_EN.book Page 33 Wednesday, March 2, 2016 11:54 AM