Buttonholes
82
2020-02 EN 5020077.20A.04
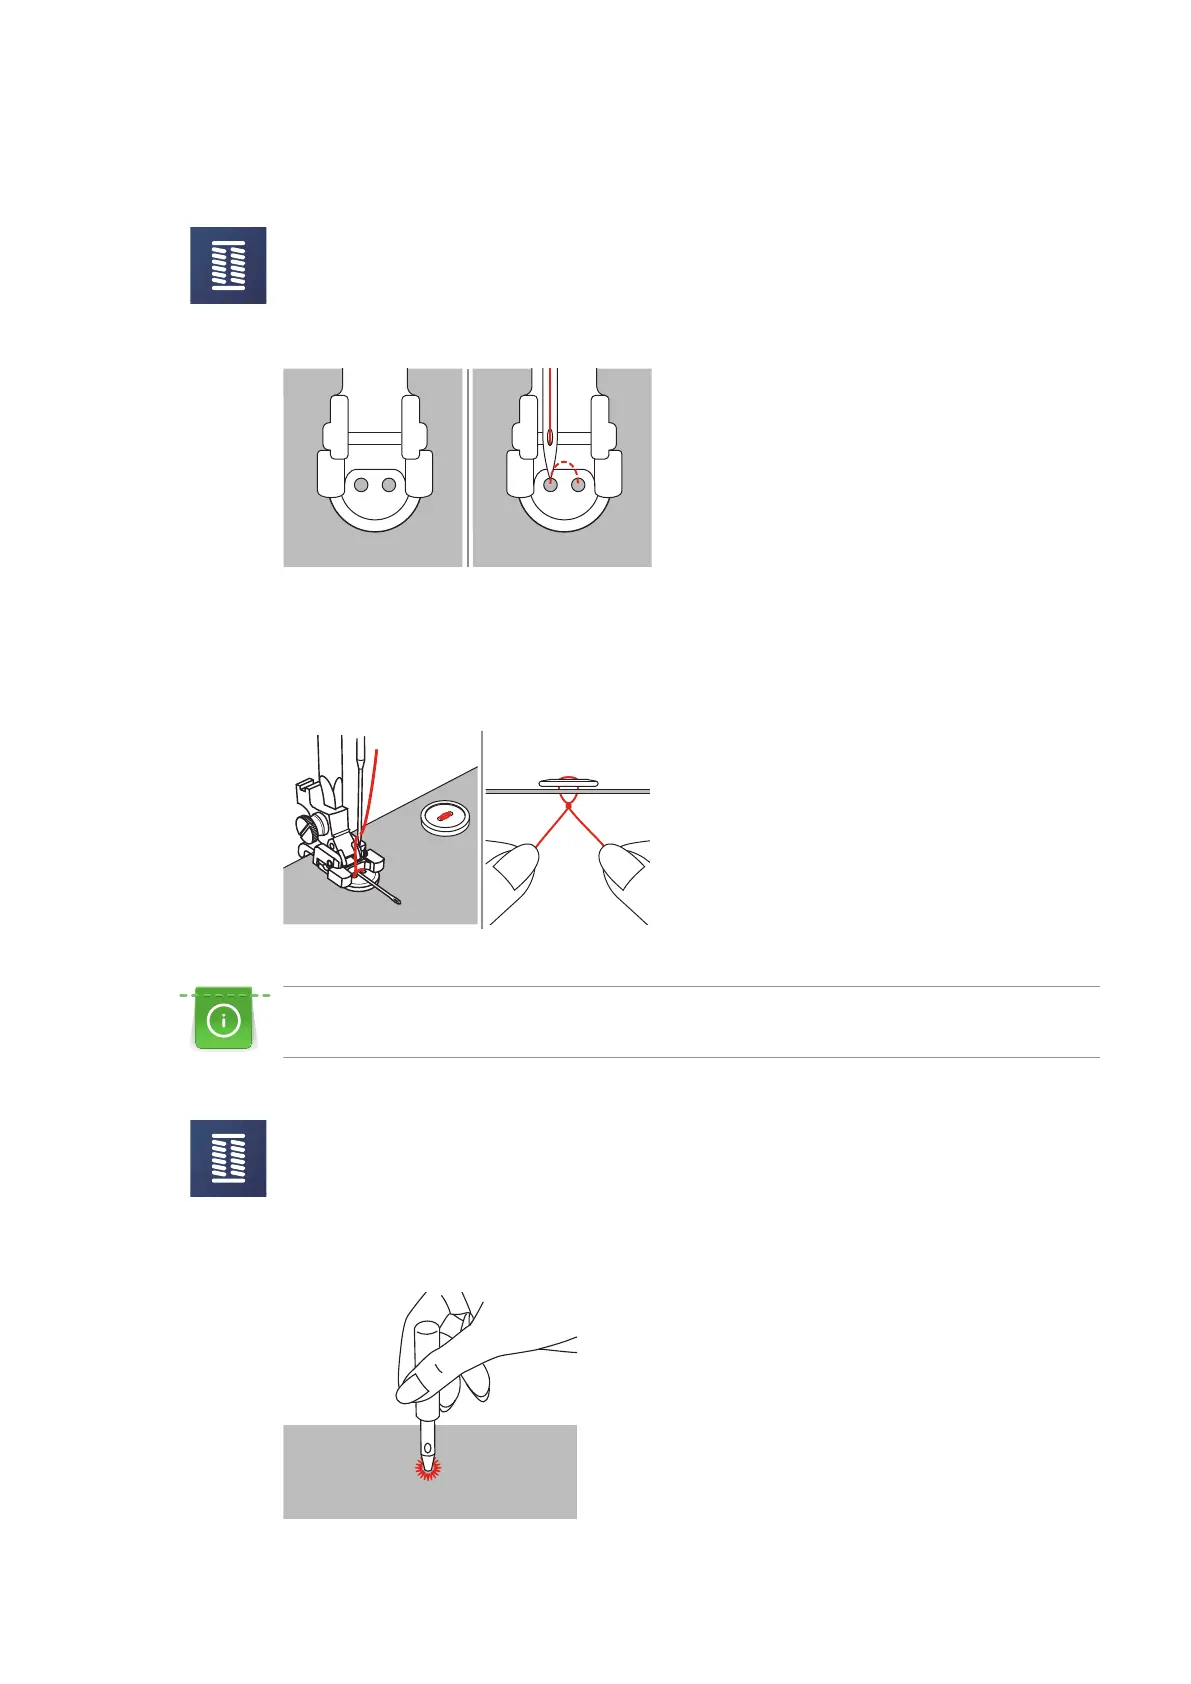
With the Button sew-on Program the first securing stitch is always stitched into the left hole of the button.
> Attach the Button-sew-on foot (RC).
> Touch the icon «Buttonholes».
> Lower the feed dog.
> Select the Button sew-on Program No. 60.
> Place the button on the sewing project.
> Check distances between holes with the handwheel. If necessary, alter the stitch width.
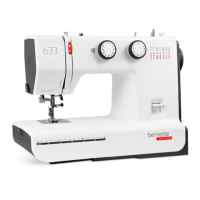
> Hold the threads when starting to sew.
– The machine sews the Button sew-on Program and stops automatically.
– If a shank is required, place a darning needle on top of the button and sew.
> Pull on both bobbin threads until the ends of the upper threads are visible on the wrong side.
> Knot the ends manually.
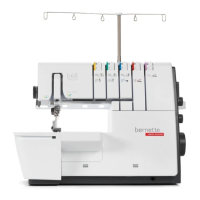
9.6 Sewing eyelets
For increased stability sew the eyelet twice.
> Attach the Zigzag foot (DA) or the Embroidery foot (JK) or the Open embroidery foot (DN) (optional
accessory).
> Touch the icon «Buttonholes».
> Select the Eyelet Program No. 61 or No. 62.
> Turn the «Upper Multifunction knob» or the «Lower Multifunction knob» to alter the size of the eyelet.
> Sew the Eyelet Program.
– The machine stops automatically at the end of the Eyelet Program.
> Use an awl, punch pliers or a hole punch to open the eyelet.