48
Setting the Camera Switches
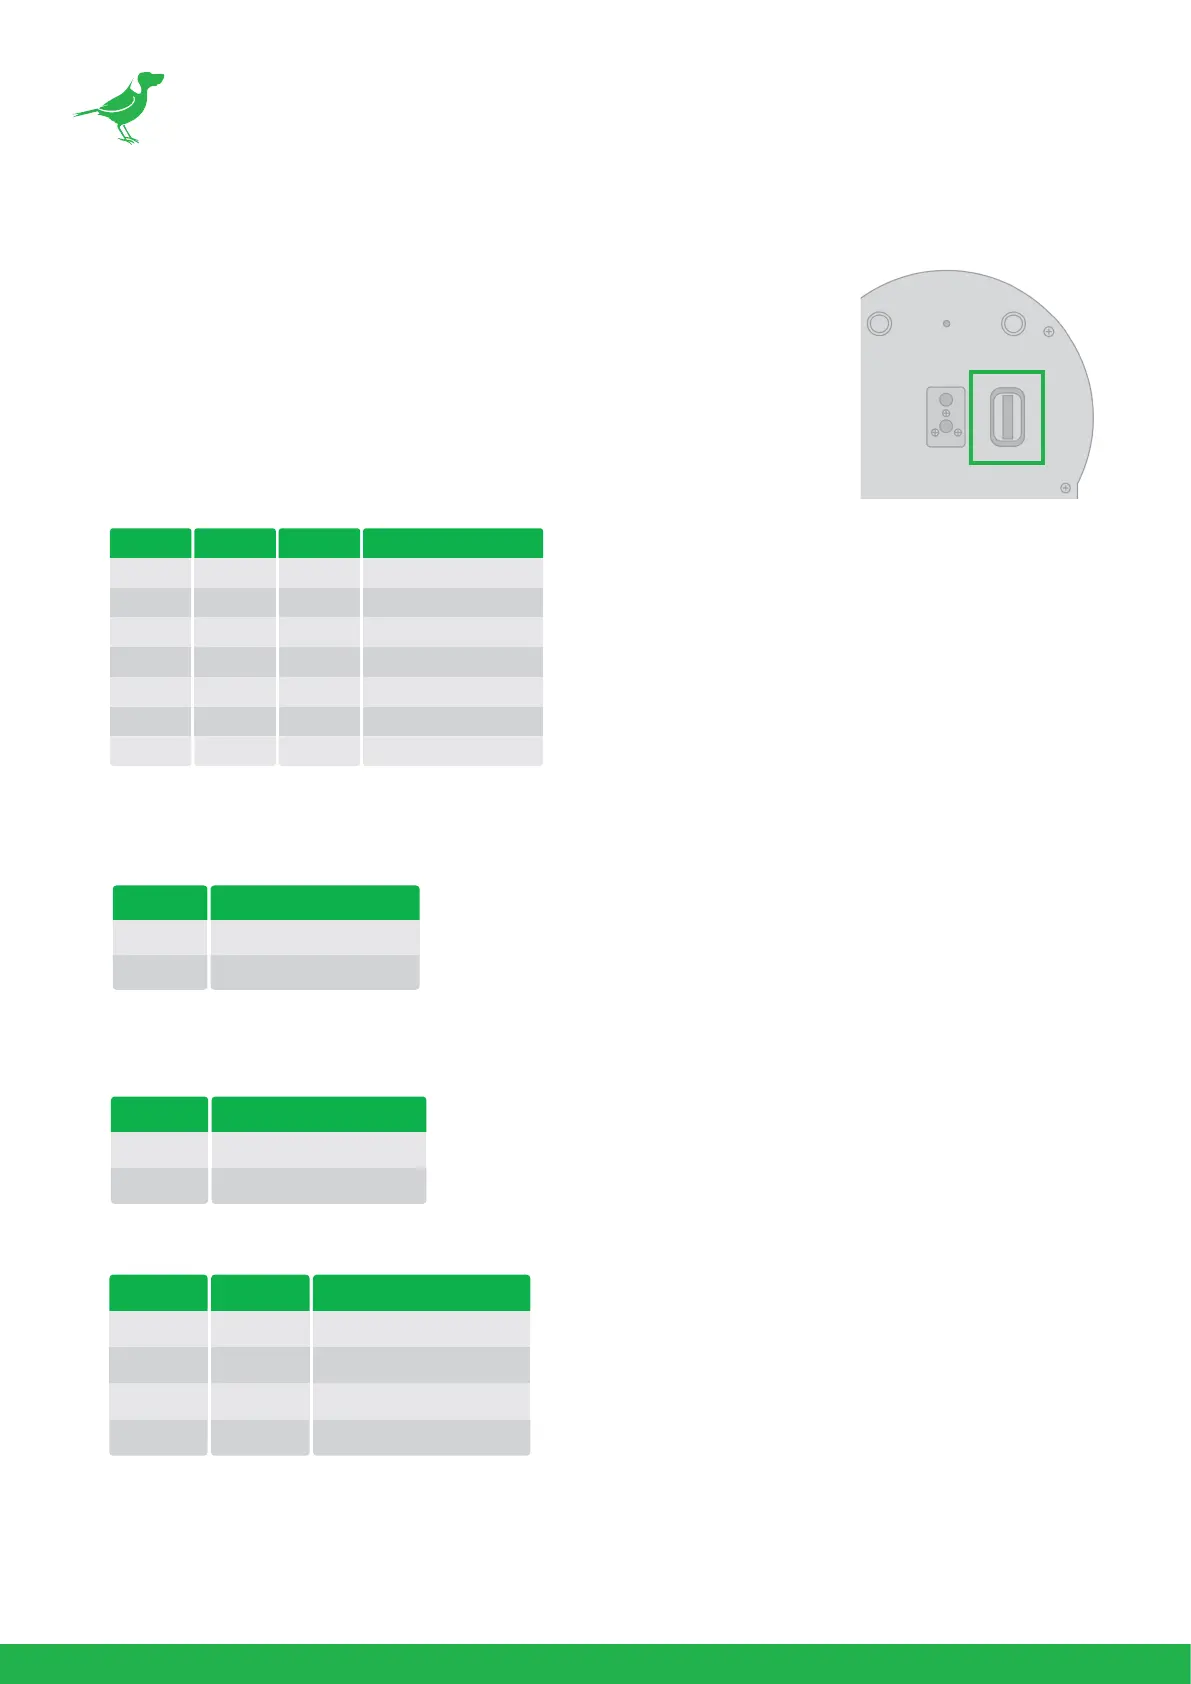
The camera has two switches located on the camera rear panel and base. Turn o
power to the camera before changing the switch settings. Power on the camera to
have the new switch setting activated.
NOTE: The camera OSD and DIP switch settings override each other. Whichever
was the last to be changed will be used by the camera on bootup. It is recommended
to set this to the most frequently used resolution and thereafter use the BirdUI to
make changes.
1. Bit 1~3: Camera Address setting for VISCA protocol
2. Bit 4: Video Output/Video Color Space
When using HDMI output to display on HDMI device, set the DIP switch B4 to OFF. When using HDMI to DVI
convertor to have DVI video output, set the DIP switch B4 to ON.
3. Bit 5: Reserved
4. Bit 6: RS-232/RS-422 Selection
5. Bit 7~8: RS-232/RS-422 Baud Rate
VISCA Address
1
2
3
4
5
6
7
1
ON
OFF
ON
OFF
ON
OFF
ON
2
OFF
ON
ON
OFF
OFF
ON
ON
3
OFF
OFF
OFF
ON
ON
ON
ON
Colour Space Setting
YUV Output
RGB Output
4
OFF
ON
Control Mode
RS-232
RS-422
6
OFF
ON
Baud Rate Setting
2400 bps
4800 bps
9600 bps (Default)
38400 bps
7
OFF
ON
OFF
ON
8
OFF
OFF
ON
ON