TIP If your video scopes aren’t appearing when you switch them on, make sure
‘scopes’ is enabled in the monitor page of the dashboard menu. For more information,
see the ‘monitor’ section later in this manual.
Menu
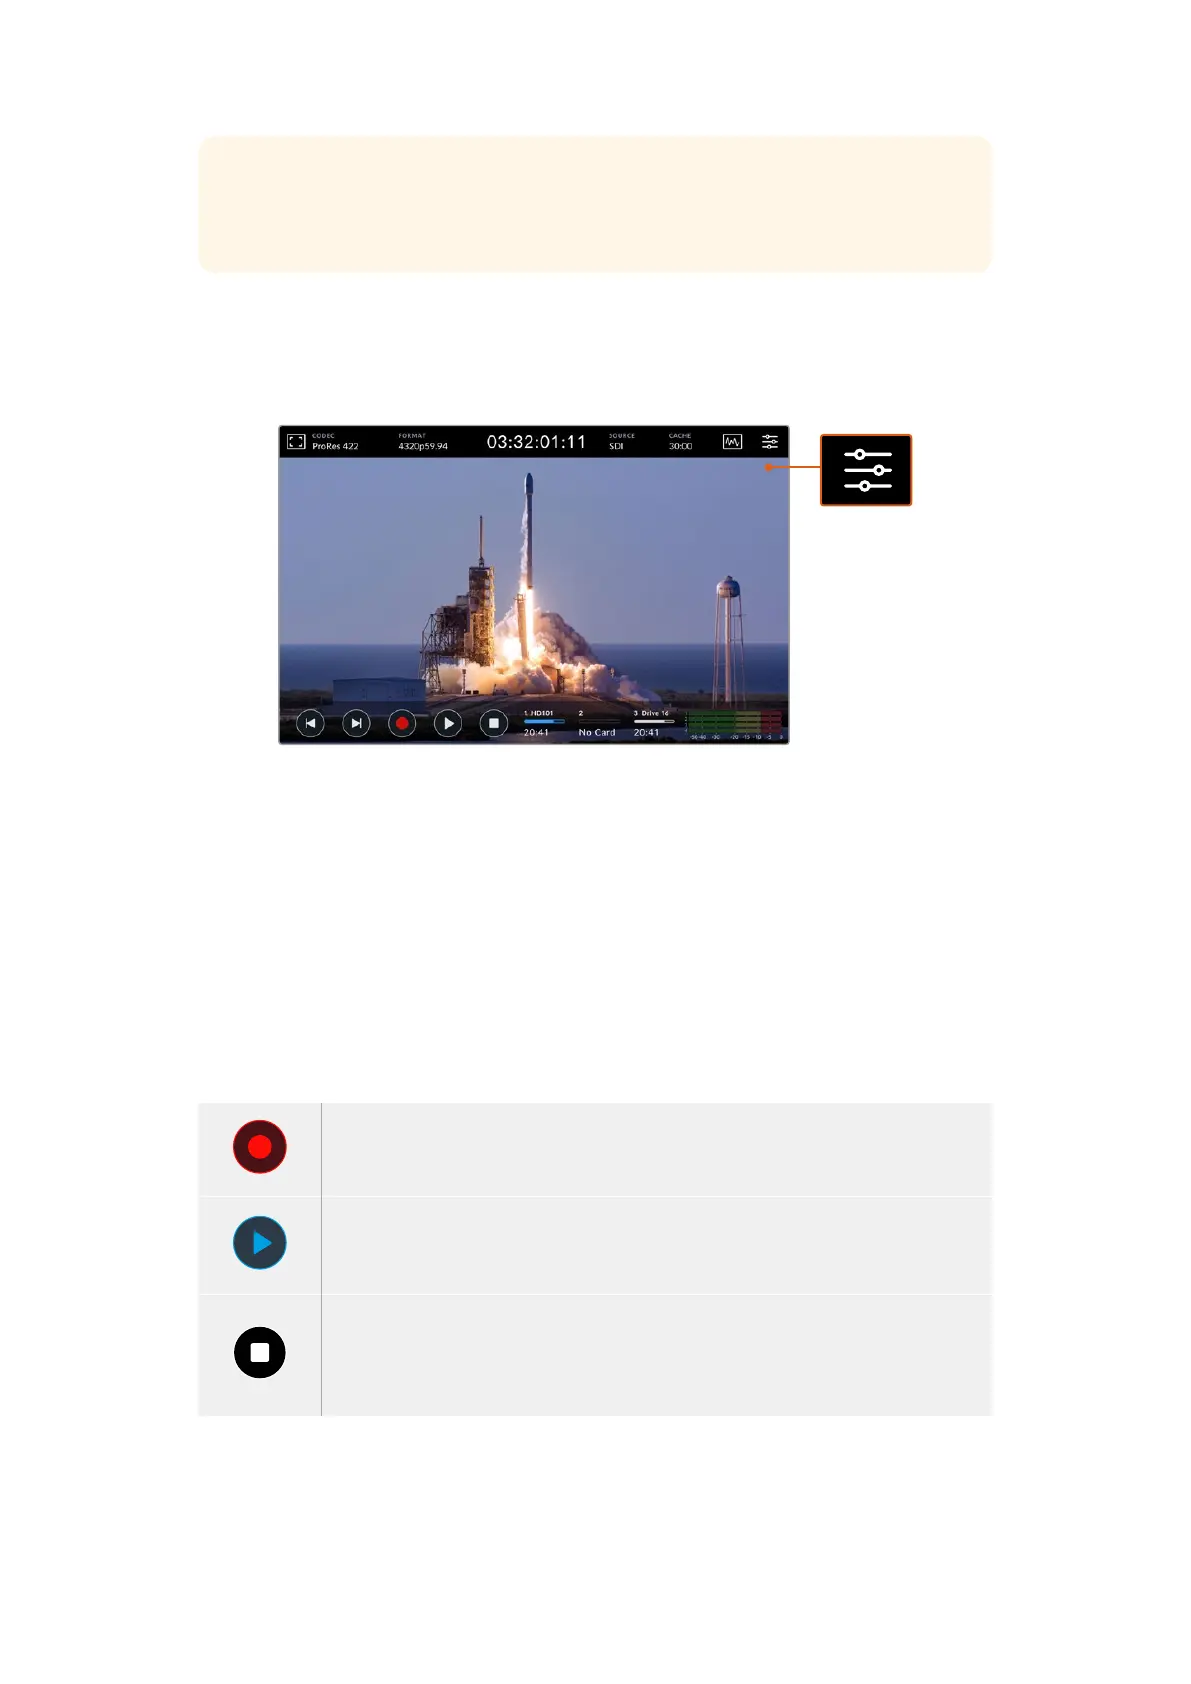
The last icon on the top row is the menu icon where you can access the dashboard menu.
This dashboard menu is where you can access to all the recording options including source
andcodec, audio channels, monitor options audio preferences and more.
Tap on the menu icon to open the dashboard menu.
For more information on the menu options available, see the ‘dashboard menu’ section later
inthis manual.
Lower Toolbar
Transport Controls
The first five icons on the bottom left of the display are your touchscreen transport
controls. Thefunction of these buttons can depend on whether you are in ‘record’ mode or
‘playback’ mode.
The ‘record’, ‘play’ and ‘stop’ buttons work just like they do on the front panel.
To start recording, tap the ‘record’ button once and both the touchscreen and front panel
record buttons will illuminate red. To stop recording, tap the ‘stop’ button.
To view your recently recorded clip, tap the ‘play’ button. You will now be in ‘playback’
mode. The touchscreen ‘play’ button will illuminate blue and the soft touch play button on
the left of the front panel will illuminate green.
Pressing ‘stop’ will stop the HyperDeck Extreme recording. If you press ‘stop’ while in
playback mode, playback will stop and a clip timeline will appear above the transport
controls. Similar to a timeline in editing, it’s a visual representation of all the clips on your
timeline with a playhead indicating your current playback position.
24Touchscreen Display