ACM200 USER MANUAL
13contact support@blustream.co.uk / support@blustream.com.au
Web-GUI - New Project Set-up Wizard - continued...
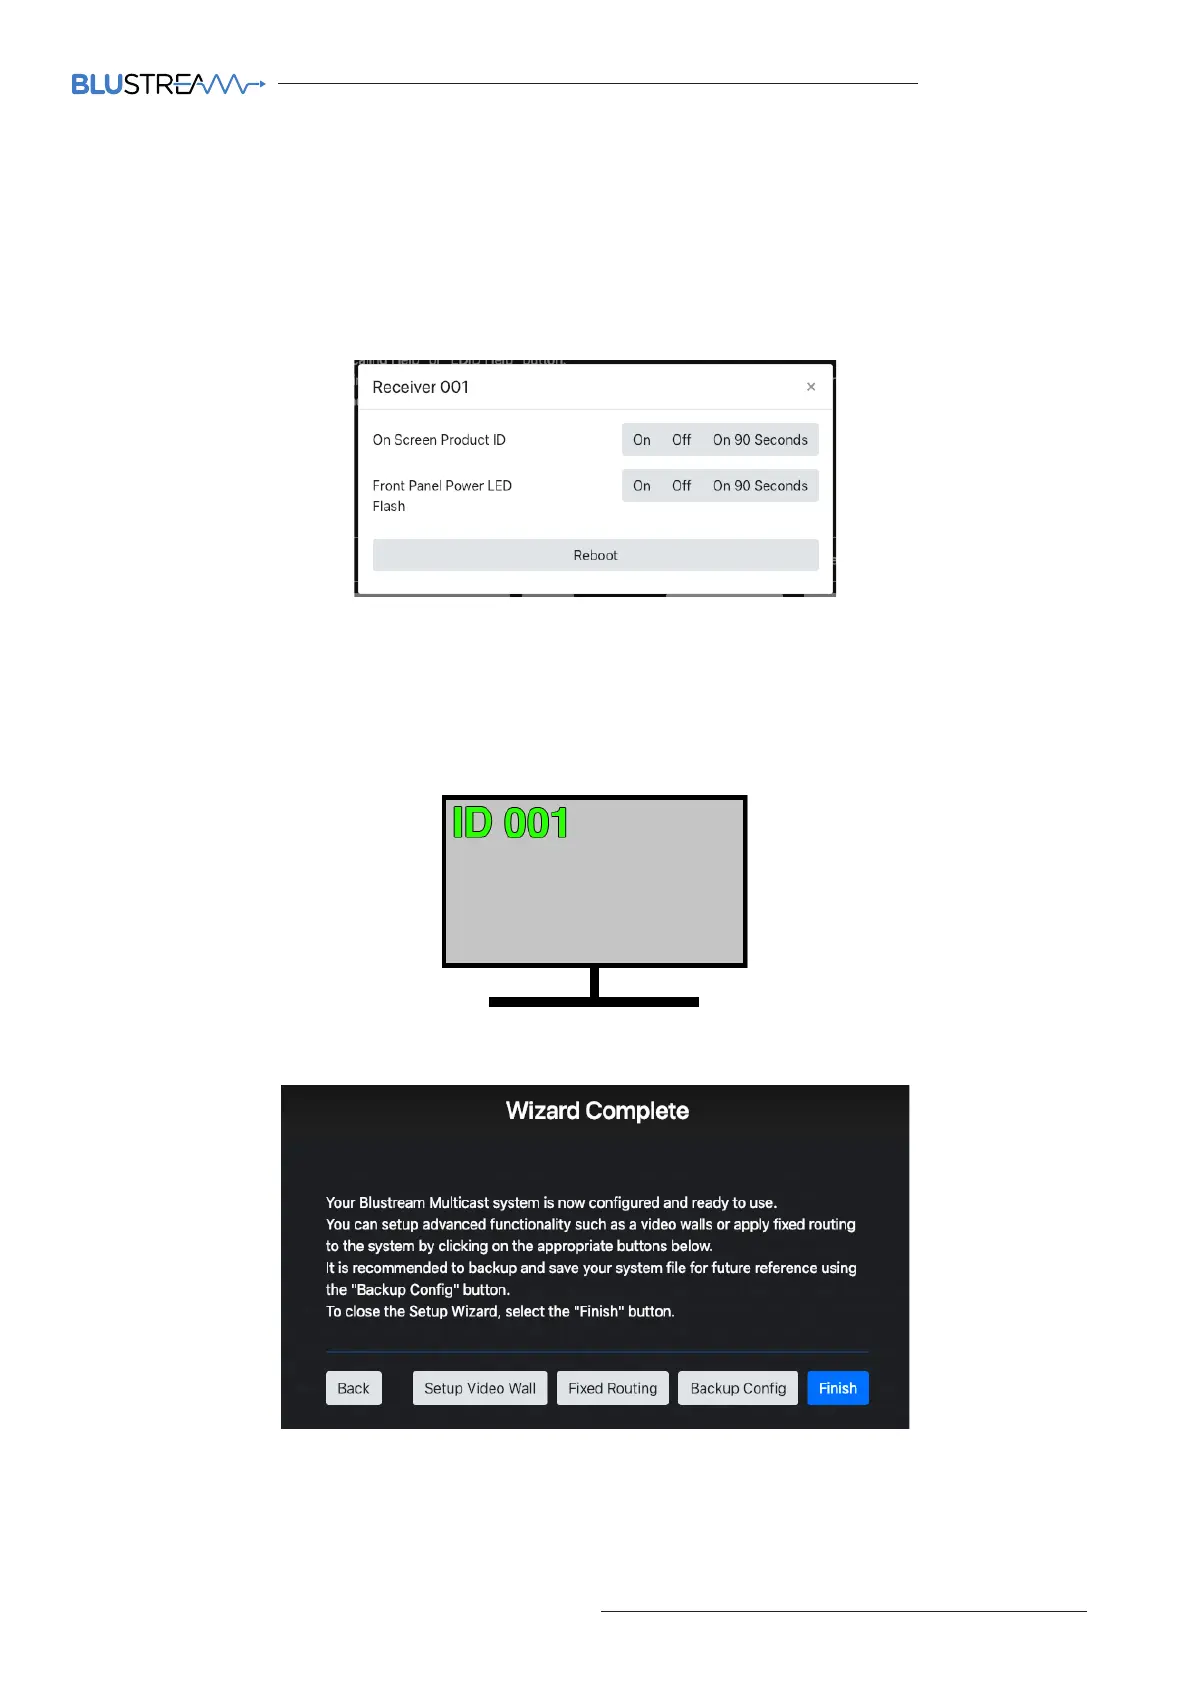
This pop-up gives you the ability to display the product ID on the connected screen / display by way of an OSD
(On Screen Display) as an overlay to the media being accepted the by Receiver. The ability to identify the unit by
flashing the front panel LED's, and the ability to Reboot the unit is contained here.
7. Turn OSD On / O - toggles the product ID onto the connected screen / display by way of an OSD.
8. Next - continues to the Set-up Wizard Completion page
The Wizard Completion page finalises the basic configuration process and provides links for advanced set-up
options for Video Walls, Fixed Signal Routing (IR, RS-232, Audio etc), and the ability to back-up to a configuration file
(recommended).
Click 'Finish' once done to continue to the 'Drag & Drop Control' page, logged in as Administrator (see page 15).
4. Scaler - adjust the output resolution using the built-in video scaler of the Multicast Receiver. The scaler is
capable of both upscaling and downscaling the incoming video signal. See page 22 for a full list of Scaler output
settings that can be applied.
5. Refresh - click here to refresh all current information on the products within the system.
6. Actions - opens the following pop-up: