Pos. in
parts list
Working course
Assembly of the inserted connecting rods / pistons
Parts list position: 2040
Tools: Piston ring plier, spanner 10 mm
Pay attention to the correct pairing of connecting rods and connecting rod caps!
Replace connecting rod cap screws or in the case of reusing put on a sticker!
Observe the tightening torques (see Table on page 55)!
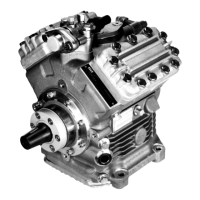
· Compress the oil scraper ring and compression ring with the piston ring plier and
insert the piston into the cylinder liner.
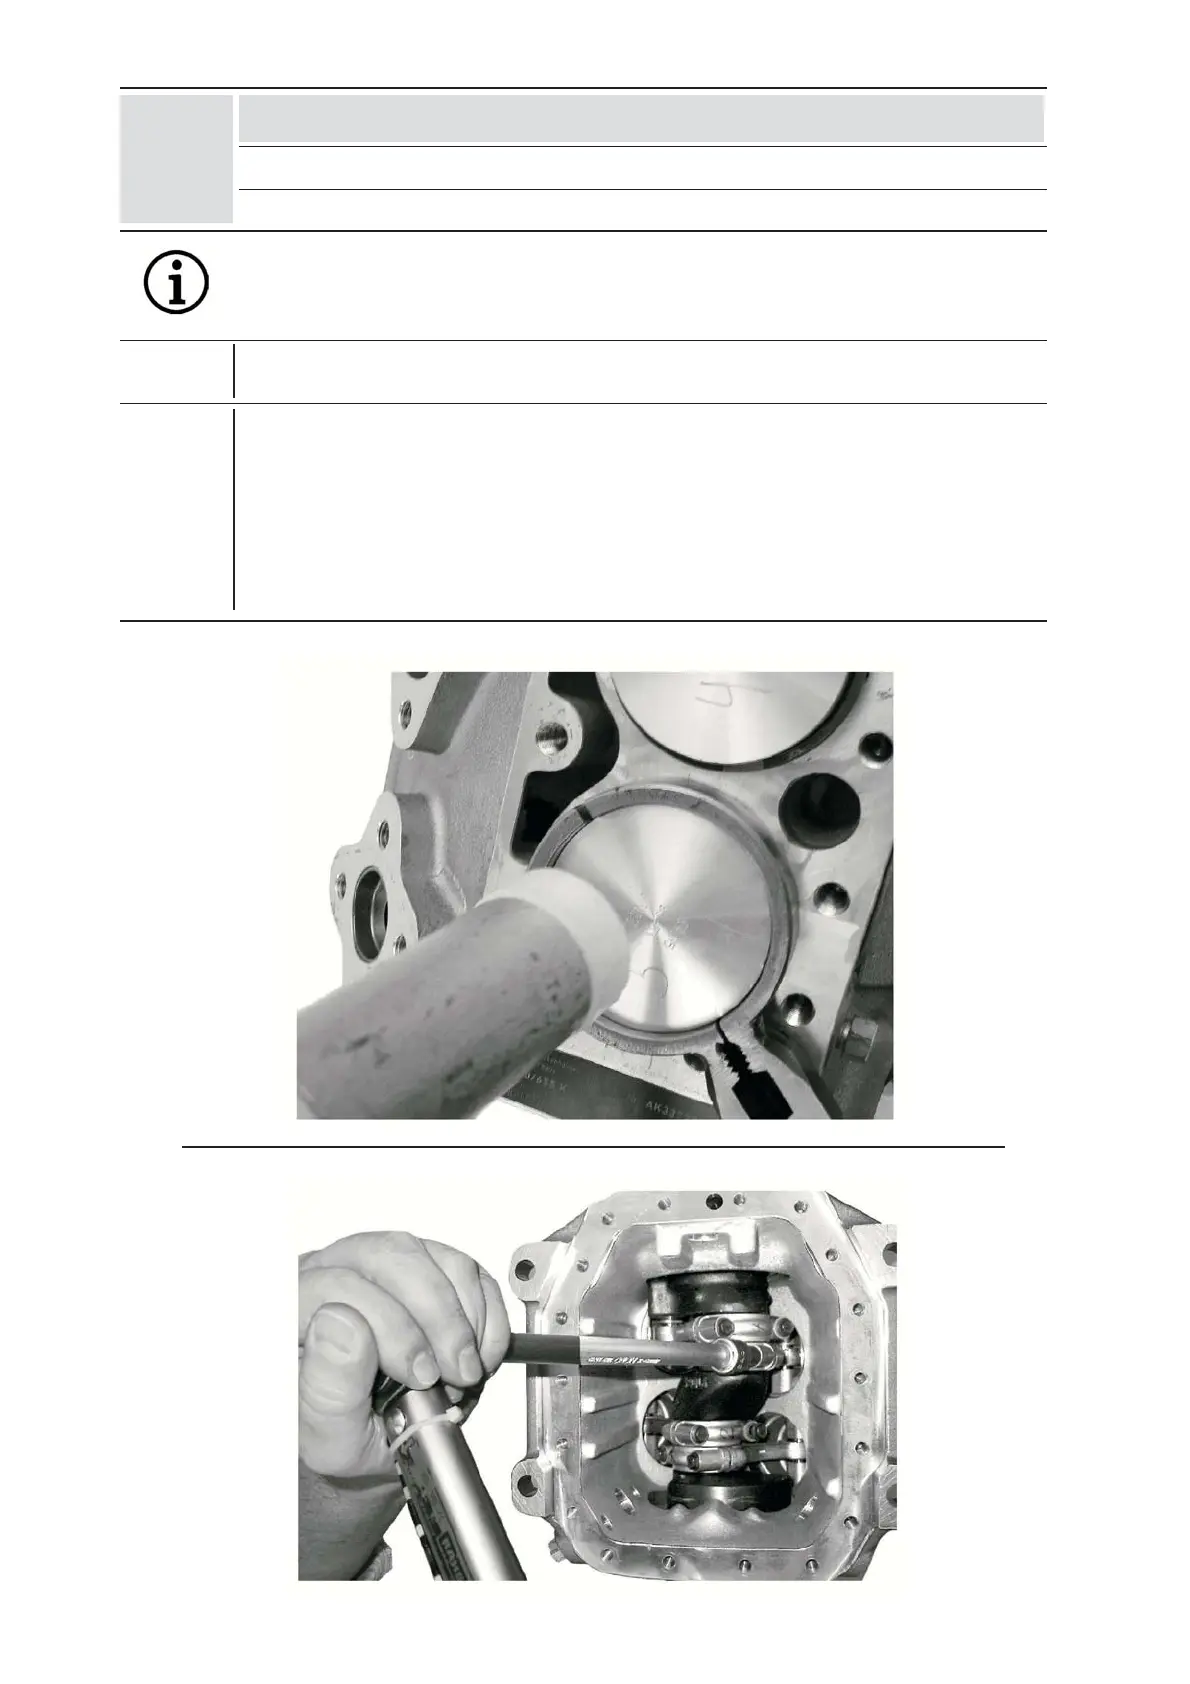
· Place the marked connecting rod caps onto the related connecting rods.
· Screw on the connecting rod caps and tighten.
· Turn the crankshaft by hand. In case the crankshaft does not rotate freely check the
seating of the connecting rods; if necessary, disassemble the connecting rods and
carry out this step once more.
290, 300
2100
Fig. 35a
Fig. 35b
-48-
09608-09.03-DGbFEI
Step
7