Options
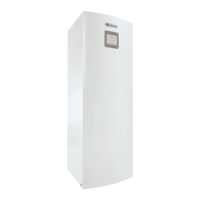
13.13 HRP Water Tank Preparation
1. Turn OFF electrical or fuel supply to the water heater.
2. Attach garden hose to water tank drain connection and run
other end of hose outdoors or to an open drain.
3. Close cold water inlet valve to water heater tank.
4. Drain tank by opening drain valve on the bottom of the tank,
then open pressure relief valve or hot water faucet.
5. Once drained the tank should be flushed with cold water
until the water leaving the drain hose is clear and free of
sediment.
6. Close all valves and remove the drain hose.
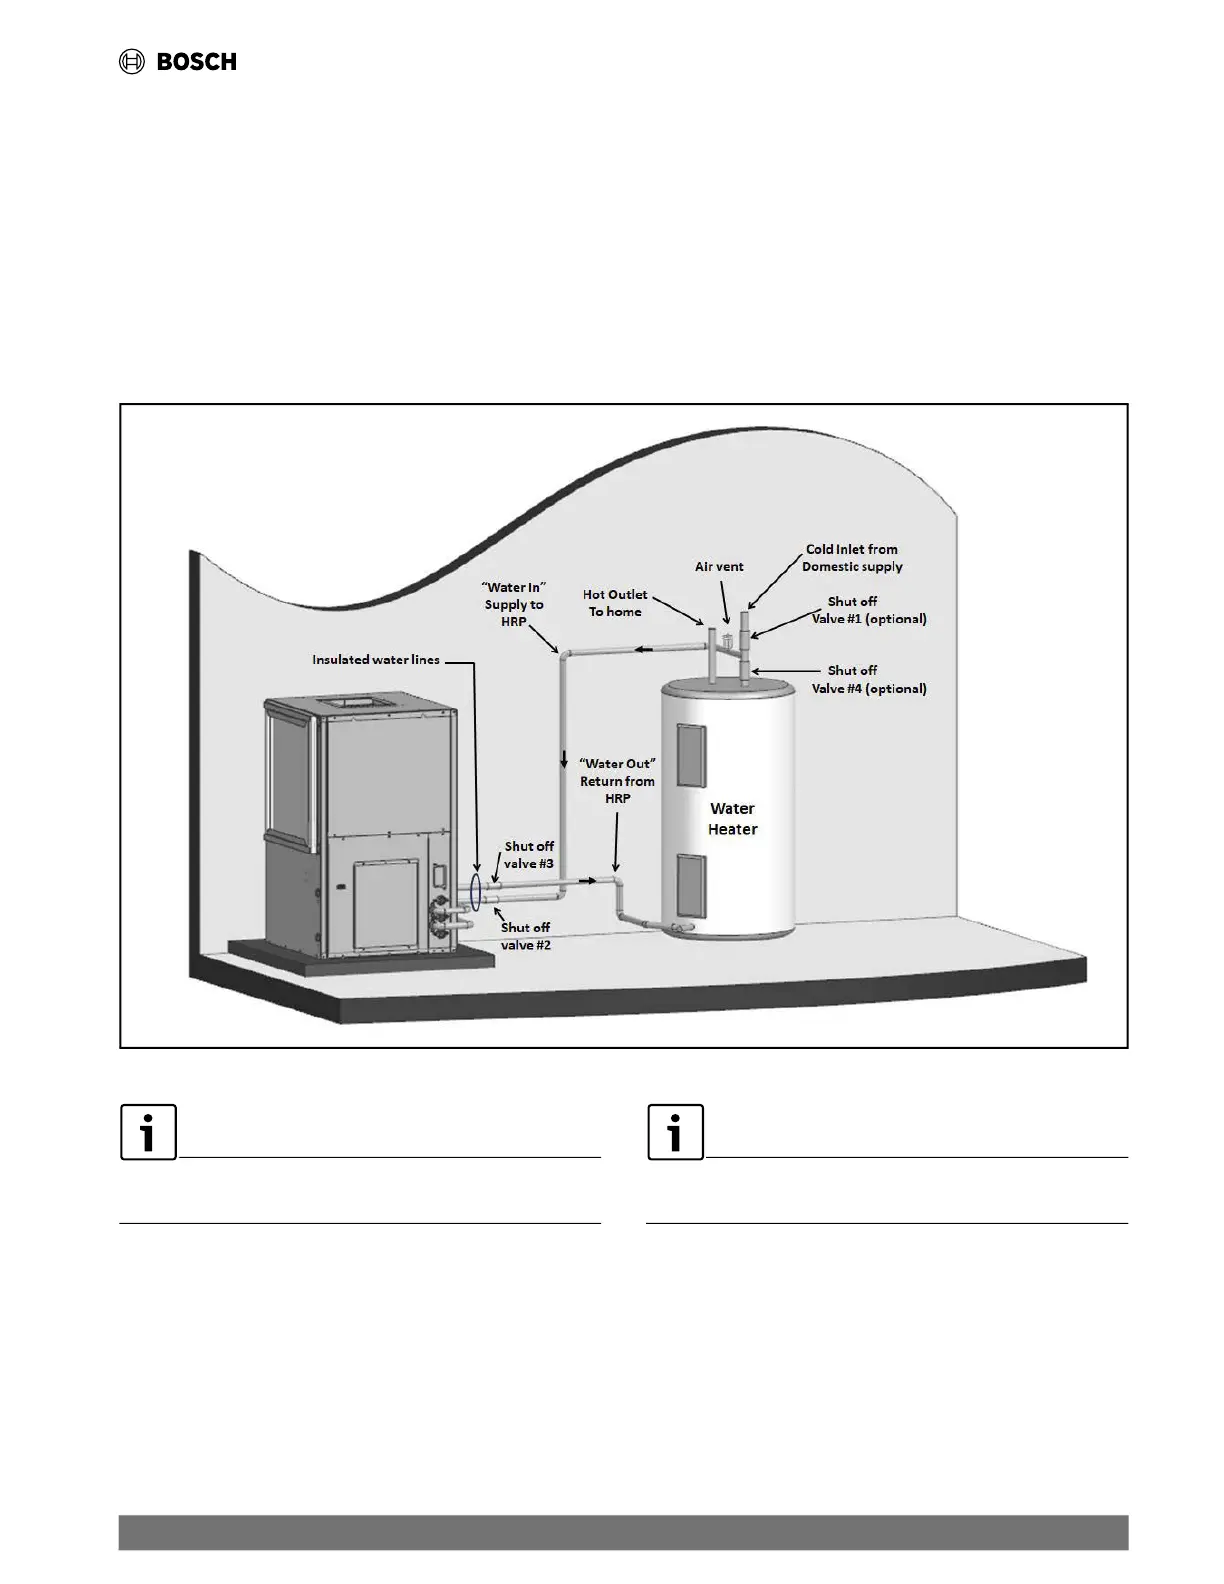
7. Install HR water piping.
All hot water piping should be a minimum of 3/8th O.D. copper
tube to a ma
ximum distance of fifteen (15) feet. For distances
beyond fifteen feet but not exceeding sixty (60) feet, use a 1/2”
copper tube. Separately insulate all exposed surfaces of both
connecting water lines with 3/8” walled closed-cell insulation.
Install isolation valves on the supply and return to the heat
recovery.
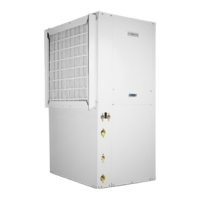
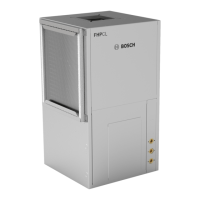
Fig. 24 HRP Water Tank System Setup
Diagram is for illustration purposes only. Ensure access to
Heat Pump is not restricted.
All piping from HRP to domestic water tank must be copper or
any metal of stronger alloy.
13.14 Water Tank Refill
1. Open the cold water supply to the tank.
2. Open a hot water faucet to vent air from the system until
water flows from the faucet, then close.
3. Depress the hot water tank pressure relief valve handle to
ensure there is no air remaining in the tank.
4. Carefully inspect all plumbing for water leaks. Correct as
required.
5. Purge all air from HR through an external purge valve. Allow
all air to bleed out until water appears at the valve. Locate
the external purge value at the highest point in the
installation.
|
41
CF Series Heat Pumps — 8733846299 (2024/11)