5 Functions and controls
70
Operating manual HandyStep® touch, HandyStep® touch S 997486
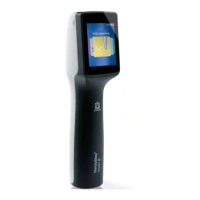
5.6.2 Mounting the device holder in the benchtop rack
a. Insert the holder into the benchtop rack without tape
until it clicks audibly into place.
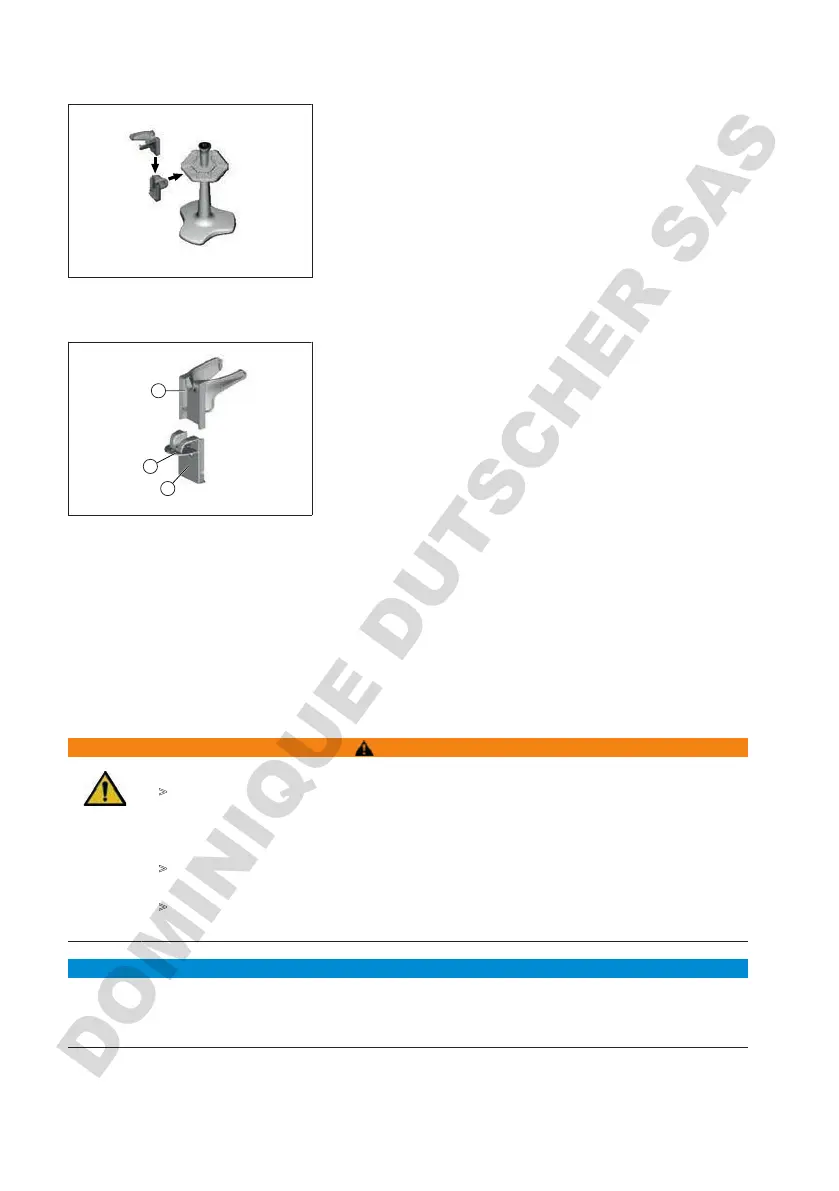
5.6.3 Mounting the device holder to the edge of the racks
1
2
3
1 Universal holder
2
Bottom
3 Mounting support
a. Clean the mounting surface and mounting support with
a suitable cleaner (no moisturizing household cleaners)
and a lint-free cloth, and allow it to dry thoroughly.
b. Remove one side of the protective film from the tape.
c. Apply the tape to the bottom and press firmly.
d. Then peel off the protective film from the other side and
stick the mounting support onto the desired mounting
edge.
e. Using your thumb, firmly press the mounting support
onto the mounting surface. Wait 72 h before first use.
f. Slide the universal holder onto the mounting support.
5.7 Charging stand (accessory)
WARNING
Possible personal injury caused by induction
>
People with medical implants (e.g. pacemakers, pump implants) must maintain a
safe distance. The Health Industry Manufacturers Association recommends that
pacemakers maintain a distance of at least 15 cm from the radio wave source (charg-
ing stand).
>
People with medical implants must consult a doctor before using the charging sta-
tion.
>
If you suspect your implant is affected, increase the distance away from the charging
station and consult a doctor.
NOTICE
Inductive charging via the charging stand
The charging stand can charge inductively as soon as the power adapter is connected. Do not place
any magnetic data media (e.g. credit cards) near the charging stand.