Classic Cycles Technical Resources
11
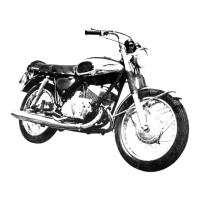
53. Inspect the two transmission shafts and gears
to be certain that they are all in good
condition. Further disassembly of the
transmission is not necessary unless one or
more of the gears must be replaced. If this is
necessary, carefully note the position of the
gears on the shaft before removing them for
replacement. (Fig. 14)
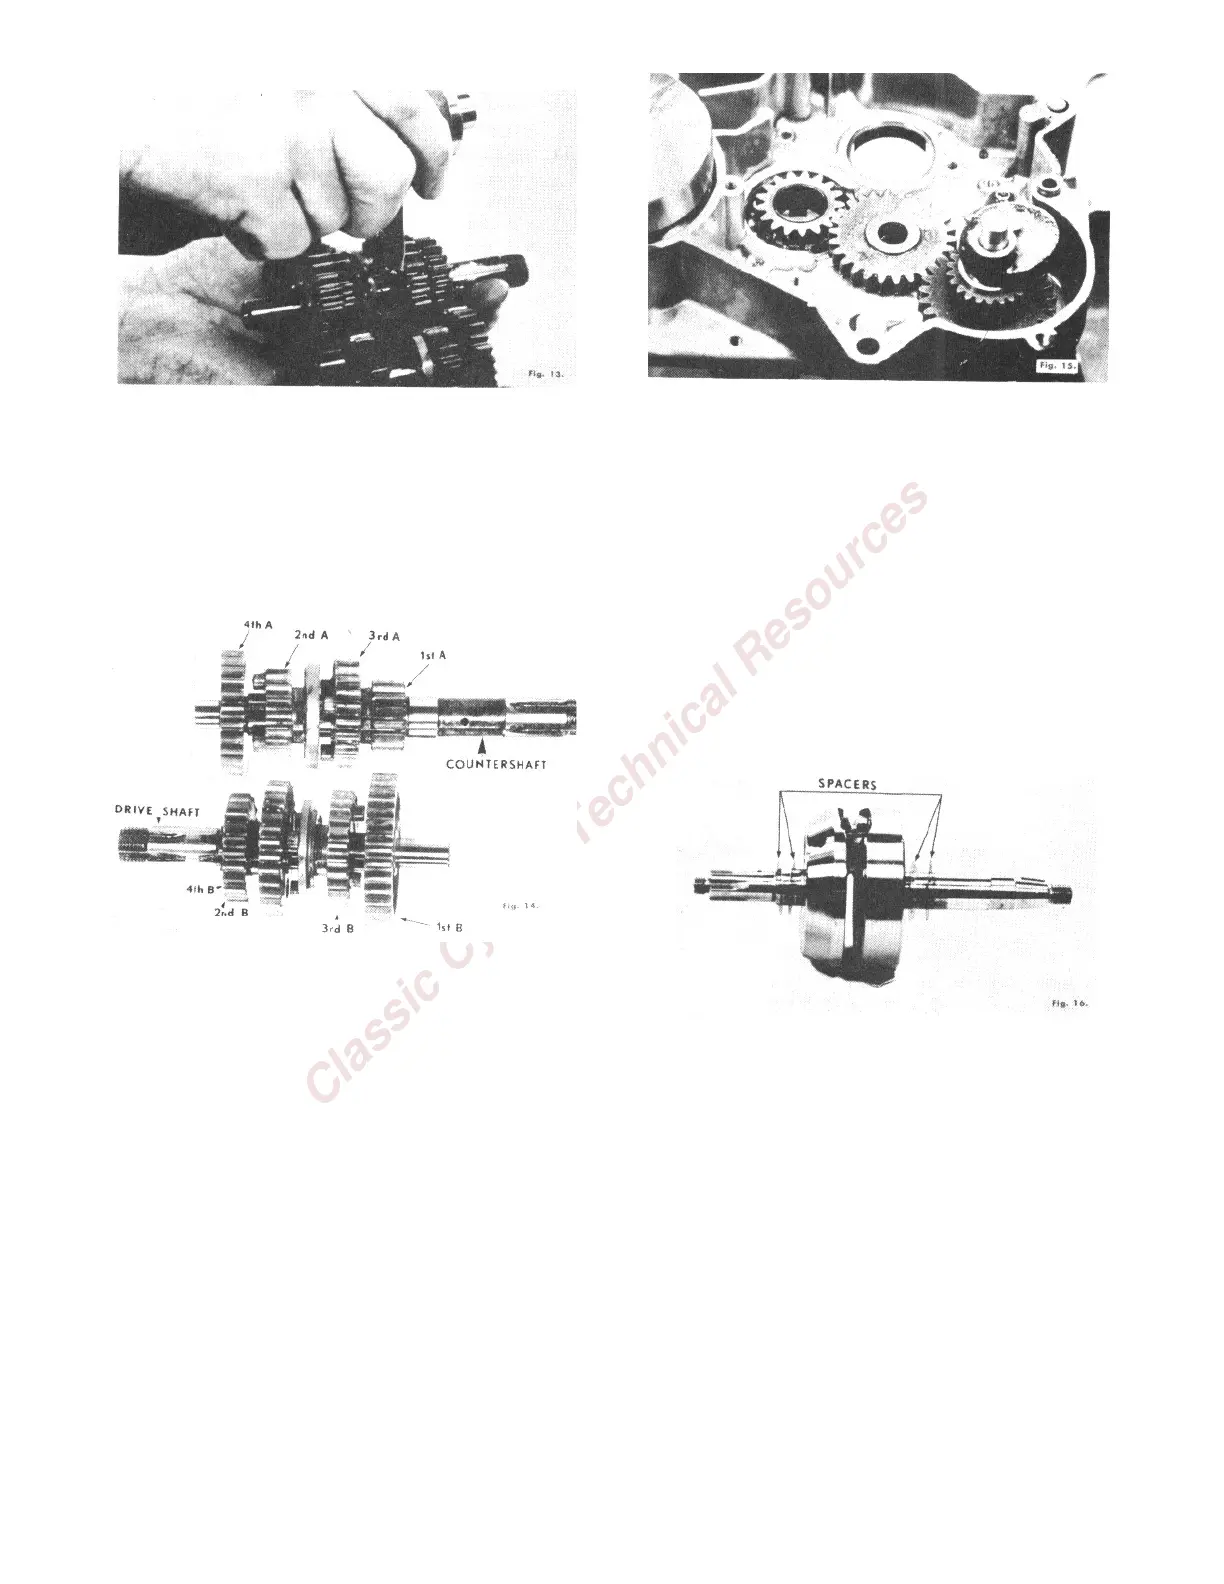
54. Remove the kick starter intermediate gear
which remains in the crankcase half after the
transmission shaft assembly has been
withdrawn. Note that there is a spacer above
and below this gear. Keep these spacers with
this gear to facilitate reinstallation. (Fig. 15)
55. Withdraw the kick starter shaft and gear
assembly. Notice that there is a spacer on the
end of this shaft. Keep the spacer with this
shaft to facilitate reassembly.
56. Withdraw the crankshaft assembly. Notice
that spacing shims are used on either side of
the crankshaft balance assembly. (Fig. 16) If
the same crankshaft is to be replaced, keep
these spacers on the crankshaft so that the
crankshaft end play will not be affected. The
number and thickness of spacers on this
crankshaft varies from engine to engine.
Occasionally the spacing shims will stick to
the crankshaft bearings. Inspect the bearings
carefully to be certain that these shims have
been removed from both the crankcase
sections if the oil present has caused them to
adhere to the bearings.
This completes the disassembly operation. Wash
all parts (except magneto armature plate) in a
cleaning solvent and inspect all bearings and oil
seals. If it is necessary to replace bearings, the
crankcase must be heated with a small torch in
the vicinity of the bearings to expand it
sufficiently to allow the bearing to be removed
and replaced. When using a torch, keep the torch
constantly in motion to avoid melting the
crankcase castings.
If oil seals are to be replaced, coat them liberally
with oil and tap them into place with a small
hammer. Before beginning the reassembly
operation, oil all bearings and oil seals
thoroughly.