Classic Cycles Technical Resources
7
I. ENGINE DISASSEMBLY & REASSEMBLY
50 Sport, 60 Sport and 90cc models
Most service can be performed on the engine
without removing the engine from the frame. In
fact, all operations which occur before the actual
splitting of the crankcase sections can be
accomplished with the engine mounted in the
cycle frame. For complete engine disassembly, it
is necessary to remove the engine from the frame.
This sequence describes the dismounting of the
engine from the frame, the complete disassembly
of the engine, and engine reassembly.
1. Remove the drain plug from the under side of
the transmission case and completely drain
the crankcase. Replace the drain plug.
2. Turn the fuel cock selector lever to the "O"
position to shut off the fuel between the tank
and the carburetor.
3. Raise the rubber carburetor cap.
4. Remove the carburetor cover from the side of
the transmission case by removing the phillips
head attaching screws.
5. Remove the rubber plug from the access port in
front of the carburetor enclosure.
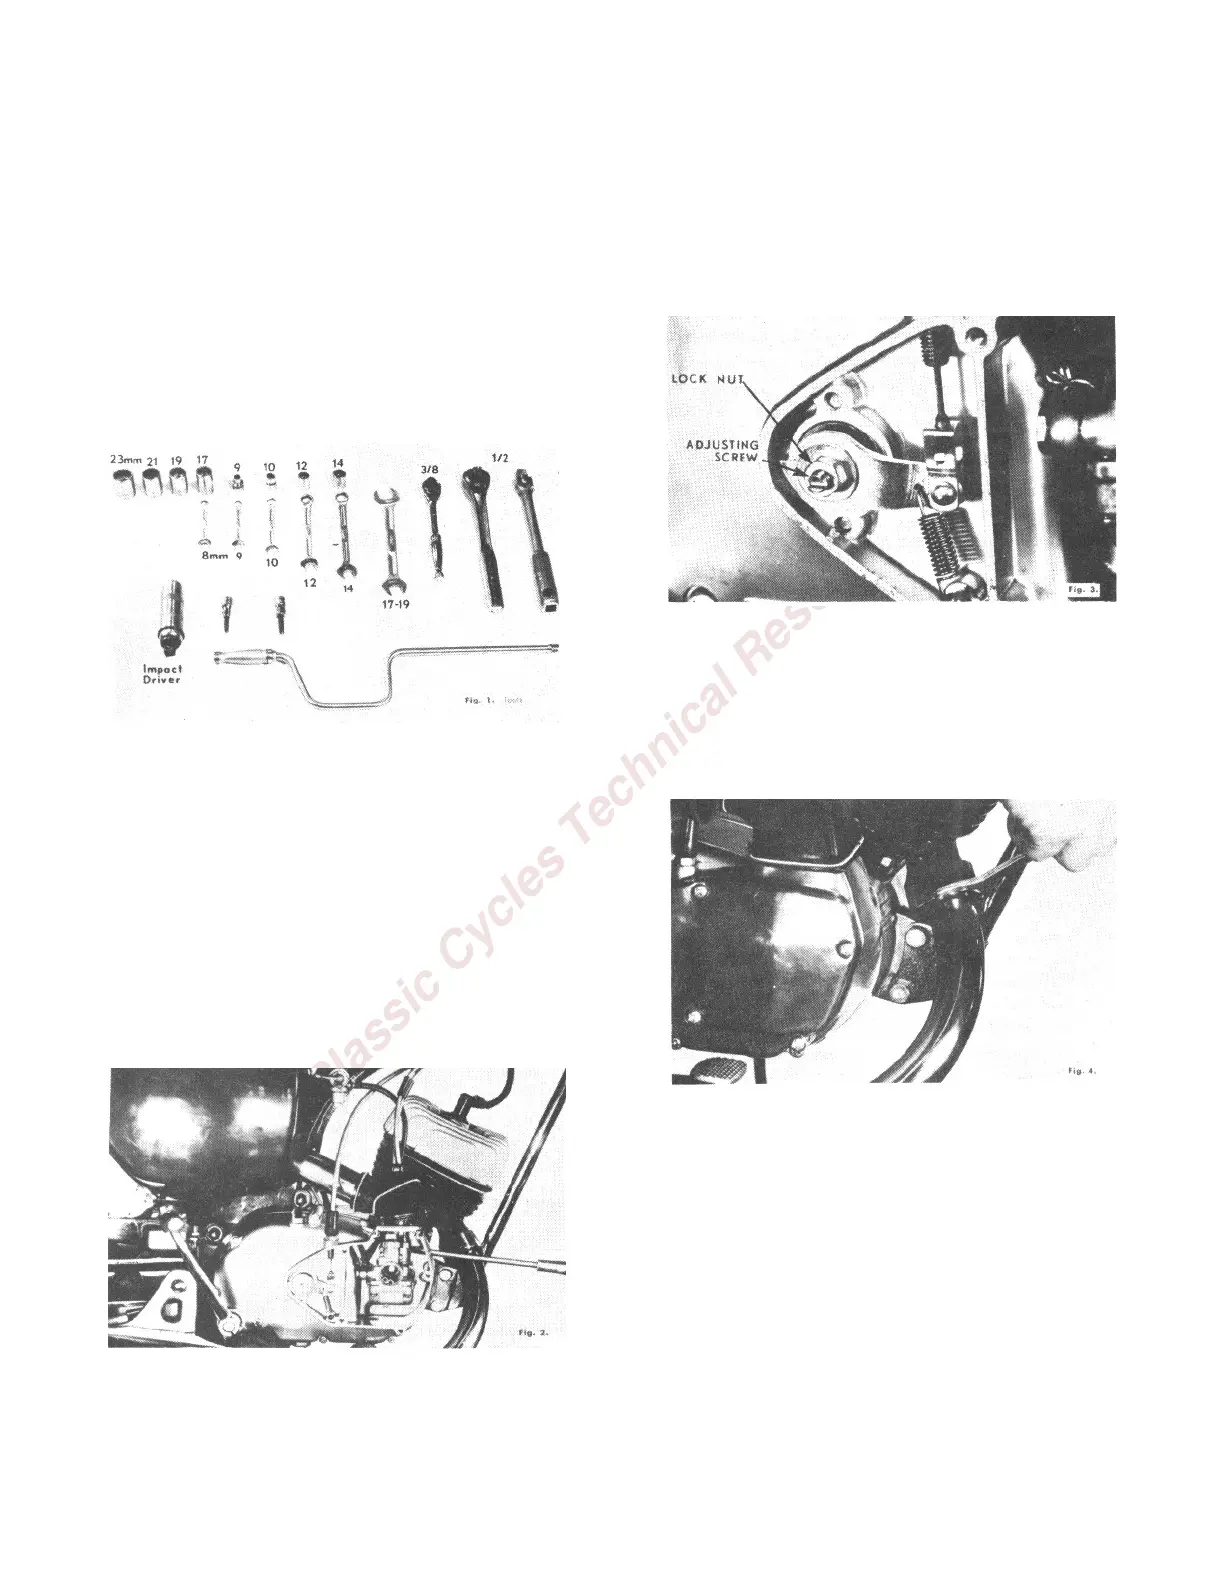
6. Insert a screw driver through the access
aperture and loosen the carburetor mounting
bolt. (Fig. 2)
7. Disconnect the fuel line from the fuel cock.
8. Remove the carburetor from the carburetor
adapter and allow it to hang suspended from
the throttle cable and starter jet cable.
9. Remove the clutch release arm lock nut and
washer and remove the clutch release arm
from the release screw. (Fig. 3)
10. Disconnect the clutch cable from the clutch
release arm.
11. Unscrew the clutch cable adjusting screw
completely out of the threaded boss on top of
the carburetor enclosure.
12. Pull the clutch cable free of the carburetor
enclosure.
13. Using the special exhaust pipe clamp nut
wrench, (Fig. 4) loosen the exhaust pipe clamp
nut and rotate the exhaust pipe toward you
down and out of the way.
14. Remove the two bolts which connect the
engine hanger to the front of the engine.