Classic Cycles Technical Resources
17
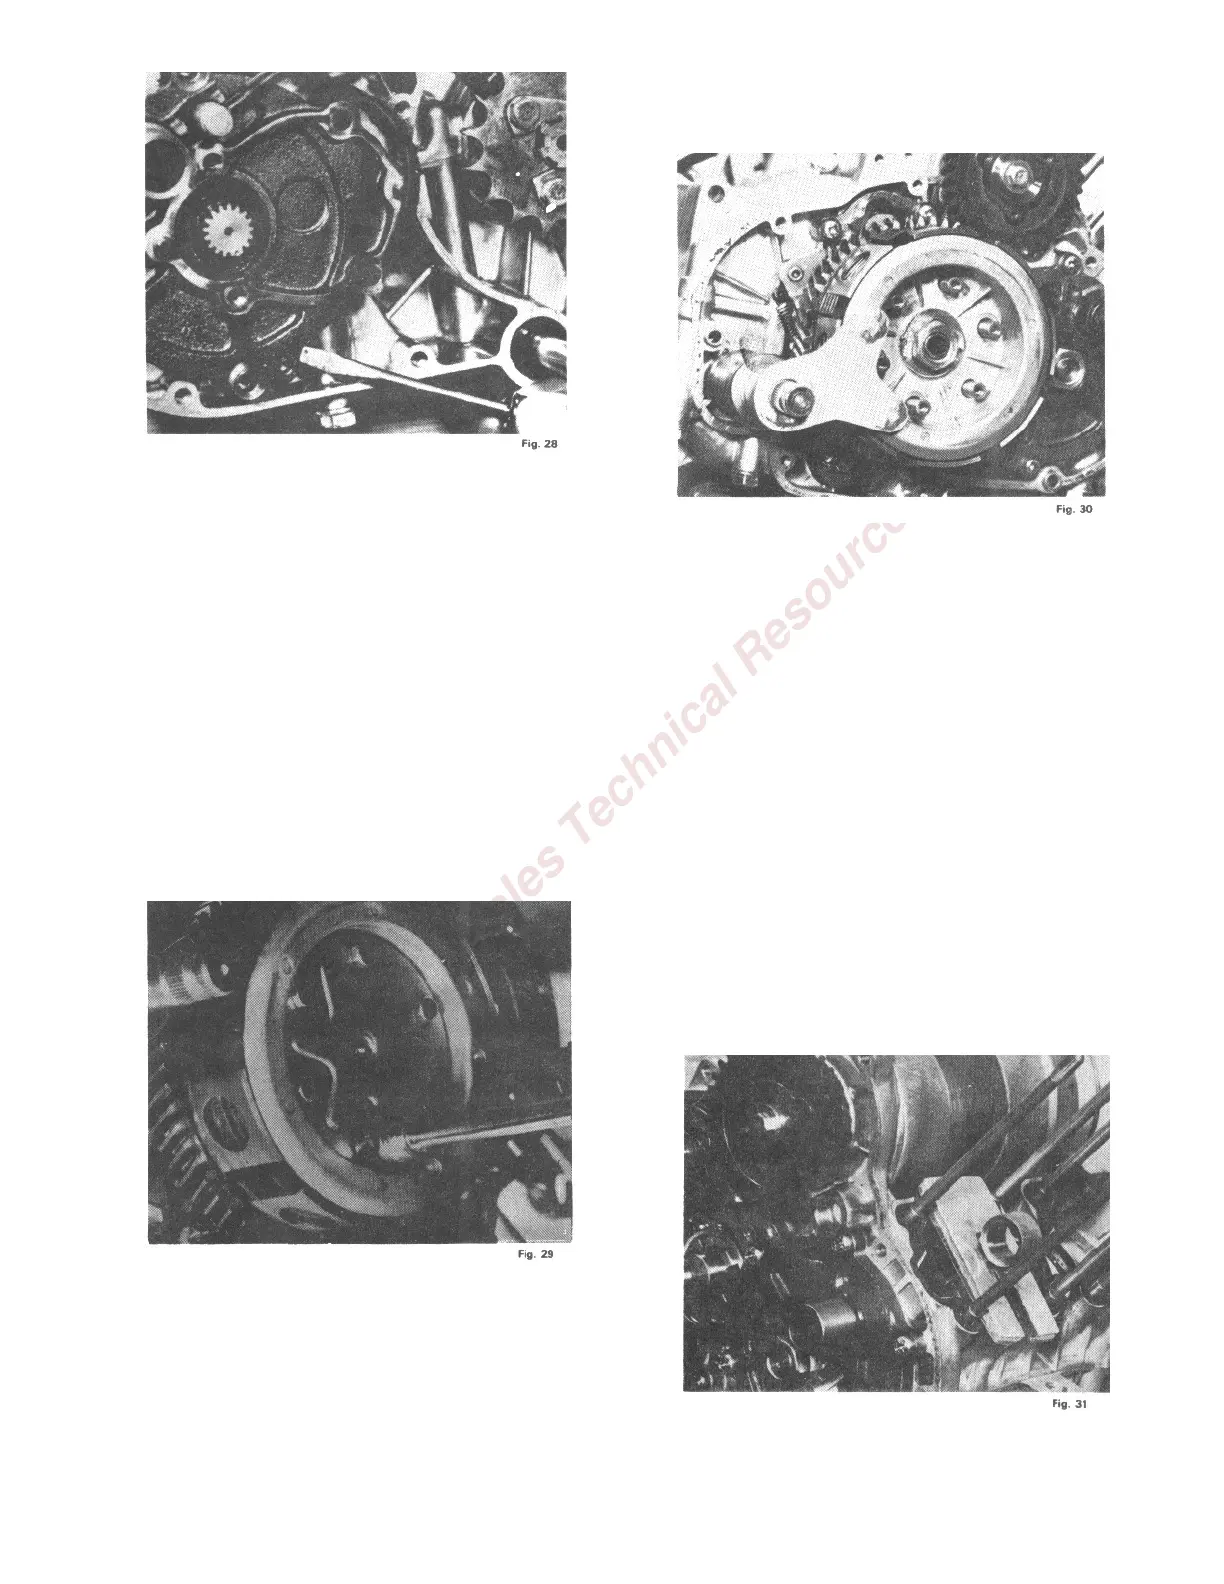
10. Remove the rotary valve from the
crankshaft. Removal can be facilitated by
inserting your index finger through the fuel
intake port from inside the crankcase and
pushing the valve off the crankshaft spline. It
is not necessary to remove the crankshaft
spline.
11. Turn the engine around so that you can work
on its right hand side. Remove the
transmission cover mounting screws and the
transmission cover.
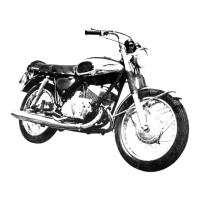
12. Remove the clutch thrust plate by removing
the six mounting bolts.
13. Remove the clutch springs.
14. Place the transmission in any gear. With a
small chisel and hammer, flatten the bend
washer beneath the clutch retaining nut.
15. Place the clutch stopper, a special tool, in
place to hold the clutch stationary while the
clutch retaining nut is removed.
16. Loosen, but do not remove, the generator gear
mounting bolt.
17. Remove the clutch as a unit, by placing the
fingers of both hands around the clutch gear
while holding the center of the clutch in
position with your thumbs. (On more recent
models of the 173 DT, a thrust spring fits over
the drive gear of the clutch. On these models,
remove the retaining nut, the clutch hub, the
splined washer, the remaining clutch
assembly, and then the thrust spring, in that
order.)
18. Insert the aluminum piston seat under the
upper end of one connecting rod to hold the
crankshaft stationary and loosen the pinion
gear retaining nut. THIS IS A LEFT HAND
THREAD. Remove the retaining nut and the
gear from the shaft.
19. Remove the right rotary valve cover.