EasyManua.ls Logo

Bridgetek FT801 - Graphics routines; Getting started

Default Icon
263 pages
Print Icon
To Next Page IconTo Next Page
To Previous Page IconTo Previous Page
Loading...
FT800 Series Programmer Guide
Version 2.1
Document Reference No.: BRT_000030 Clearance No.: BRT#037
19
Product Page
Document Feedback Copyright © Bridgetek Limited
2.5 Graphics routines
This section describes graphics features and captures a few of examples.
2.5.1 Getting started
This short example creates a screen with the text "FTDI" on it, with a red dot.
Figure 6: Getting Start Example Image
The code to draw the screen is:
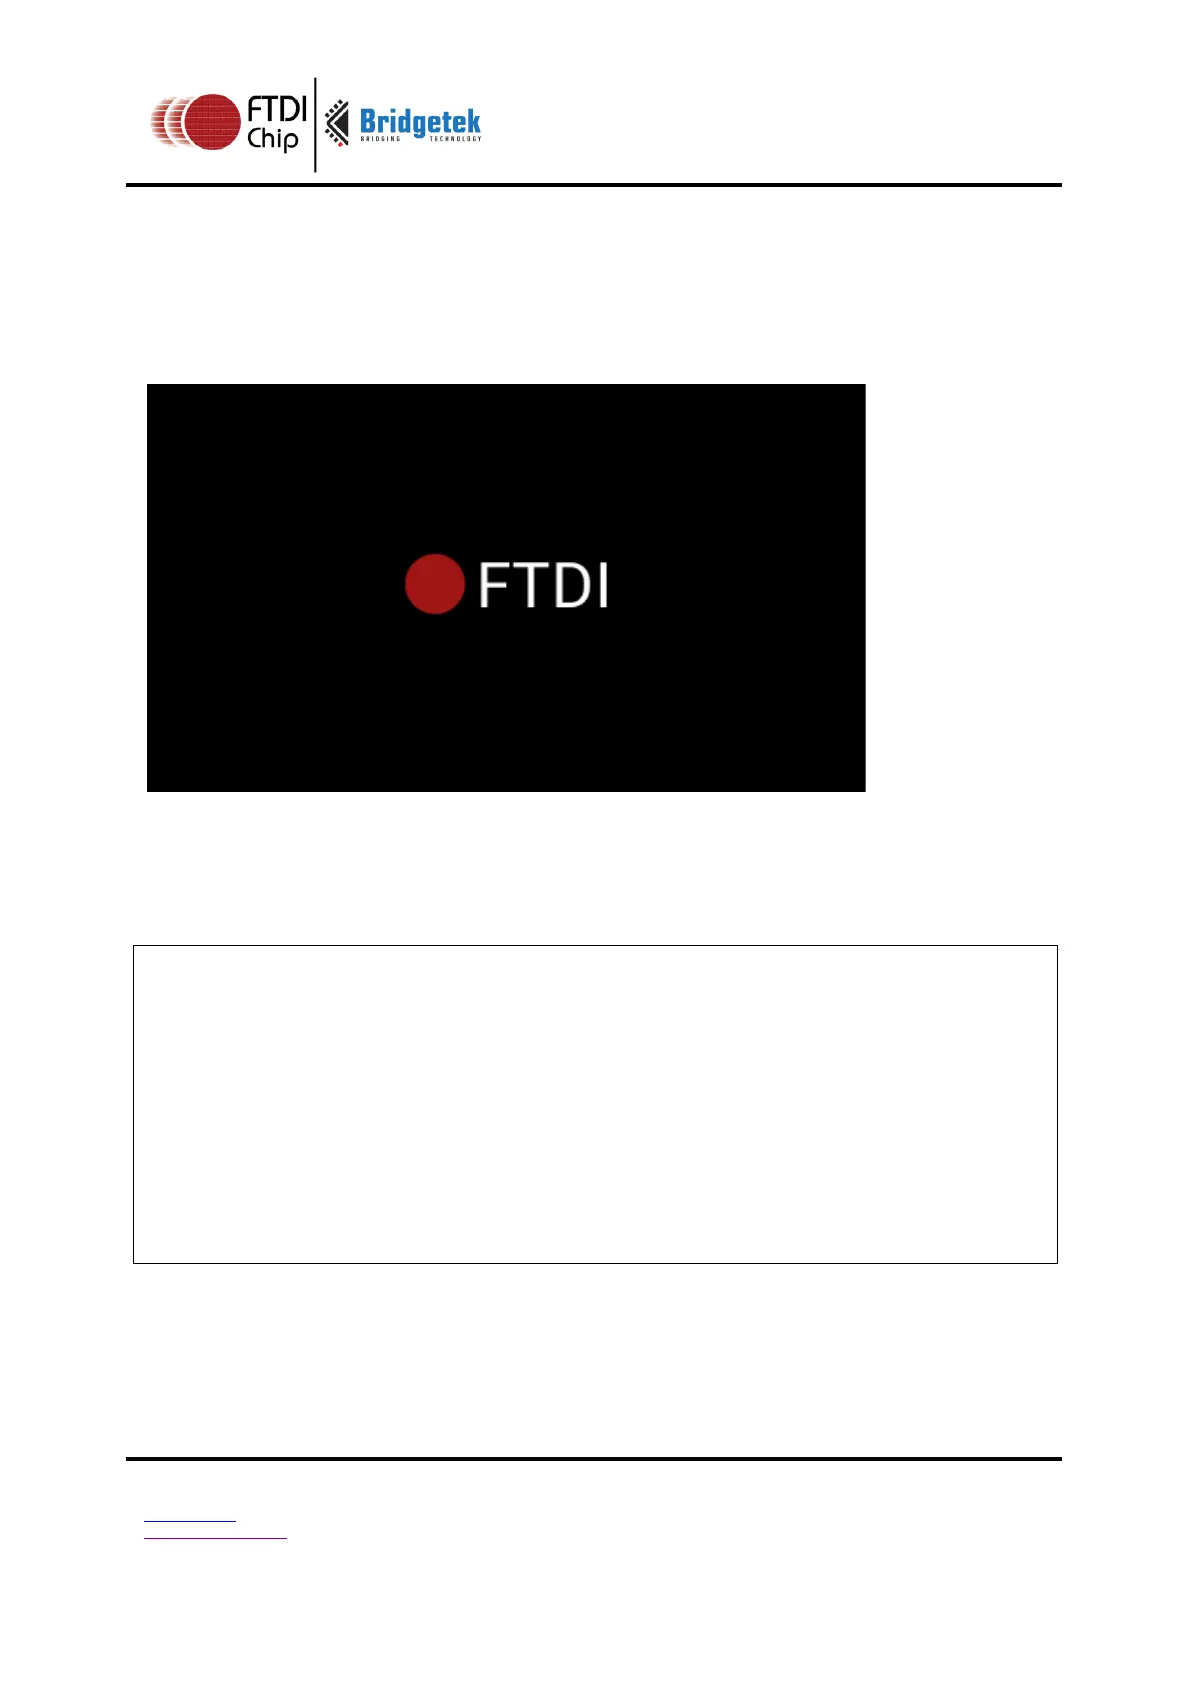
wr32(RAM_DL + 0, CLEAR(1, 1, 1)); // clear screen
wr32(RAM_DL + 4, BEGIN(BITMAPS)); // start drawing bitmaps
wr32(RAM_DL + 8, VERTEX2II(220, 110, 31, 'F')); // ascii F in font 31
wr32(RAM_DL + 12, VERTEX2II(244, 110, 31, 'T')); // ascii T
wr32(RAM_DL + 16, VERTEX2II(270, 110, 31, 'D')); // ascii D
wr32(RAM_DL + 20, VERTEX2II(299, 110, 31, 'I')); // ascii I
wr32(RAM_DL + 24, END());
wr32(RAM_DL + 28, COLOR_RGB(160, 22, 22)); // change color to red
wr32(RAM_DL + 32, POINT_SIZE(320)); // set point size to 20 pixels in
radius
wr32(RAM_DL + 36, BEGIN(POINTS)); // start drawing points
wr32(RAM_DL + 40, VERTEX2II(192, 133, 0, 0)); // red point
wr32(RAM_DL + 44, END());
wr32(RAM_DL + 48, DISPLAY()); // display the image
Code snippet 8 Getting Started

Table of Contents