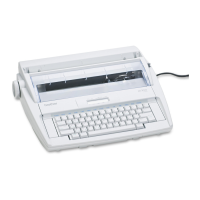
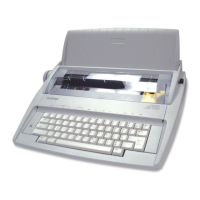
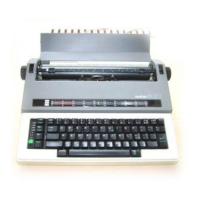
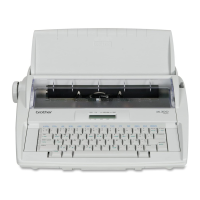
REPAIR
SERVICE MANUAL
Mechanical
4-59
7.1. Removing the Switch PCB
(1) Unplug the power harness from the main PCB.
(2) Remove the screw securing the switch PCB switch section, slide it to the right and
up to clear the switch housing, and lift it out.
7.2. Installing the Switch PCB
(1) Place the switch PCB switch section into its location in the bottom cover, slide it to
the left and down to insert the switch in its housing, and secure it in replace with the
screw.
(2) Reconnect the power harness to the main PCB.
Fig. 4.48 Switch PCB
 Loading...