5
Setting Up
the machine
Windows
®
USB
Windows
®
Parallel
Windows
NT
®
4.0
Parallel
Macintosh
®
USB
Macintosh
®
Network
Windows
®
Network
For
Network Users
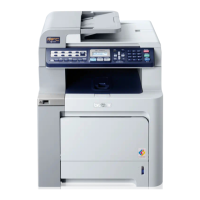
8
Install the toner cartridge by sliding it into
the correct guide. Do not try to push or lock
the toner cartridge in; it must rest loosely in
the guide rails and will automatically be
positioned properly when the front cover is
closed. Match the cartridge color label to the
corresponding label on the machine.
9
Repeat steps
6
through
8
for the
remaining toner cartridges.
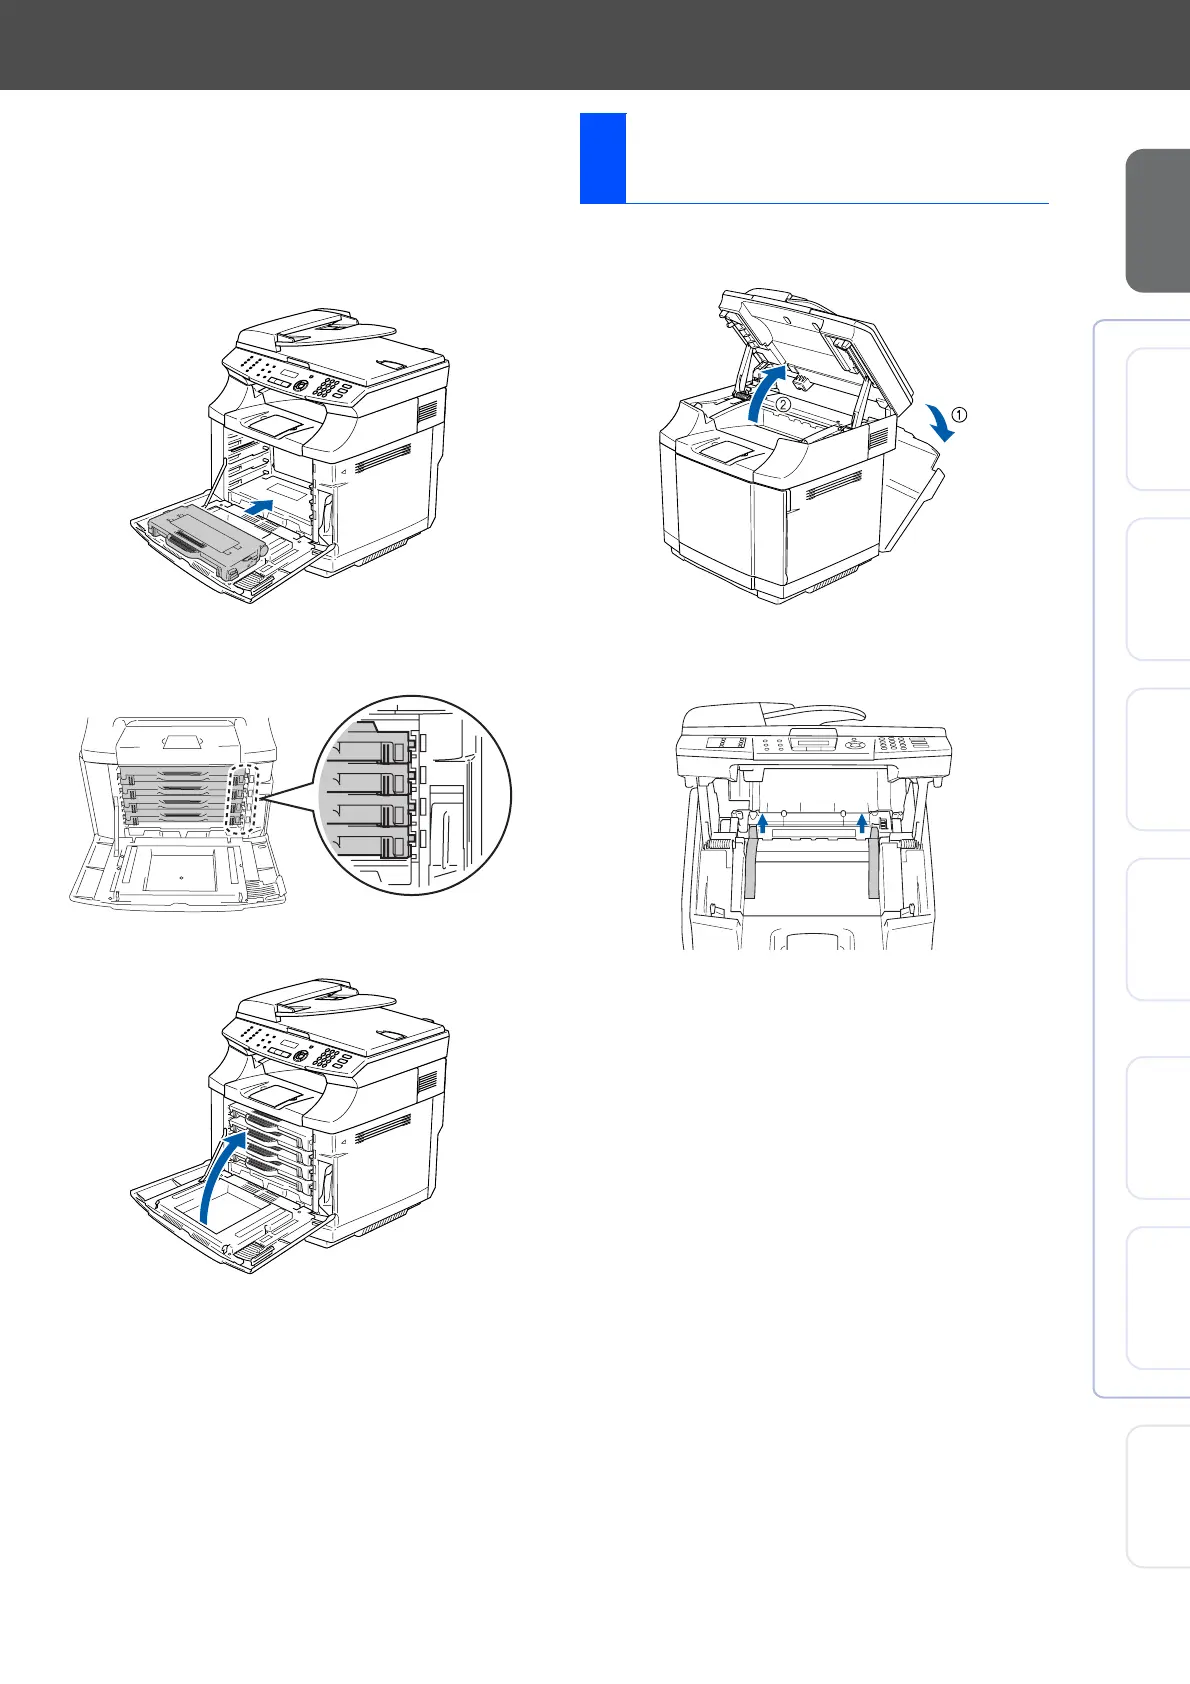
0
Close the front cover.
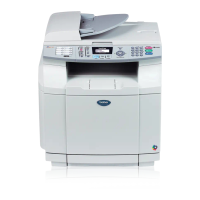
1
Open the back cover (
1
) and the scanner
unit (
2
) of the machine.
2
Pull out the protective parts from both sides
of the fusing unit.
3
Close the scanner unit and the back cover.
K
Y
M
C
K
Y
M
C
2
Remove the protective
parts of the Fusing Unit
 Loading...