3 - 20
Thread tension mechanism
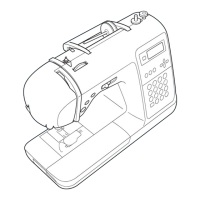
Main unit
1-3
Assembly of Thread unit L (Attachment of Thread tension dial)
1. Insert the tension disc A 2, the tension disc B 3, the washer 0, the
thread release plate 5, the tension disc washer 6, the washer 7 and the
spring into the shaft of the Thread unit L 1.
*Key point
• Check that the notch part 8 of the tension disc A 2 and the
tension disc B 3 align the protrusion 9 of the Thread unit L.
2. Attach the thread tension adjusting screw A to the thread tension plate 0,
and then engage the protrusion D of the thread tension plate 0 in the
groove C of the thread tension dial B, and then insert the tension
adjusting screw A into the shaft of the Thread unit L 1, and then attach
the thread tension dial B to the Thread unit L 1 with the tension dial shaft
E.
3. Attach the notched spring F to the Thread unit L 1 with the screw 1.
*Key point
• Insert the tip of notched spring F into the bottom of the thread
tension dial B.
• Check that the boss part of the Thread unit L 1 engaged with
the positioning hole of the notched spring F.
1
Torque
0.78 – 1.18 N·m
S03
:
S03
A
7
5
2
1
3
6
B
E
F
1
4
F
B
1
EC 1
9
8
D
S03
Screw, Pan
M3X4
SPRING
X55842***
12.0
7.6
1-4
Assembly of Thread unit L (Attachment of Bobbin winder guide assy.)
1. Set the bobbin winder guide assy. 1 to the Thread unit L 2, and then
tighten the screw 1.
*Key point
• Fully tighten the screw after performing "4-18 Adjustment of
Bobbin winder".
1
Torque
0.59 – 0.78 N·m
2
1
1
Screw
3X10
 Loading...