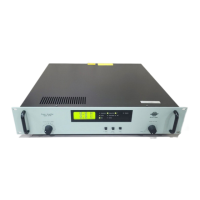
Measuring Ampifier Type 2525
User Manual Vol.1
Brüel & Kjær
6–2
Chapter 6 –Making a Measurement
Introduction
6.1 Introduction
In this chapter the amplifier will be set up, powered-on and a number of parame-
ters will be set in order to illustrate its range and utilization.
6.2 Principle
The fundamental task of the amplifier is the attenuation of a signal picked up by
an accelerometer.
Direct loading of an accelerometer’s output, even by relatively high impedance loads
can greatly reduce the accelerometer’s sensitivity as well a minimizing its frequen-
cy response. To eliminate this effect the accelerometer output signal is fed through
the amplifier. The amplifier’s high input impedance and low output impedance, is
particularly suitable for connection to the relatively low input impedance of meas-
uring and analyzing instrumentation.
6.3 Mounting the Accelerometer
The selection of the correct mounting arrangement can significantly affect the use-
ful frequency and dynamic ranges of the measurement. It is important that the
addition of the accelerometer mass does not alter the vibration characteristics of
the test object, and that the measurement point can be exactly located time after
time, ensuring repeatable measurements.
The useful frequency range of the accelerometer is determined by its mounted reso-
nance frequency as quoted on the individual calibration chart for each accelerome-
ter.
There are several ways to mount an accelerometer:
● Stud mounting
● Wax mounting
● Magnet mounting
● Self-adhesive mounting discs
● Adhesive (direct attachment)
You can read more about mounting accelerometers in Piezoelectric Accelerometers
and Vibration Preamplifiers, Theory and Application Handbook, Brüel&Kjær,
November 1987.
To ensure the best possible mounting:
1. Make sure that the surface of the test piece is as clean and smooth as is practi-
cally possible. This will ensure the highest possible resonance frequency.

 Loading...