Supported file systems for external drives are below:
• FAT32
• EXT3
• XFS
• NTFS
• HFS Plus (read-only)
Connect only one device to each USB port of the TeraStation. Some external drives with automatic power-on don't
turn on automatically when connected to the TeraStation. Use their manual power switch to turn them on. Note that
only the first partition of a connected USB hard drive is mounted. Additional partitions are not recognized.
Note: Backup data from macOS may include characters that cannot be written to FAT16 or FAT32 drives such as
".DS_Store". For best results, reformat the drive before using it as a backup target.
Dismounting Drives
If the TeraStation is powered on, dismount drives (internal and external) before unplugging them. You may
dismount external drives with the function button, or any drive from Settings. If the TeraStation is off, then all drives
are already dismounted and may be unplugged safely.
Note: If dismounting multiple drives at the same time, dismount all drives first; when the status is displayed as
"Dismounted / Plugged" in Settings for all drives, disconnect them.
Dismounting with the Function Button
Hold down the function button for 3 seconds for TS1200D models or until the function LED glows for TS1400D or
TS1400R models. The function LED will remain lit for 30 seconds as all attached USB drives are dismounted. After
dismounting is finished, the function LED will turn off. You may now unplug the USB drives safely.
Note: After 60 seconds, the function LED will turn on again and any drives that have not yet been unplugged will be
remounted.
Dismounting from Settings
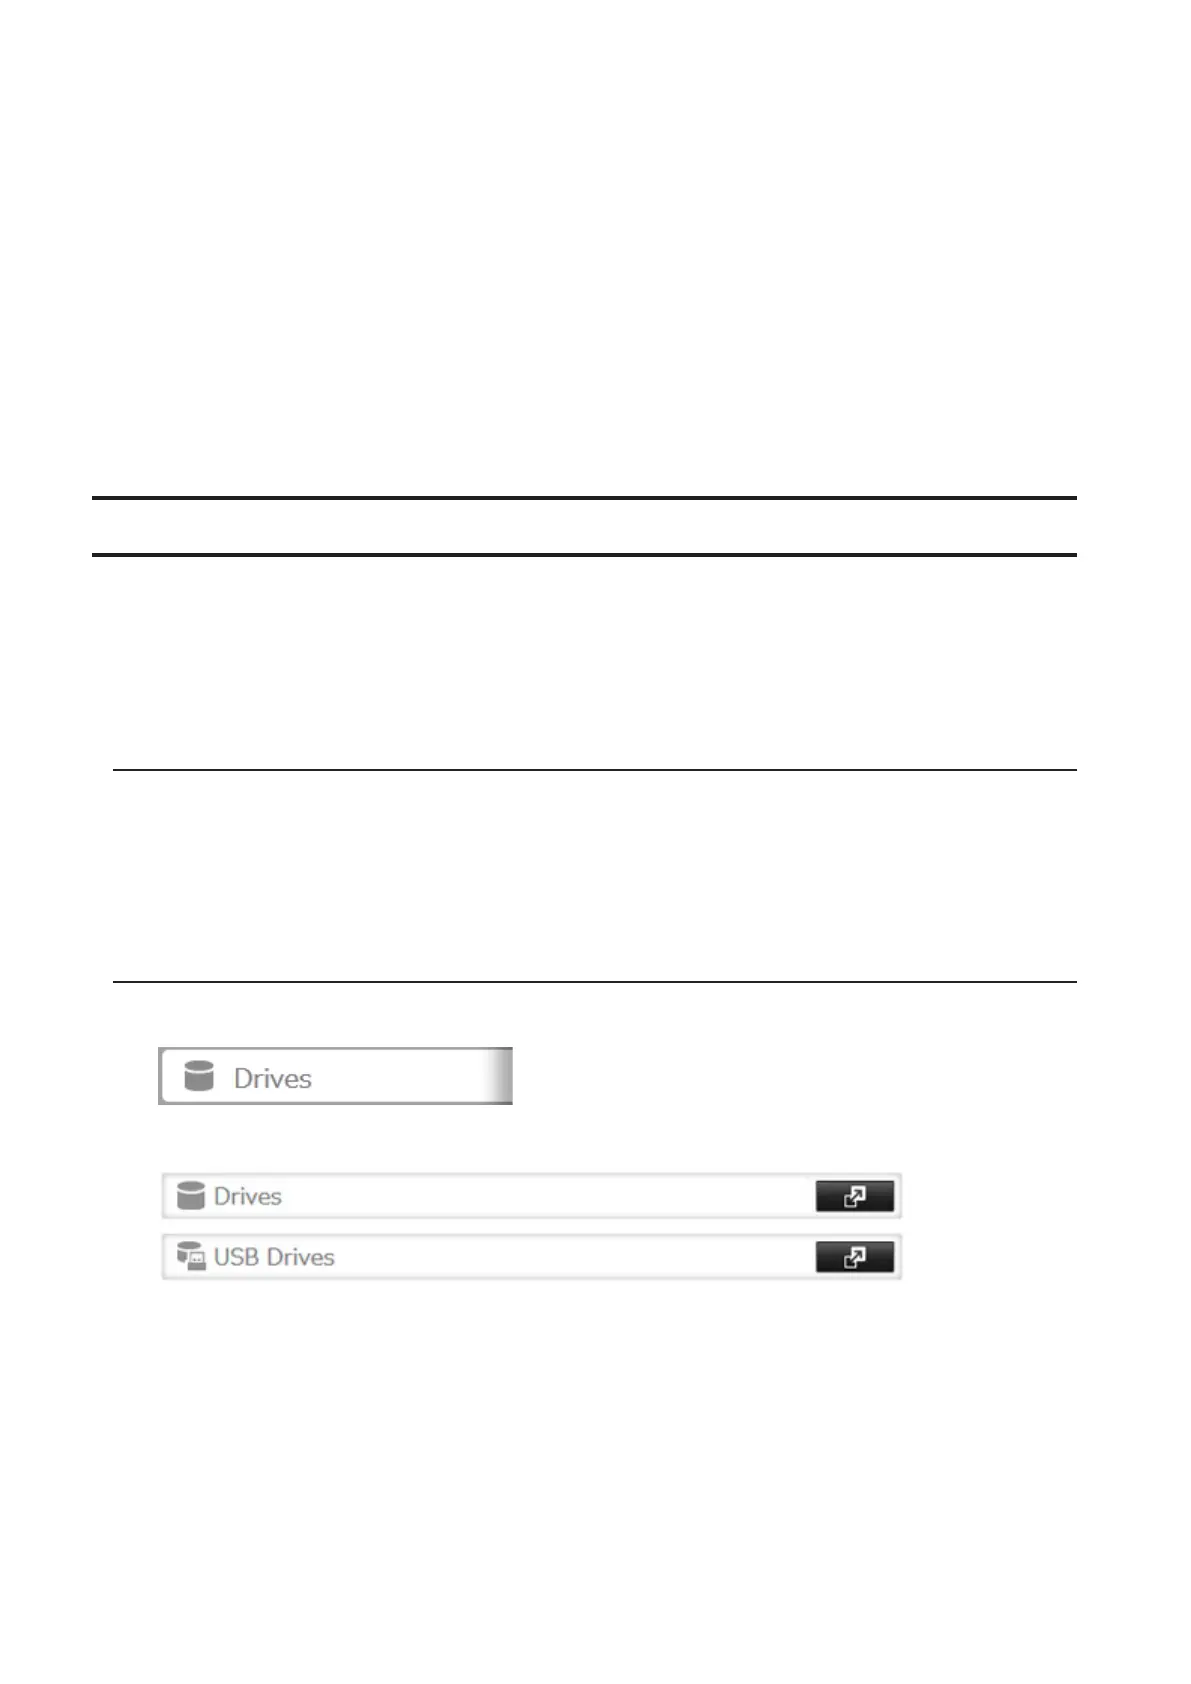
1 In Settings, click Drives.
2 Click Drives to dismount an internal drive or USB Drives to dismount an external drive.
41