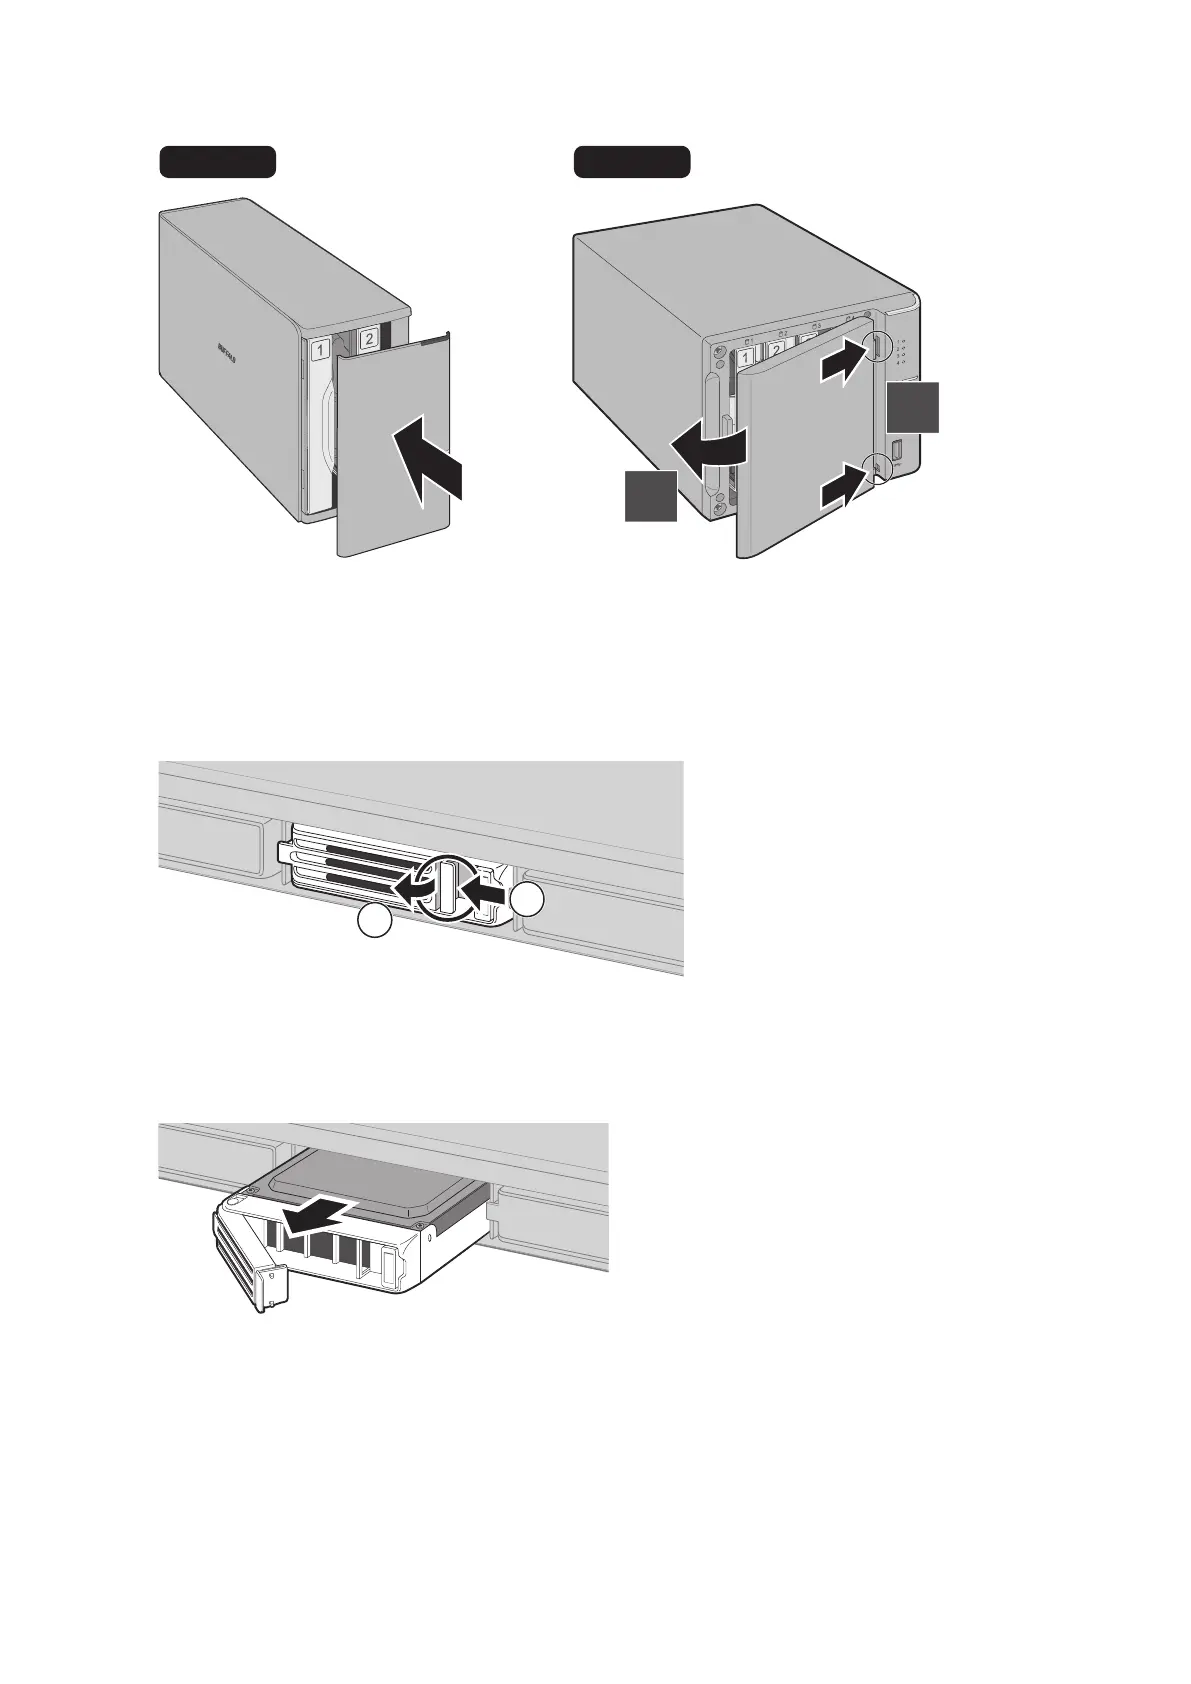
7 Close the front panel.
DISK 1
DISK 2
DISK 2
DISK 1
ERROR
1
2
8 Replacing a defective hard drive is finished. Go to the "Step 2 - Rebuild the RAID Array" section below.
Instructions for TS1400R Models
1 Push the drive's unlock button and swing the lock mechanism out.
1
2
Note: If your TeraStation is on and the red status LEDs are lit, the hard drives are still on. Do not unplug or remove
them.
2 Pull out the failed drive and remove it from the TeraStation.
51