Setup
32 ©2020 CAE 905K640152 v1.1
CAEAres
Set Up the Simulator
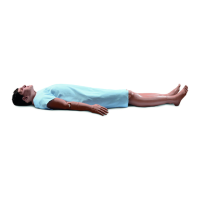
Step 1: Place Ares Manikin in the Work Area
Select a work area with enough room for all equipment, providing ample space for easy access to the
simulator. A minimum 10 ft x 12 ft (3 m x 4 m) work area is recommended for learners to move and
position components around the simulator.
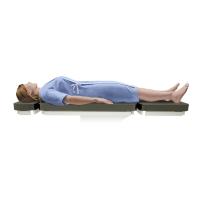
Before placing the manikin on a surface, make sure the surface can support 100 lbs (45.4 kg).
CAUTION: Never lift the manikin by the limbs. Support the manikin’s head and lift it from the torso.
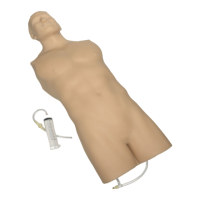
Step 2: Prepare Ares for Legs
To prepare Ares for attaching the legs:
a. Reach under Ares’ buttocks and pull the torso skin away from the skin attachment pegs.
There are two skin attachment tabs on each peg. Only remove the top tab from each peg
and leave the lower tab in place.
b. Fold the skin over the upper torso.
c. Remove Ares’ genitalia by lifting it straight up and pulling it outwards.
Set Up the Ares Simulator
1 Place Ares Manikin in the Work Area
2 Prepare Ares’ for Legs
3 Attach Ares’ Legs
4 Prepare Ares’ for Arms
5 Attach Ares’ IV Arm
6 Attach the NIBP Arm
7 Modify a Blood Pressure Cuff
8 Place Ares’ Wig
9 Power on Ares
10 Power on Instructor Tablet
11 Connect to the Simulator’s Network (Optional)
12 Set Up TouchPro Monitor (Optional)
13 Launch Maestro