©2020 CAE 905K640152 v1.1 83
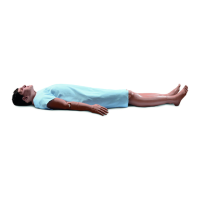
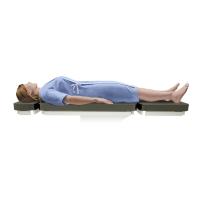
Using Ares
NOTE: The burnt skin can be removed with tweezers.
To reapply the burnt skin:
1. Gather the necessary materials:
º Elmers rubber cement
º Acrylic carbon black paint
º Matt UV acrylic varnish
2. Apply a thin layer of the rubber cement over the wound and let dry 5 min. Apply a thin to
medium layer of rubber cement (to create texture and thickness) and let dry 10 minutes.
3. Create a 2:1 mix of Rubber cement (2) to the acrylic carbon black paint (1) and apply a
medium to thick layer creating thickness and texture, and let dry 15 minutes.
4. Apply a thin layer of the Matt varnish and let dry 15 to 20 minutes.
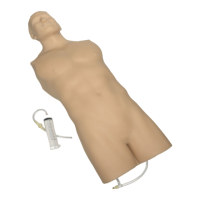
Upper Leg Amputation Wound
The upper leg amputation wound provides an example of a below the knee leg amputation. To
replace the standard right leg on Ares, use the tools that are provided in the wound kit:
1. Remove the right leg from the manikin.
2. Replace with the upper leg wound.
Lower Leg Wound
The lower leg wound demonstrates examples of varicose veins with a stasis ulcer. To replace the
lower leg, use the tools that are provided in the wound kit:
1. Remove the standard lower leg at both the knee and ankle joint.
2. Attach the lower leg wound.
3. Reattach the foot to the new lower leg.
Foot Wounds
The following two (2) foot wounds can replace the standard foot on Ares:
• Foot with skin tear.
• Diabetic foot with toe infection and heel ulcer.
Use the tools provided in the Complete Wound Care kit to replace the standard foot on Ares.