CHAPTER 5 TOROUBLESHOOTING
5-2
COPYRIGHT
©
1999 CANON INC. CANON DADF-B1 REV.0 APR. 1999 PRINTED IN JAPAN (IMPRIME AU JAPON)
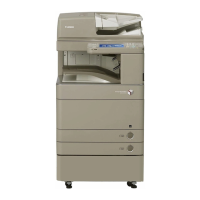
5) If the difference is not as indicated, loosen
the nut found at the rear of the right hinge
unit.
Figure 5-103
Figure 5-103-1
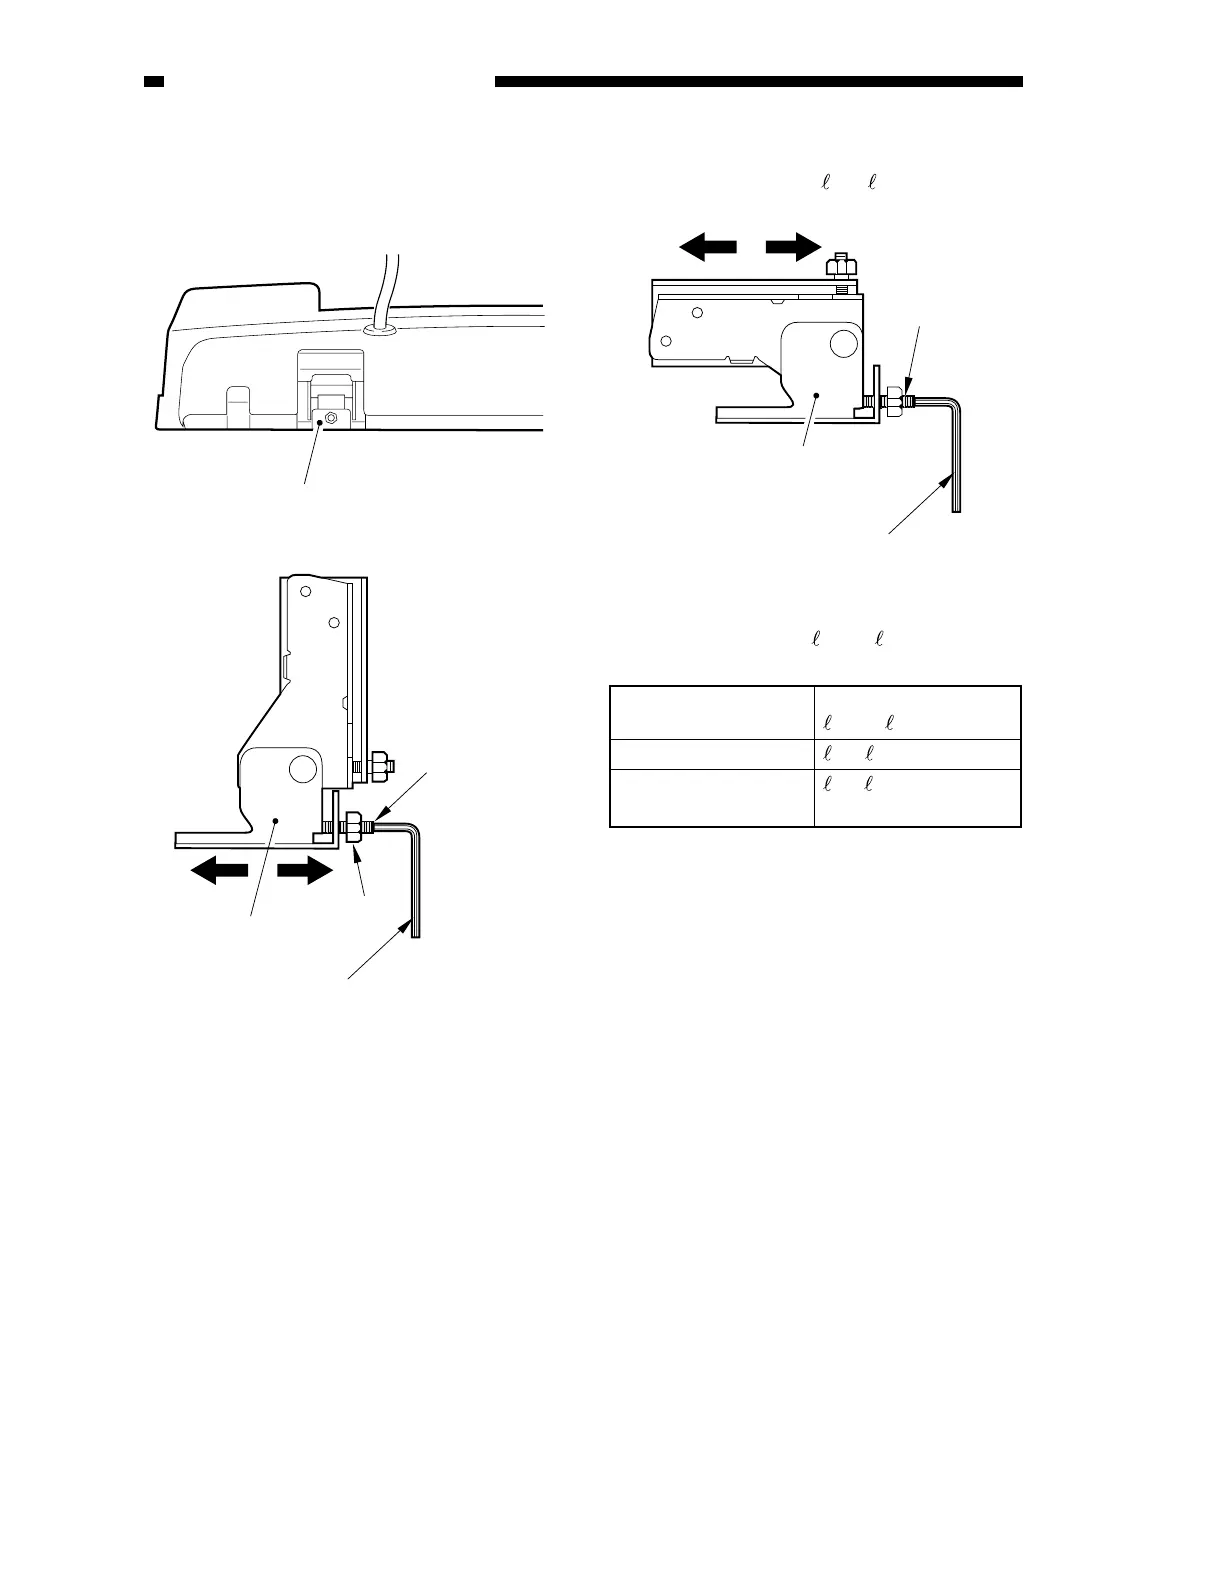
6) Make adjustments by turning the adjusting
screw (hex) so that
1
to
2
is as indicated.
Figure 5-104
Table 5-101
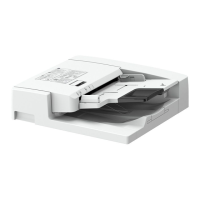
7) After adjustment, tighten the nut to secure
the adjusting screw in place.
Direction of rotation Relationship between
1
and
2
Clockwise direction
1
<
2
*
Counterclockwise
1
<
2
direction
Range: ±2.0 mm
(The adjusting screw may be given a
maximum of 2 turns.)
The feeder will not move; after turning the
adjusting screw, be sure to move the feeder
by hand.
Right hinge unit
Adjusting screw
Right hinge unit
Nut
Hex driver
Adjusting screw
Right hinge unit
Hex driver
Relationship between and
2
and the
Adjusting Screw
 Loading...