Starting from Digital Photo Professional
Follow the procedure below to start the Print Plug-In from Digital Photo Professional.
1. Start Digital Photo Professional.
2. Open the RGB color image that you want to print.
3. If required, select the print range.
Note
• Images for use with Print Plug-In are less than 6,000 pixels in width and height. Reduce the selection
range or reduce the image with processing for images more than 6,000 pixels in width and height, and
then attempt step 3.
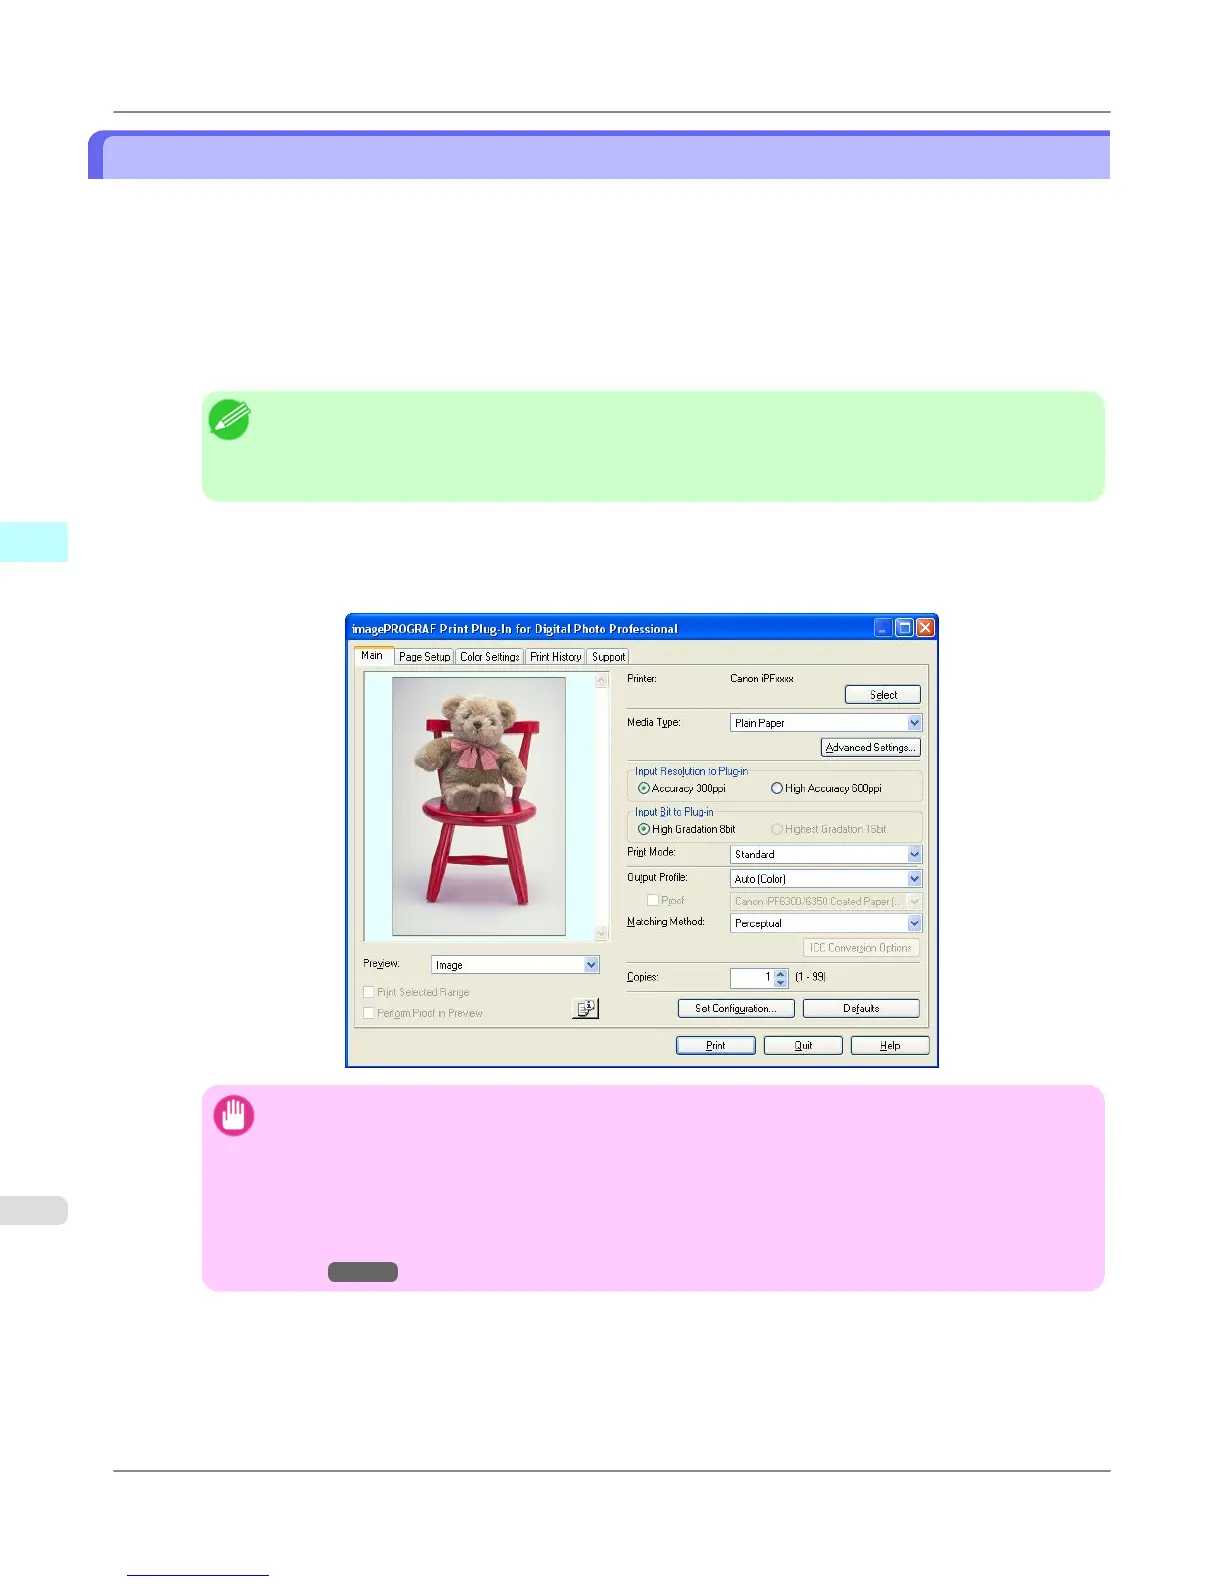
4. Select File from the Plug-in printing menu and then select the output plug-in that matches your printer.
The imagePROGRAF Print Plug-In for Digital Photo Professional window (hereinafter referred to as the Print Plug-
In window) is displayed.
Important
• When a profile is created with a commercially available profile creation tool, it may be created in
ICCv4 format. When an image source profile is ICCv4, you must install AdobeCMM or use Print
Plug-In in a Windows Vista or later environment.
When Adobe CMM is not installed in a Windows XP environment, a message is displayed, and the
source profile changes to Adobe RGB. To use an ICCv4 profile in a Windows XP environment, exit
Plug-In and then install Adobe CMM. For details on installing Adobe CMM, refer to Using Adobe
CMM →P.348 .
Windows Software
>
Print Plug-In for Photoshop/Digital Photo Professional
>
Starting from Digital Photo Professional iPF6300S
3
314
 Loading...


